(Fudgiest!) Chocolate Brownies

(Fudgiest!) Chocolate Brownies2
Brownies!
Hmmm.. Where do we even begin…!
Cute, little squares so rich in chocolate that they taste like heaven on your plate. They’re adored pretty much universally. Every chocolate-lover’s dream! At least I’m yet to meet a person who DOESN’T like brownies. Do you know anyone?!! 😛
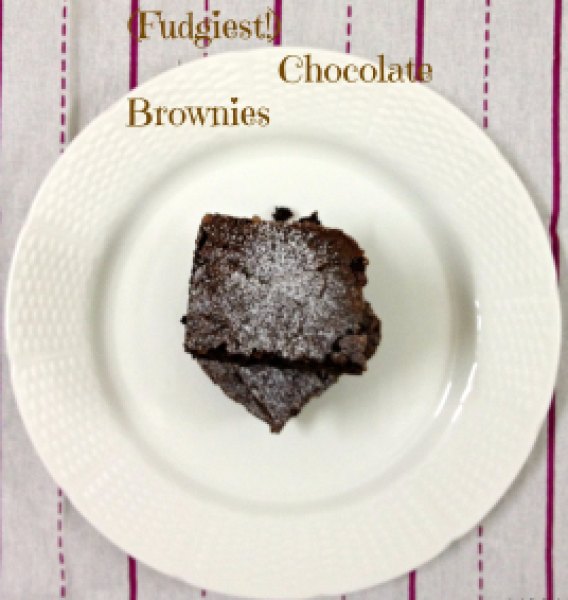
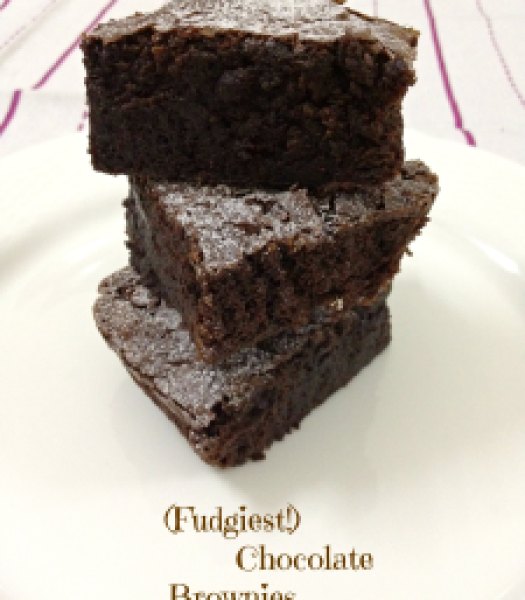
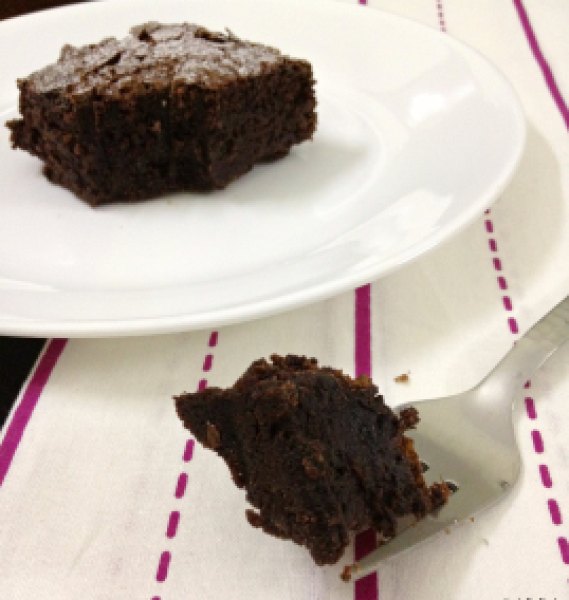
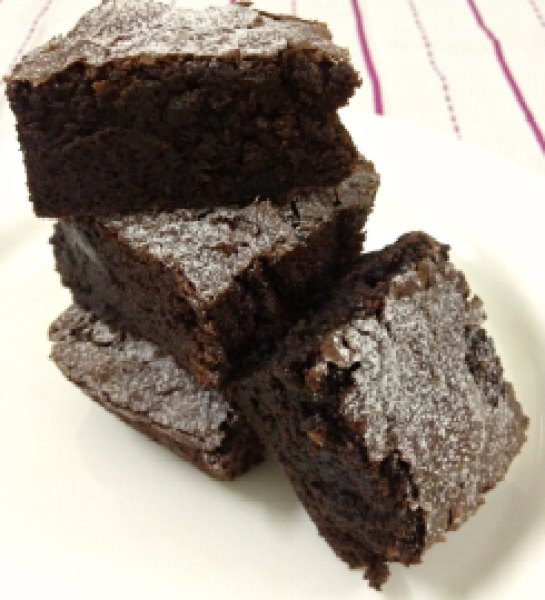
I’m very particular about the kind of brownies that goes in my tummy. It has to be thick, super-fudgy, moist and decadent. Not crumbly, dry or over-the-top-rich. I also like my brownies plain… Yep! Without any nuts, raisins, sultanas or chocolate-chips. Just plain…
(Fudgiest!) Chocolate Brownies1
(Fudgiest!) Chocolate Brownies4
I had posted a recipe for Brownies previously. That was an excellent recipe but a bit thin and more buttery for my liking. So I started testing for my go-to-recipe… And I can say that I have found it! Husband said that these are THE BEST brownies he has eaten in his entire life! Certainly made my day 🙂
This recipe turned out to be everything I want my perfect brownies to be. And they are quite fuss-free. Just 2 bowl required. No need to set-up a double boiler unless you do not own a microwave. Ready in about 45 minutes! Totally perfect to satisfy the chocolate/brownie cravings. So good that I can eat an entire pan by myself! (I haven’t though!) I only made them yesterday and I had to share it with you immediately! So stop drooling and MAKE these right away!! 🙂
(Fudgiest!) Chocolate Brownies3
(Fudgiest!) Chocolate Brownies
Makes: 9-12 squares | Prep time: 15 minutes | Bake time: Approximately 30-35 minutes
Ingredients:

  • 250 gm / 9 oz dark chocolate, roughly sliced
  • 1/2 cup unsalted butter, roughly sliced (approximately 115 gm)
  • 1/2 cup brown sugar
  • 1/2 cup white granulated sugar
  • 3 large eggs, cold
  • 1 tsp vanilla extract
  • 3 Tbsp Rum (optional)
  • 1 cup all-purpose flour
  • 1/2 tsp salt
  • 1 Tbsp Hershey’s unsweetened cocoa powder
Directions:

  1. Preheat the oven to 180ºF / 350ºC. Grease an 8×8-inch square pan; line base and sides with parchment paper. (I used foil.)
  2. In a large microwave-safe bowl, melt chocolate, butter and brown sugar in a microwave for 1-2 minute, stirring every 30 seconds. The mixture should be lump-free and glossy. Set aside and let cool for about 10 minutes.
  3. Once chocolate mixture is cooled down, stir white sugar, eggs, vanilla extract and rum into it.
  4. In a separate bowl, sift together flour, salt and cocoa powder and fold into chocolate mixture with wooden spoon or rubber spatula. Pour the batter in a baking pan and bake for 30-33 minutes until the toothpick inserted in the center comes out clean or with a few moist crumbs. Let cool completely in pan over a cooling rack. (If you’re in a hurry, throw it in a refrigerator or freezer for a while for easy cutting.)
  5. Lift up the ends of parchment or foil liner, transfer the brownies to cutting board and cut into 9 or 12 squares. Store it in an air-tight container for 3-4 days at room temperature or refrigerate for a week.

*Feel free to add nuts, raisins or chocolate chips if you like. 1/2 cup should be a good amount.

Share this recipe:

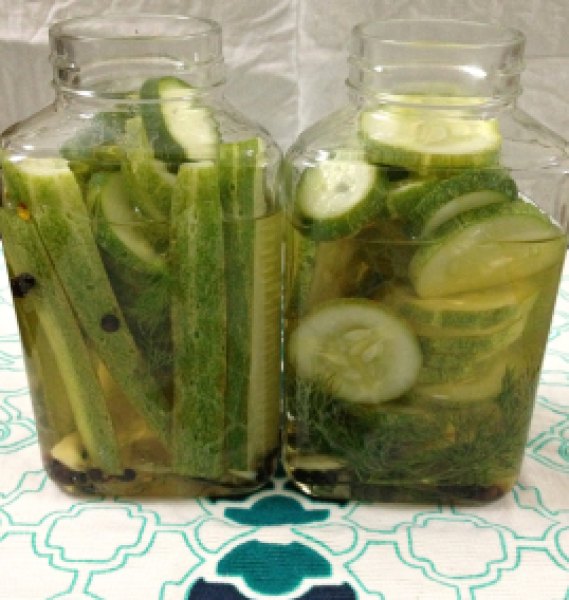
Cucumber Dill Refrigerator Pickles

Cucumber Refrigerator Dill Pickles2

This post was supposed to happen last weekend. But life happened, I fell sick and it took me a week to recover so here I am again with the list of never-ending excuses! But I’m sure you guys understand. Anyways… Let’s get on with the post. You’ve waited long enough!

You would think that I am a little late with this particular post.. Summer is the time for pickling. But don’t you worry… I’ve got this covered for ya! This refrigerator pickle can be made any time of the year. As long as you get cucumbers and fresh dill! And if you’re in super-cold parts of the world, then dill seeds would work perfectly too! Don’t like cucumbers? (As if it’s even possible!!), use jalapeno peppers, beetroots*, carrots* or red peppers. They would be equally delicious if not more!

*These vegetables will need 30-60 seconds of quick blanching in boiling water before they can be pickled for better flavor-absorption.
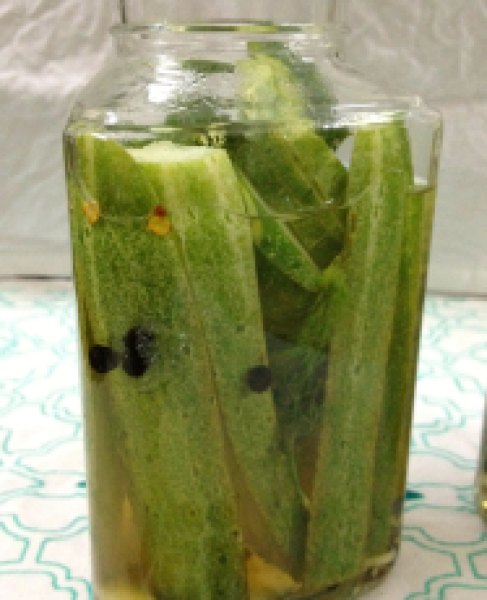
Cucumber Refrigerator Dill Pickles3

This was my first time making pickles. Little veggies in jars with vinegar. So much happiness!! I was quite nervous and excited at the same time, so I started reading a lot on the subject (In short, I Googled a lot!) before taking the plunge. I suggest you do the same. It’s a whole new world! Thankfully I was not canning. Made just a small batch considering small size of my refrigerator. It turned out to be pretty easy! Nothing to be afraid of.. So rinse away some glass jars and ease our way in this new world of quick pickles.

The only place you’ll struggle is waiting before digging in. Yes, 48 crucial hours before you can munch on these. Have patience and this too shall pass! 🙂

I short-listed 2 recipes online. Both seemed easy and great but different in terms of the usage of vinegar. I like my pickles tart hence I used the recipe calling for more vinegar. The changes I made are, I used fresh dill instead of dill seeds and added some sugar to the brine and that is how I liked it. You can click on the link below to check the original recipe. I would try the second recipe next time around. It will please those who thinks there is ridiculous amount of vinegar used in my recipe below. 😉 The link for less vinegary recipe is at the end of the post.

Enjoy! Happy Weekend!
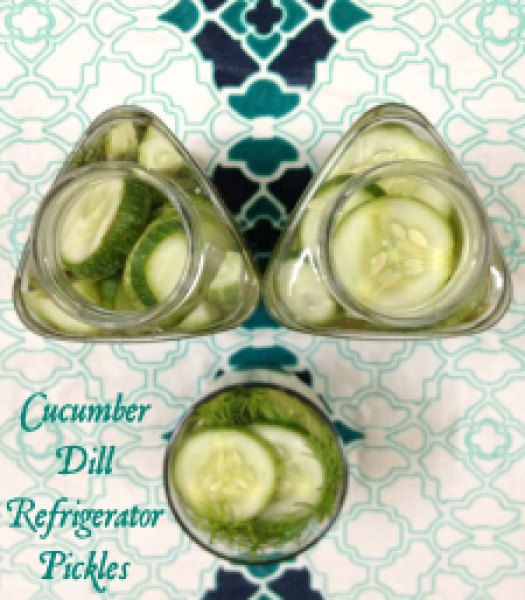
Cucumber Refrigerator Dill Pickles1

Cucumber Dill Refrigerator Pickles

Recipe adapted from The Kitchn

Yields: 2 pints

Ingredients:

  • 600 gm / 1.5 pounds cucumbers (Around 3 medium sized)
  • 1 cup apple cider vinegar
  • 1 cup water
  • 1 Tbsp pickling salt (I used sea salt)
  • 2 Tbsp sugar
  • 6 garlic cloves, peeled (2 per jar)
  • 1/4 tsp red chili flakes per jar
  • 10-12 sprigs of fresh dill per jar
  • 1/2 tsp black peppercorns per jar

Directions:

  1. Wash and cut the cucumbers. Leave the skin on but wash thoroughly to ensure that there’s no dirt on them. Cut them in either slices or spears.
  2. In a medium saucepan, bring vinegar, water, pickling salt and sugar to a simmer. Once simmering, remove from heat.
  3. Divide the spices and dill sprigs among 2 or 3 clean glass jars. The number of jars depend upon the size of the jar you’re using.
  4. Add the sliced cucumbers and pack tightly. Do not pack very hard to bruise the cucumbers. Pour warm brine in each jar, leaving approximately 1/2-inch headspace.
  5. Tap jars gently on countertop to dislodge any trapped air-bubbles. Apply lids and let jars cool to room temperature. Place jars in refrigerator and let them sit for at least 48-hours before eating. Pickles will last for up to 1 month at least.

You may also want to try: Refrigerator Dill Pickle from Annie’s eats

Share this recipe:

Guest Post on The Vanilla Bean: Pineapple~Coconut Breakfast Loaf

Pineapple-Coconut Breakfast Loaf1


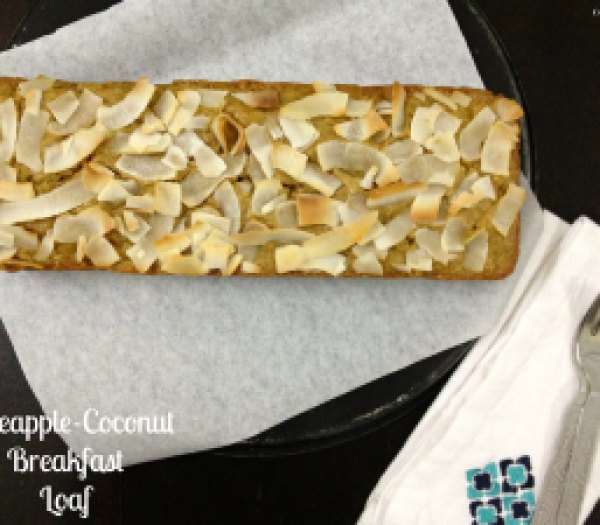
When Roshni from The Vanilla Bean asked me to do a guest-post on her blog, I wanted to bake something simple and quick for her readers. Yet something which look and taste like you’ve spent the whole morning working on it but in fact was just left in the oven to work its own magic.

Roshni has a special soft corner for cakes hence I decided to rustle up this breakfast loaf which is moist and crunchy at the same time. Each bite is filled with pineapple and coconut bits. It’s a tropical heaven! Perfect for the rushed up mornings. Just plonk it in the oven right before you had for the bath and it would be ready when you’re back!

The loaf is actually quite healthy with whole wheat flour, olive oil and brown sugar. Feel free to substitute the sugar in the recipe with date syrup, honey or liquid jaggery.

Drop by here to get my recipe of pineapple-coconut breakfast loaf and don’t forget to check out The Vanilla Bean blog for some delicious recipes. Thank you again, Roshni, for having me over!

Share this recipe:

Cinnamon Stovetop Oatmeal ~ For One

cinnamon stovetop oatmeal -1

You don’t need me tell you how to make an oatmeal. I’m sure, you can handle that on your own.

Maybe I need to remind myself how to make oatmeal. Maybe I need to remind myself to make oatmeal at all… and eat it.. for breakfast. Staring at my laptop first thing in the morning, burning my mouth sipping hot coffee does not make breakfast.

I thought if I needed a reminder, you might need it too. So let’s make this healthy stovetop oatmeal with cinnamon and any seasonal or even frozen fruits of your choice. A treat for that special person, YOU!

Cinnamon Stovetop Oatmeal-2

This oatmeal is perfect for the weather… so comforting and so healthy! The addition of cinnamon is mandatory. You may throw in some nutmeg too. Addition of nuts or seeds not so much but if you do add them, you’ll not regret it. This makes for such a wholesome breakfast in such a short time and hardly demands a ton of ingredients. Water, milk, quick cooking oats and cinnamon – you could manage these everyday, isn’t it? Total no-brainer. Oh, you could also double the recipe to serve two. ?

Have an exciting weekend peeps!

Cinnamon Stovetop Oatmeal – For One

Serves: 1 | Ready under 10 minutes

Ingredients:

  • 1/2 cup water
  • 1/2 cup milk – soy, almond, coconut or cow milk
  • 1/2 tsp ground cinnamon
  • 1 Tbsp cane sugar/honey/maple syrup
  • 1/4 cup quick cooking oats
  • Pinch of salt
  • 1/2 tsp vanilla extract
  • Optional toppings: chopped walnuts, sliced almonds, raisins, cranberries, chia seeds, hemp seeds, pumpkin seeds

Directions:

  1. In a medium saucepan, add water, milk, cinnamon and cane sugar. If using honey/maple syrup read the last step. Turn the heat up to high and bring to a boil. Add the oats and salt and reduce the heat to low. Let simmer stirring occasionally for a minute.
  2. Turn the heat off. Stir in vanilla and honey/maple syrup (if not using cane sugar). Top with fruits or other toppings (mentioned above) of your choice. Serve immediately.

Shop the recipe:

Here are some items I used to make today’s recipe.


Some of the links above are affiliate links, which pay me a small commission for my referral at no extra cost to you! Thank you for supporting Cook By Book.

Share this recipe:

M&M Oreo Cookie Bars

M&M Oreo Cookie Bars1

Hello Oreo lovers! Hello M&M lovers! Let’s get united 🙂

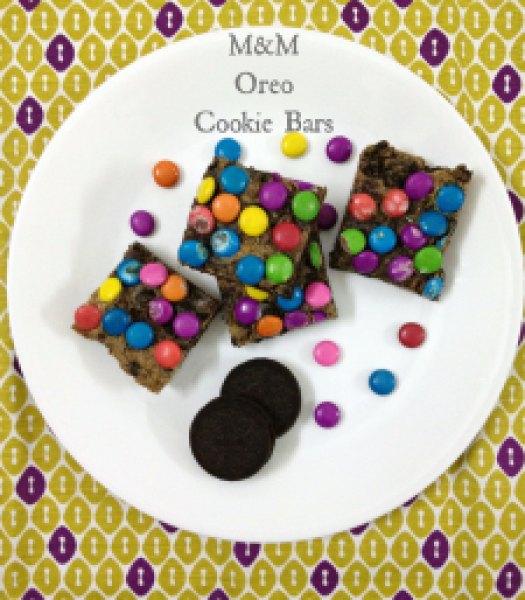
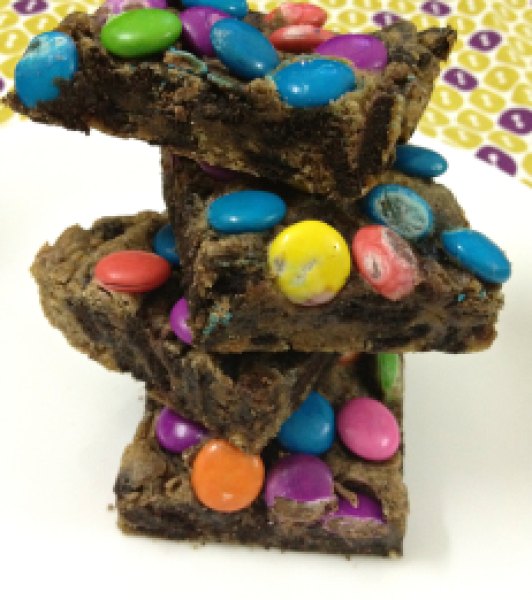
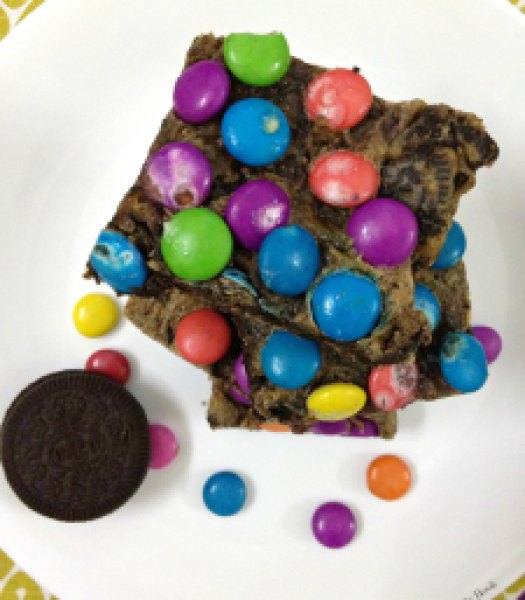
These bars are heavenly for texture-lovers! Every bite is filled with crunchy chopped Oreos and M&M’s contrasted with soft, buttery, moist dough. They are dense, thick and biteful. I have used dark brown sugar in the recipe which gives a beautiful caramel-ish flavor mixed with chocolate Oreos.

These bars come together in 1-bowl, just under 5-minutes, and without using mixer! These are ready under half an hour. Perfect to satisfy those sudden sugar-cravings! It is so quick, easy and of course, no dough chilling required.

M&M Oreo Cookie Bars2

Another advantage is, this recipe is very accommodating. You can use anything you like as fillers. So bookmark this one as your base recipe for bars and blondies. Feel free to sub Oreos with any other left-over cookies, peanut butter cups, pretzels, chocolate chips. Do not shy away from experimenting. Instead of M&M’s, arrange the top with lots of mini marshmallows. It will be heavenly! I’m going to do marshmallow version soon! Till then enjoy this 🙂

M&M Oreo Cookie Bars3

M&M Oreo Cookie Bars
Yields: 9 to 12 squares | Prep Time: 5-10 minutes | Cook Time: 20-22 minutes | Total: 30 minutes
Ingredients:

  • 1/3 cup + 1 Tbsp unsalted butter, melted
  • 1 large egg
  • 1/2 cup dark brown sugar, lightly packed
  • 1 Tbsp vanilla extract
  • 1 cup all purpose flour
  • 1/4 cup Graham cracker crumbs
  • Pinch of salt
  • 15 Oreo cookies, roughly chopped (I used chocolate Oreos)
  • 1/2 cup M&M’s (Nestlé Smarties, Cadbury Gems or any other chopped candies can be used)

Directions:

  1. Preheat oven to 180ºC/350ºF. Line an 8×8-inch baking pan with aluminium foil, grease with oil or spray with cooking spray. Set aside.
  2. In a large, microwave safe bowl, add butter and place in microwave for 1-minute on high power.
  3. Wait a minute before adding the egg so that it does not scramble. Add the egg, sugar, vanilla and whisk until smooth.
  4. Add the flour, Graham cracker crumbs and salt. Stir until just combined. Do not over-mix.
  5. Stir in the Oreo chunks.
  6. Turn the thick batter out into prepared baking pan, smoothing the top lightly with a spatula or back of the spoon.
  7. Evenly sprinkle the M&M’s over the top, lightly pressing them down with your finger, a spatula or back of the spoon.
  8. Bake for about 20 to 22 minutes, or until toothpick inserted in the center comes out clean, or with a few moist crumbs. Allow to cool in pan for at least 30 minutes before slicing and serving. Bars will keep for up to 1 week at room temperature stored in an airtight container, or in the freezer for up to 6 months.
Share this recipe: