Category: Summer

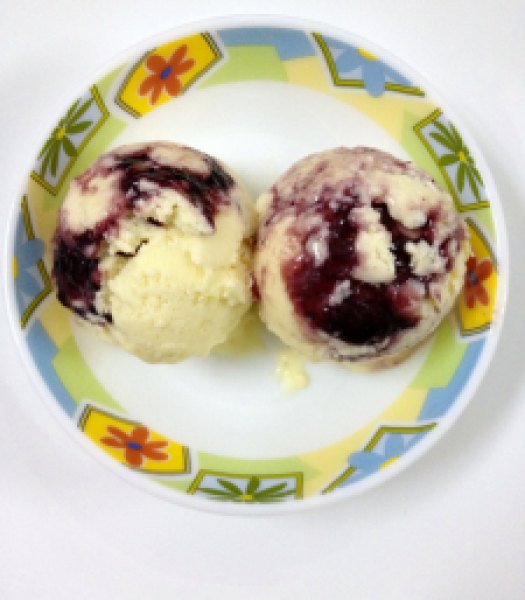
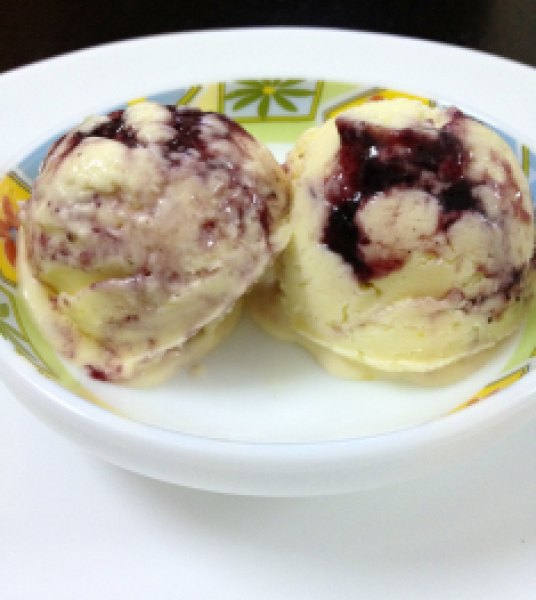
Zesty Lemon Ice-cream with Blueberry Swirl

Zesty Lemon Ice-cream with Blueberry Swirl1

I have a declaration to make. This is by far THE best ice-cream I have ever made! Seriously!!! It’s so good that I could not believe this was made by me at home without the use of ice-cream maker. It came out so perfect, it was definitely to die for!

It was tart, light, refreshing, tangy, sweet, velvety… Lick-your-bowl good if you still don’t get what I mean! Everything you want your lemon ice-cream to be and more!

This ice-cream definitely screams SUMMER!

We are making this one little bit differently than how we were doing with our previous ice-creams. First, we need to make lemon curd for the base and then fold it in with whipped cream. That’s it!

Lemon curd is wonderful and super easy to make. It is so versatile that apart from using it in this ice-cream, you can use this as a filling for your tarts, pies and cakes or simply as a spread for your scones!

We are going to cook the lemon curd in a stainless steel bowl placed over a saucepan of simmering water aka double boiler. It will only take about 3-4 minutes to cook.

I have scaled down the recipe to make ice-cream for just 2 people. I have been whipping ice-cream daily so you can understand why I would do this! But I regretted my decision as soon as I had its first bite.. It was heavenly! And I wanted more!! 🙁

So let’s get down to the business!

Zesty Lemon Ice-cream with Blueberry Swirl2

Zesty Lemon Ice-cream with Blueberry Swirl

Yields: around 6 scoops

Ingredients:

  • 1 small egg
  • 1/4 cup granulated white sugar
  • 1 Tbsp lemon juice, sieved so that it is free from pulp
  • 1 Tbsp unsalted butter, room temperature
  • Lemon zest from 1 lemon
  • 1/2 cup fresh medium fat cream (40%), chilled
  • 2 Tbsp blueberry compote

Directions:

  1. In a stainless steel bowl placed over a saucepan of simmering water, whisk together the egg, sugar and lemon juice until blended. Cook, stirring constantly (to prevent from curdling), until the mixture becomes thick. This will take about 3-4 minutes to cook.
  2. Remove from heat and immediately pass the mixture through the sieve to remove any extra lumps. Whisk in butter and lemon zest. Let cool. It will continue to thicken as it cools down further. Freeze it till cream is ready.
  3. Whip the fresh cream till soft peaks form. Gently fold in the chilled lemon curd. If it is too tart for you then add more cream as per your taste.
  4. In a small airtight container, spoon in half the mixture and top it with blueberry compote, top with rest of the mixture and freeze for 4-5 hours before serving. Serve it topped with fresh blueberries and dig in!

*Tips: Lemon curd has to be made with fresh lemons. Juice lemons at room temperature to get more juice and strain the juice to remove any pulp from it. While grating the zest from the lemon, be sure not to remove pith (white membrane) from the lemon as it is very bitter tasting. Cold lemons are much easier to zest. You can use a zester or fine grater for this. Do this just before using as the zest will lose moisture if it sits out too long.

Lemon curd recipe scaled down and barely adapted from Joy Of Baking

Share this recipe:

Funfetti Cookies & Cream Ice-cream

Funfetti Cookies & Cream Ice-cream1

TGIFF! Thank-God-It’s-Funfetti-Friday! 😉

I’m calling out to all ‘sprinkle-on-everything-makes-everything-taste-better’ followers!

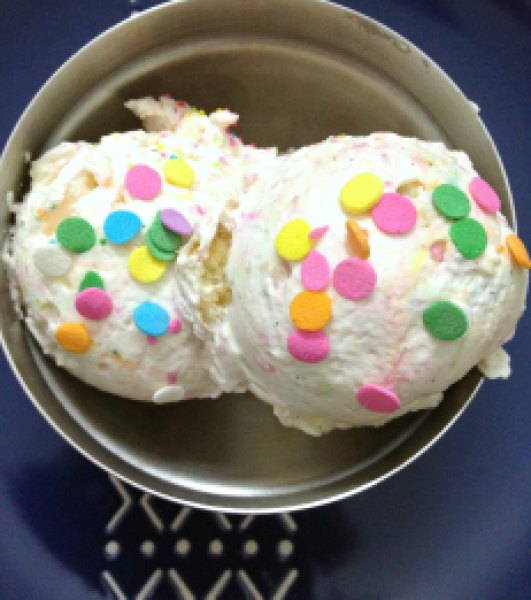
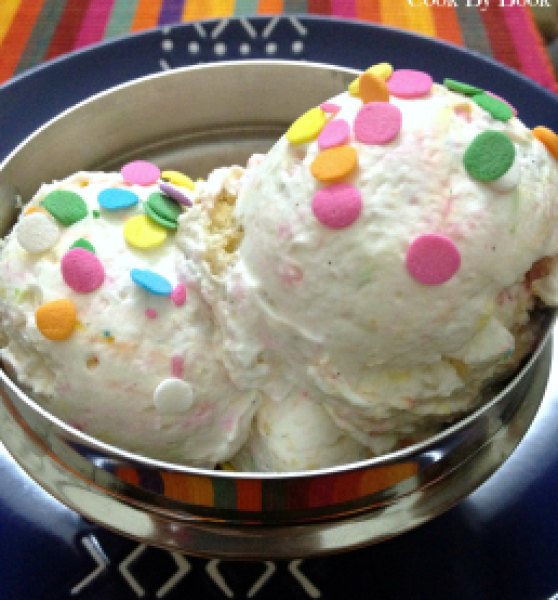
Yup… An ice-cream, inside-out filled with sprinkles, is what you are going to get today!

Truly a treat! For your eyes and your palate! ✿◕‿◕✿

Plus, it has cookies in it! ‘I-never-met-a-cookie-I-didn’t-like’ followers, you too join in!

I have used vanilla pod in this ice-cream, not vanilla extract, but it can be used interchangeably. This was my first time using a pod and I have become a fan! The flavor you get is unmatched! I love the black specks you should be able to admire in the picture below.

Not gonna convince you all much, not that it needs convincing!… Just make this and eat! (I pretty much hogged!) 😀

Funfetti Cookies & Cream Ice-cream2


Funfetti Cookies & Cream Ice-cream

Ingredients:

  • 2 cups fresh medium fat cream (40%)
  • 2 Tbsp caster sugar
  • 1 vanilla pod or 1 tsp vanilla extract
  • ¼ cup sprinkles (I used a mix of round and non-perils)
  • 8-10 plain vanilla cream sandwich cookies, crushed

Directions:

Take cream, sugar and vanilla beans/extract in a large bowl and whip till you get a creamy, smooth, fluffy, soft peak consistency. Gently fold in sprinkles and cookies and spoon in airtight container. Freeze away for 4-5 hours. Garnish with more sprinkles while serving. Enjoy!

Share this recipe:

Fresh Mint & mango Creamsicle Ice-cream

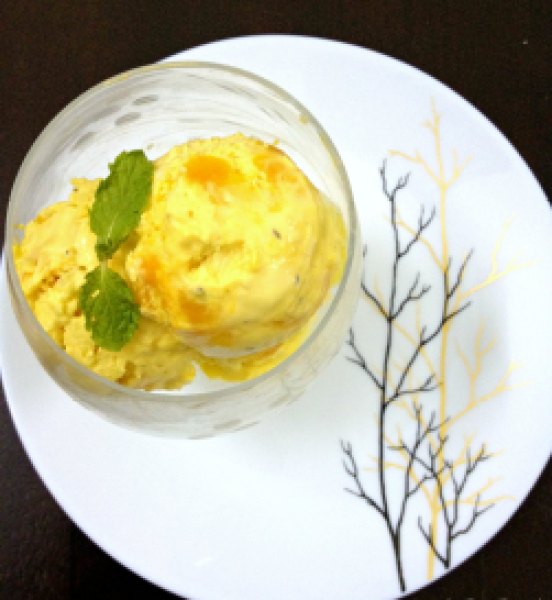
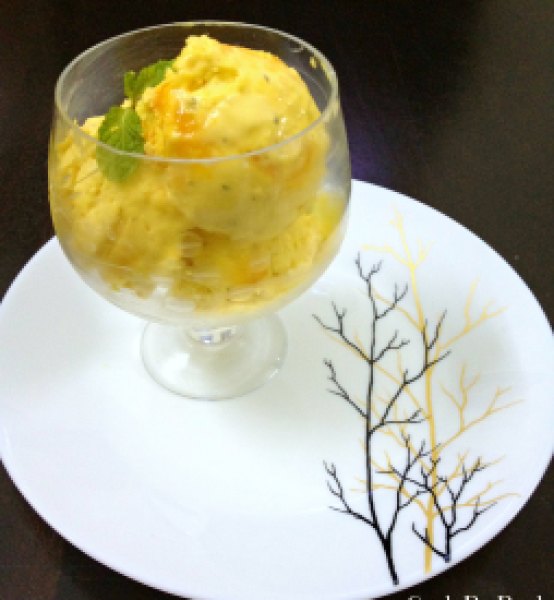
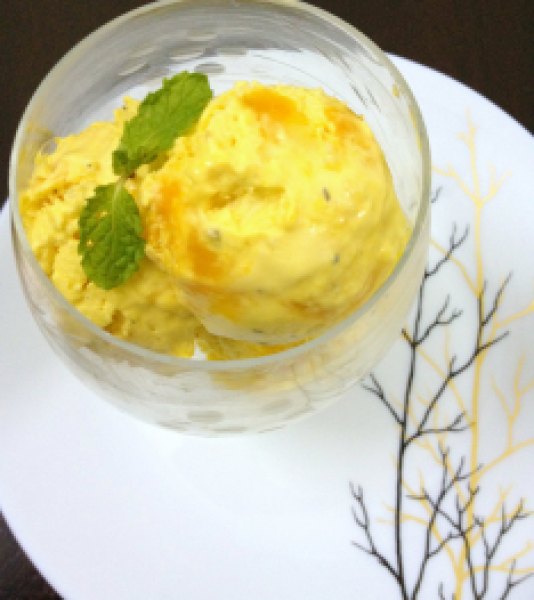
You do not think that ice-cream week on blog will go by without the addition of an ice-cream whipped with our fave seasonal fruit to my repertoire? Of course not… I wouldn’t let that happen! And yes.. You have guessed it right… You know how much I love my mango and they taste best chilled..  So while deciding on 7 flavors to be included in this week-long marathon I am participating alone in (!sigh!), mango unquestionably topped the list!

Fresh Mint & Mango Creamsicle Ice-cream1

But just the plain mango ice-cream wouldn’t do the justice to the ‘ice-cream week’ as the idea is to create something really special in the comfort of your home and without the use of ice-cream maker. Plus, perhaps there are zillion versions of plain mango ice-cream already doing rounds on the internet. So why do another version just like what is already there!

The hunt for that perfect combination started… What do we know and what have we learnt? Mangoes are sweet, juicy and succulent fruit which goes really well with fresh mint. Remember this? Toasted coconut and mango chunks would add a bit of a texture to the otherwise perfectly creamy smooth ice-cream.. And a dash of lemon juice to cut that sweetness.. Done deal!

Fresh Mint & Mango Creamsicle Ice-cream2

Bringing the flavor of fresh mint to the cream was an easy thing. I used the method which worked perfectly for me here. I added mint leaves to the cream and let it sit in the fridge for at least 4 hours. Trust me the flavor kick was there without adding even a drop of mint extract! I toasted the desiccated coconut using gas stove itself though you can use oven, I am more comfortable with this method as I am scared of getting burnt coconut in the oven. Let’s get started then!

Fresh Mint & Mango Creamsicle Ice-cream3

Fresh Mint & Mango Creamsicle Ice-cream

Yields: around 8 scoops

Ingredients:

  • 1 cup fresh medium fat cream (40% fat)
  • 1 handful of fresh mint leaves
  • 2 Tbsp sugar (more if mango used is not sweet enough)
  • 1 mango, peeled, pureed
  • Juice from 1 lemon
  • 1/4 cup toasted coconut
  • 1 mango, peeled, finely diced

Directions:

For toasted coconut:

Toast the desiccated coconut in a pan over a medium heat on gas stove.

For oven: Preheat the oven to 350 F/ 170 C. Put the desiccated coconut in baking tray and bake for 3-5 minutes. Keep a close watch as you do not want burnt coconut.

For making ice-cream:

Mix cream and mint leaves in a bowl and refrigerate for at least 4 hours to extract the flavors from mint to cream. Use sieve to separate mint leaves from cream.

Add sugar to cream and whip till you get soft and fluffy consistency. Gently fold in pureed mango, lemon juice, toasted coconut and diced mangoes to the cream and spoon the mix in airtight container. Let it freeze for 4-5 hours and serve it.

*For any left-overs, let the ice-cream thaw for 15 minutes before serving. Run hot water on the ice-cream scoop before scooping the ice-cream out.

Share this recipe:

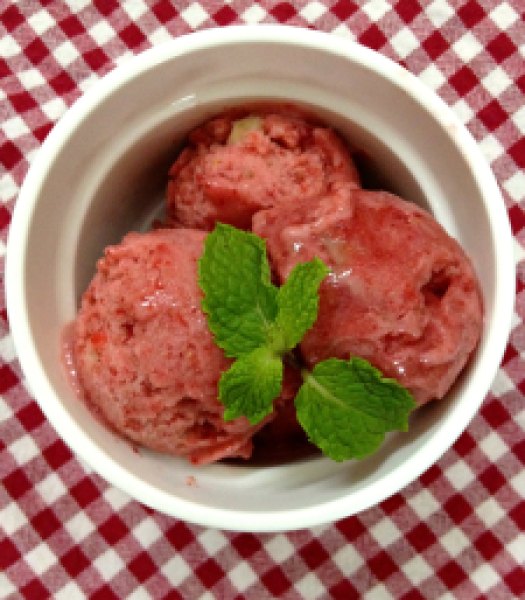
Skinny Strawberry And Banana Frozen Whip

Skinny ice-cream??!! Not joking guys!

A delicious, skinny, dairy-free, sugar-free, 2-ingredient breakfast treat!

Is that an oxymoron?! 😉 Not anymore!

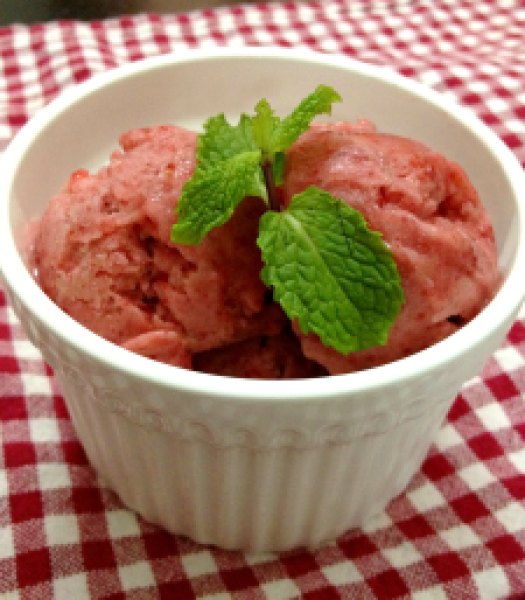
Skinny Strawberry & Banana Ice-cream1

It’s a Wednesday… Middle of the week… So I thought of giving my creamy ice-cream posts a break and present this totally guilt-free fruity treat!

Still can not believe your eyes?

Trust me guys… This ice-cream is magical! Totally melt-in-your-mouth kind!

Tastes totally rich (even if it’s not!) and decadent!

Make it either post-workout and gobble it up immediately (which is just what I did!) or make it pre-workout, chuck it in a freezer and polish it off once you’re back from sweating out!

Totally acceptable as a dessert too!

So how did I accomplish this? If you remember my Mango & Banana Oatmeal Smoothie with a hint of Basil and Peach, Apricot & Banana Minty Milk Smoothie recipe, then you know how I had used frozen banana chunks to get a silky smooth consistency for my smoothies.  Frozen banana chunks get a total make-over when they are whipped in a blender. If you don’t like bananas then this is even better because they don’t even taste like bananas anymore after freezing and whipping! Super-ripe bananas give the best of results! I always have frozen bananas sitting in my freezer waiting to be used! If you don’t then freeze the fruit for at least 2 hours prior to making this.

To whipped frozen banana goodness, I added frozen strawberries and the result is in front of you! Put on your thinking caps and start thinking of all the different flavors you can eat this way and that too guilt-free! Add cocoa powder or peanut butter or Nutella or frozen mango cubes or frozen peach cubes… Let me know what you would like to experiment with!

Skinny Strawberry & Banana Ice-cream2

Skinny Strawberry & Banana Ice-cream

Yields: 4 scoops

Ingredients:

  • 1 large overripe banana, cut in to chunks and frozen
  • 4 large strawberries, frozen
  • chocolate-chips for topping (optional)

Directions:

Add the frozen fruit in a blender or food processor bowl and whip for 30 seconds. Scrap down the sides and whip it again till you get a smooth, soft-serve kinda consistency.

Serve immediately topped with chocolate-chips (if using) or re-freeze any left-overs and let soften slightly before enjoying!

*This recipe is my entry for Event by Archana’s Kitchen – Summer Fiesta

Share this recipe:

Fresh Mint and Chocolate Chunks Ice-cream

Hello beautiful people.. I hope you all enjoyed my yesterday’s ice-cream post!

But if you have not read my previous post then let me tell you that I am doing an ice-cream week on the blog and I am going to post super-easy ice-cream recipes which does not require the use of ice-cream maker! Week-long of deliciousness! Excited??!! I really am… Imagine 7 beautiful ice-cream treats for 7 days of the week! 7 gorgeous flavors! Yup.. I’ll be blogging continuously for 7 days! Anything for you guys! 🙂

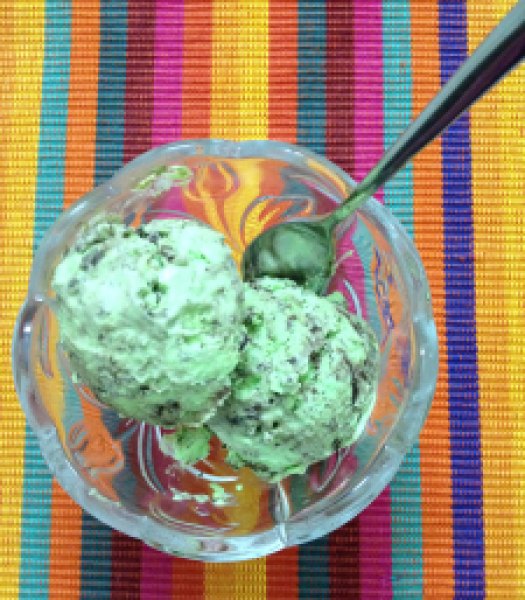
Fresh Mint & Chocolate Chunks Ice-cream1

So keeping up with this week’s ice-cream theme, I have got you a Fresh Mint and Chocolate Chunk Ice-cream… Sounds refreshing right? Feeling of cold running down your spine while having the first lick of this ice-cream is what you should expect and nothing less! That too made with fresh mint.. No mister, no mint extract involved here!

Mint and chocolate is a match made in heaven! This is one of my favorite ice-creams to have in summer… Love the splash of green it has! I know… Girls and colors!!! 😉

If you do not like green color, no worries, simply omit it as it is only for the visual effect! But I bet your kiddos or kids in you will love it!

Large chunks of chocolate really compliments cool mint, mellows down the flavor and yet packs a punch!

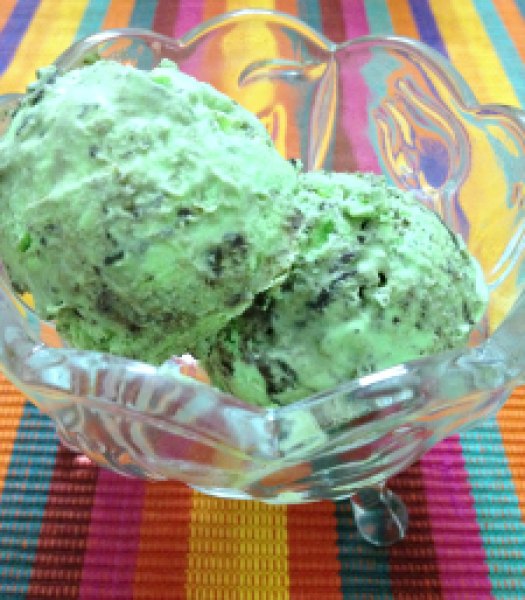
Fresh Mint & Chocolate Chunks Ice-cream2

So you would be curious as in how did I manage to extract so much flavor from fresh mint without adding even a drop of mint extract? Actually it was very simple! I added mint leaves to the cream and let it sit in the refrigerator for around 4 hours. Kind of let the mint marinate the cream and after 4 hours you get the base for your ice-cream! Dang easy!

Whip this cream with a drop of green color and add as many chocolate chunks as you like to it, hide it in freezer for 4-5 hours and it’s ready to be devoured!

Fresh Mint & Chocolate Chunks Ice-cream3

Just a 4-ingredient treat!

Fresh Mint and Chocolate Chunks Ice-cream

Yields: around 12-14 scoops

Ingredients:

  • 2 cups fresh medium fat cream (40% fat)
  • 2 large handfuls of mint leaves
  • 3 Tbsp caster sugar
  • 1 drop of green food color (optional)
  • 1 cup dark chocolate chunks (I like lots of it, you can use less)
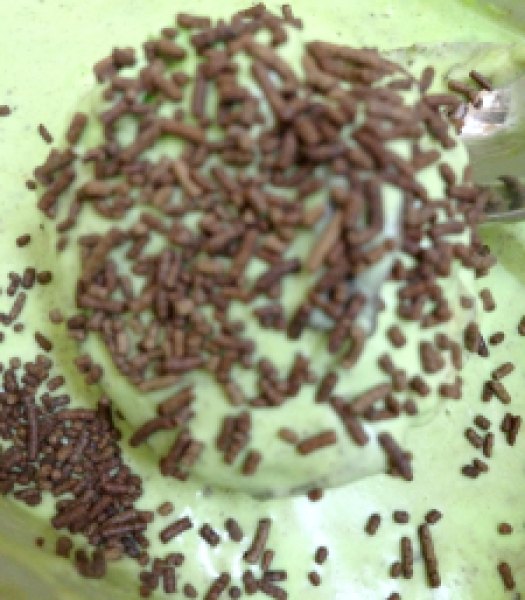
  • chocolate sprinkles and/or chocolate sauce, to garnish

Directions:

In a bowl, add mint leaves to the cream and place it in a refrigerator for at least 4 hours. Use sieve and strain the cream in another large bowl to separate mint leaves. Add sugar and food color to it and whip using a electric mixer till you get a light and fluffy mix. Fold in chocolate chunks and spoon the mix in airtight container. Freeze it for 4-5 hours and serve it as is or with chocolate sprinkles or chocolate sauce.

Tips:

*When serving leftovers, remove container from freezer about 15 minutes before serving to soften.

*Dip your ice-cream scoop in a warm water for scooping out the ice-cream easily.

Share this recipe: