Category: Fall

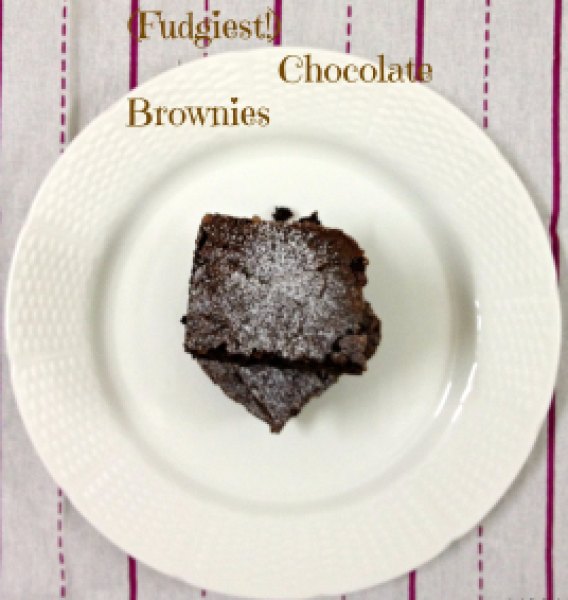
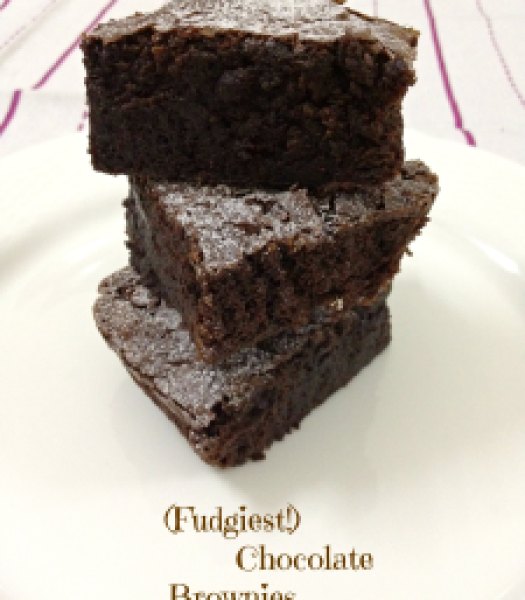
(Fudgiest!) Chocolate Brownies

(Fudgiest!) Chocolate Brownies2
Brownies!
Hmmm.. Where do we even begin…!
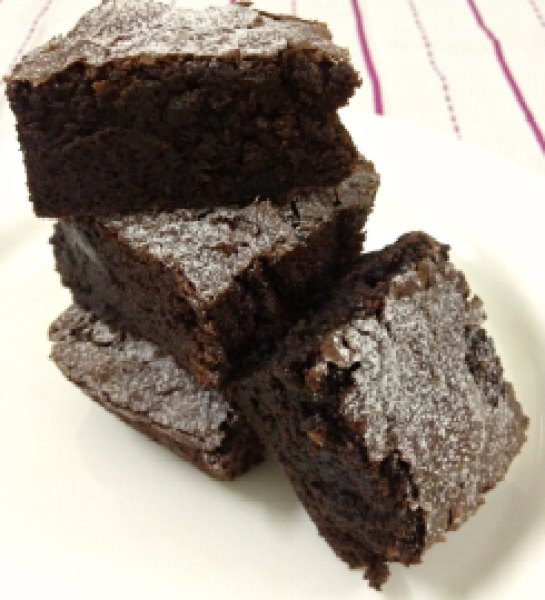
Cute, little squares so rich in chocolate that they taste like heaven on your plate. They’re adored pretty much universally. Every chocolate-lover’s dream! At least I’m yet to meet a person who DOESN’T like brownies. Do you know anyone?!! 😛
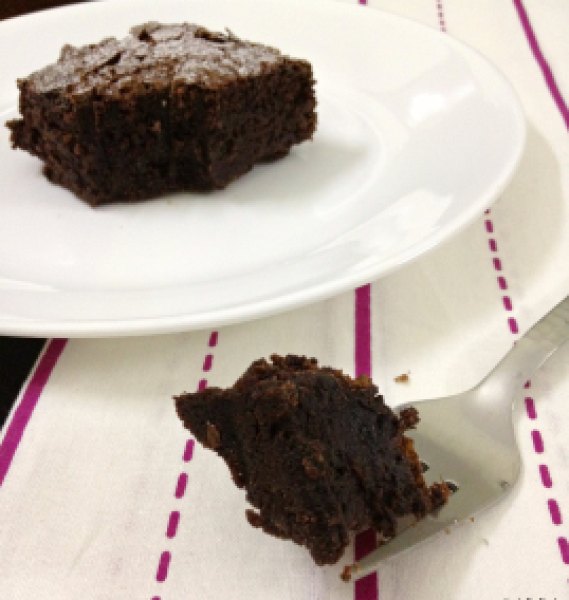
I’m very particular about the kind of brownies that goes in my tummy. It has to be thick, super-fudgy, moist and decadent. Not crumbly, dry or over-the-top-rich. I also like my brownies plain… Yep! Without any nuts, raisins, sultanas or chocolate-chips. Just plain…
(Fudgiest!) Chocolate Brownies1
(Fudgiest!) Chocolate Brownies4
I had posted a recipe for Brownies previously. That was an excellent recipe but a bit thin and more buttery for my liking. So I started testing for my go-to-recipe… And I can say that I have found it! Husband said that these are THE BEST brownies he has eaten in his entire life! Certainly made my day 🙂
This recipe turned out to be everything I want my perfect brownies to be. And they are quite fuss-free. Just 2 bowl required. No need to set-up a double boiler unless you do not own a microwave. Ready in about 45 minutes! Totally perfect to satisfy the chocolate/brownie cravings. So good that I can eat an entire pan by myself! (I haven’t though!) I only made them yesterday and I had to share it with you immediately! So stop drooling and MAKE these right away!! 🙂
(Fudgiest!) Chocolate Brownies3
(Fudgiest!) Chocolate Brownies
Makes: 9-12 squares | Prep time: 15 minutes | Bake time: Approximately 30-35 minutes
Ingredients:

  • 250 gm / 9 oz dark chocolate, roughly sliced
  • 1/2 cup unsalted butter, roughly sliced (approximately 115 gm)
  • 1/2 cup brown sugar
  • 1/2 cup white granulated sugar
  • 3 large eggs, cold
  • 1 tsp vanilla extract
  • 3 Tbsp Rum (optional)
  • 1 cup all-purpose flour
  • 1/2 tsp salt
  • 1 Tbsp Hershey’s unsweetened cocoa powder
Directions:

  1. Preheat the oven to 180ºF / 350ºC. Grease an 8×8-inch square pan; line base and sides with parchment paper. (I used foil.)
  2. In a large microwave-safe bowl, melt chocolate, butter and brown sugar in a microwave for 1-2 minute, stirring every 30 seconds. The mixture should be lump-free and glossy. Set aside and let cool for about 10 minutes.
  3. Once chocolate mixture is cooled down, stir white sugar, eggs, vanilla extract and rum into it.
  4. In a separate bowl, sift together flour, salt and cocoa powder and fold into chocolate mixture with wooden spoon or rubber spatula. Pour the batter in a baking pan and bake for 30-33 minutes until the toothpick inserted in the center comes out clean or with a few moist crumbs. Let cool completely in pan over a cooling rack. (If you’re in a hurry, throw it in a refrigerator or freezer for a while for easy cutting.)
  5. Lift up the ends of parchment or foil liner, transfer the brownies to cutting board and cut into 9 or 12 squares. Store it in an air-tight container for 3-4 days at room temperature or refrigerate for a week.

*Feel free to add nuts, raisins or chocolate chips if you like. 1/2 cup should be a good amount.

Share this recipe:

Cinnamon Stovetop Oatmeal ~ For One

cinnamon stovetop oatmeal -1

You don’t need me tell you how to make an oatmeal. I’m sure, you can handle that on your own.

Maybe I need to remind myself how to make oatmeal. Maybe I need to remind myself to make oatmeal at all… and eat it.. for breakfast. Staring at my laptop first thing in the morning, burning my mouth sipping hot coffee does not make breakfast.

I thought if I needed a reminder, you might need it too. So let’s make this healthy stovetop oatmeal with cinnamon and any seasonal or even frozen fruits of your choice. A treat for that special person, YOU!

Cinnamon Stovetop Oatmeal-2

This oatmeal is perfect for the weather… so comforting and so healthy! The addition of cinnamon is mandatory. You may throw in some nutmeg too. Addition of nuts or seeds not so much but if you do add them, you’ll not regret it. This makes for such a wholesome breakfast in such a short time and hardly demands a ton of ingredients. Water, milk, quick cooking oats and cinnamon – you could manage these everyday, isn’t it? Total no-brainer. Oh, you could also double the recipe to serve two. ?

Have an exciting weekend peeps!

Cinnamon Stovetop Oatmeal – For One

Serves: 1 | Ready under 10 minutes

Ingredients:

  • 1/2 cup water
  • 1/2 cup milk – soy, almond, coconut or cow milk
  • 1/2 tsp ground cinnamon
  • 1 Tbsp cane sugar/honey/maple syrup
  • 1/4 cup quick cooking oats
  • Pinch of salt
  • 1/2 tsp vanilla extract
  • Optional toppings: chopped walnuts, sliced almonds, raisins, cranberries, chia seeds, hemp seeds, pumpkin seeds

Directions:

  1. In a medium saucepan, add water, milk, cinnamon and cane sugar. If using honey/maple syrup read the last step. Turn the heat up to high and bring to a boil. Add the oats and salt and reduce the heat to low. Let simmer stirring occasionally for a minute.
  2. Turn the heat off. Stir in vanilla and honey/maple syrup (if not using cane sugar). Top with fruits or other toppings (mentioned above) of your choice. Serve immediately.

Shop the recipe:

Here are some items I used to make today’s recipe.


Some of the links above are affiliate links, which pay me a small commission for my referral at no extra cost to you! Thank you for supporting Cook By Book.

Share this recipe:

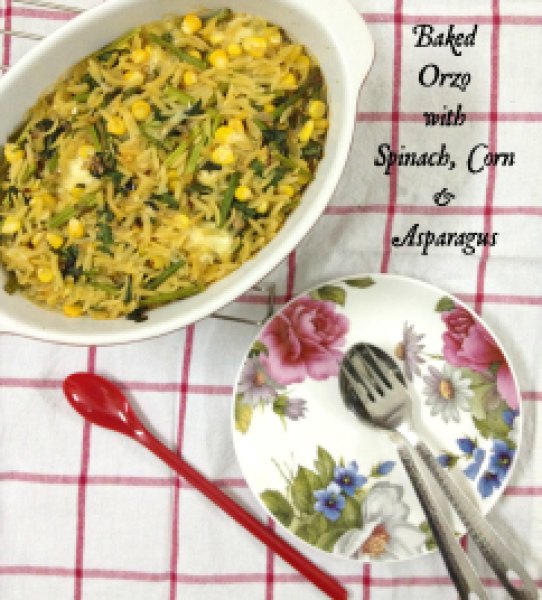
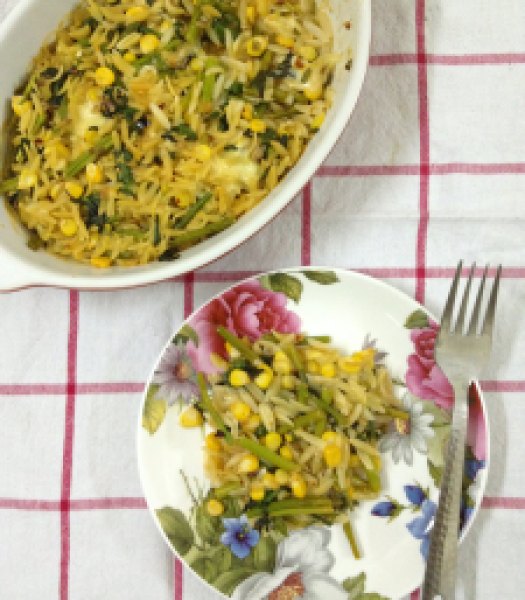
Baked Orzo with Spinach, Corn & Asparagus

Baked Orzo with Spinach, Corn & Asparagus1
Okay, I have a pattern. On this blog. I write either about desserts or pasta here. I have a proof. But what can I say?! They are two of my favorite things. The weather here is not helping the matters either. This rainy, gloomy weather forces me to switch on the oven almost everyday! It makes me add cinnamon to every sweet stuff I bake so that the house smells like Fall. I am craving soups and wearing cardigan while going out. Gosh, how I am in love with the weather right now!!
You guys know I am all for skinny dishes. But that does not mean I do not like eating overloaded cheesy goodness. In fact, I LOVE it so much but just NEVER make it. I can’t bring myself to add a pound of cheese to any dish knowingly. Period.
Baked Orzo with Spinach, Corn & Asparagus2
This dish here is in no way skinny. But not unusually loaded either. Something in between. A dish I would dive in. It is everything I had hoped and dreamed for in baked pasta. There’re pillows of corn and asparagus throughout. There are decadent, gooey cheese pulls stretching from every forkful. And it is easy. Yes, as easy as this simple mac-n-cheese I know how to make. So make it NOW as there is no reason to keep yourself away from such a bliss.
Baked Orzo with Spinach, Corn & Asparagus
Serves: 2
Ingredients:

  • 1/2 cup Orzo, a rice shaped pasta
  • 1/2 cup corn kernels
  • 8-10 spears of asparagus cut into 1-inch pieces, hard/woody ends discarded
  • 1 Tbsp olive oil
  • 5-6 shallots, finely chopped
  • 2 garlic cloves, minced
  • 1 stalk of celery, finely chopped
  • 2 Tbsp tomato pest
  • 1/2 cup spinach leaves, packed, roughly chopped
  • 3 Tbsp Parmesan cheese, shredded
  • 1/3 cup Mozzarella cheese, small cubes of 1/2 cm
  • salt, to taste
  • freshly ground pepper
  • 1/4 tsp oregano flakes
  • 1/4 tsp red chili flakes
  • 1/2 tsp lemon zest
  • 1/2 cup reserved pasta water

Directions:

  1. Preheat the oven to 180ºC / 350ºF. Boil a pot of water with generous sprinkle of salt. Add Orzo, corn kernels and asparagus to the boiling water. Let it boil for 2 minutes and after that save 1/2 cup of water. Drain Orzo, corn kernels, asparagus and set aside.
  2. Simultaneously heat a large frying pan over medium-high heat. Add oil to the hot pan and once oil is shimmering, add the shallots, garlic and celery. Cook for 3 minutes or so till shallots turn translucent. Add tomato paste, Orzo, corn kernels, asparagus and cook for 3 more minutes. Off the heat. Immediately mix-in spinach leaves.
  3. Add Parmesan, Mozzarella, salt, pepper, oregano, red chilli flakes, lemon zest and pasta water and mix well.
  4. Transfer mixture to a small oval or 6×6-inch square ovenproof baking dish. Cover with foil and bake for 15 minutes, then bake for 15 minutes without the foil. (You can change ratio of foil-on to foil-off time as per your preference for crunchy pasta lid.) Let rest for 5 minutes before serving.

Notes:

*You can use whole-wheat Orzo or replace Orzo with any other small-sized pasta.
*I used pasta water and did not feel that the dish was lacking in flavor at all. But if you do not like using water then use vegetable stock.

Share this recipe:

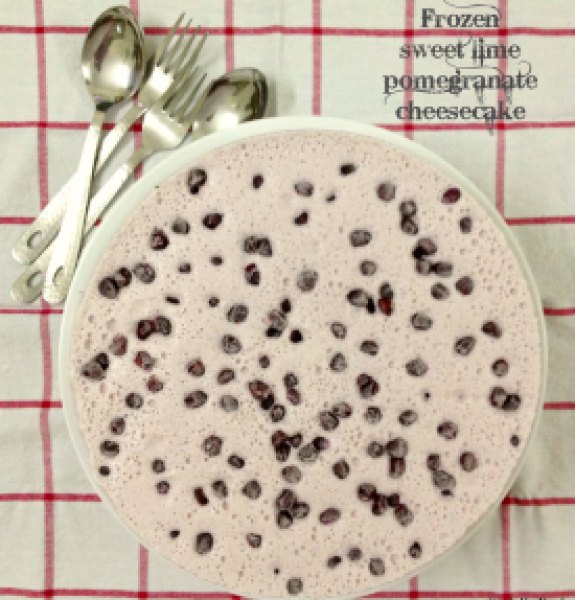
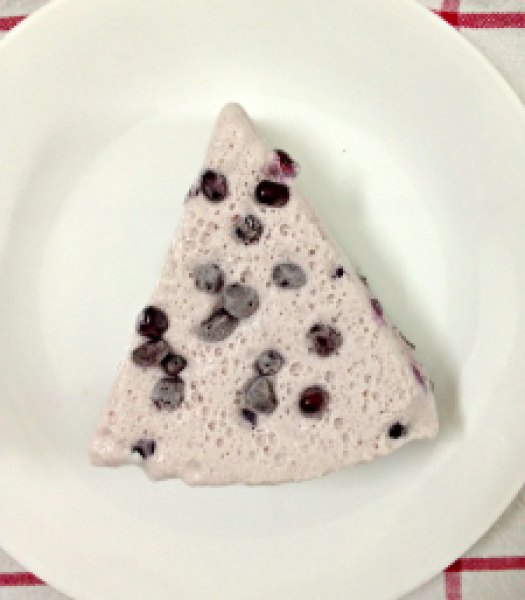
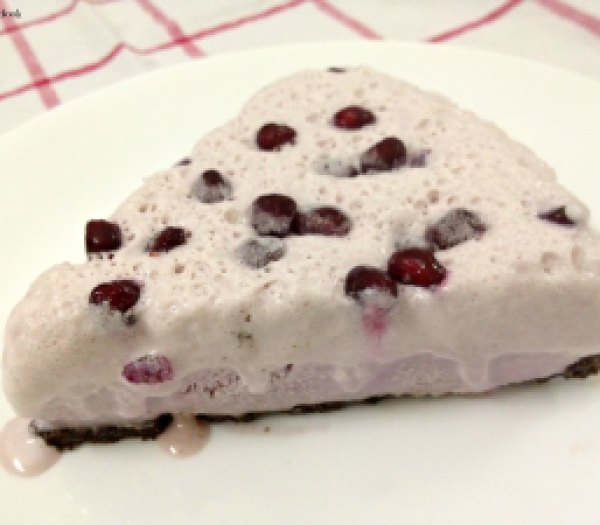
Frozen Sweet Lime~Pomegranate Cheesecake

Frozen Sweet Lime~Pomegranate Cheesecake1

You know how much I love cheesecake… It is my go-to comfort food more often than I would like to admit. Happy days and stressed days equally call out for cheesecake around here! I’m very finicky about my cheesecakes. Till now my most favorite has been a blueberry cheesecake from a particular cafe. It is heavenly and just how I like my cheesecake to be. And I would never dare to make one in my house as long as that cafe exists!
After trying and making so many different varieties of cheesecakes, I decided to whip up this no-bake, gelatin-free, creamy, cheesy, frozen dessert. Let me simplify this for you. This dessert is nothing but a cheesecake ice-cream which is layered over a salty, buttery, chocolaty crust.
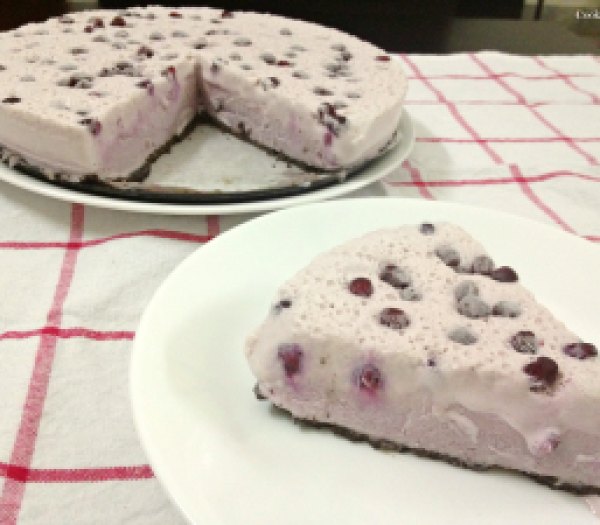
My refrigerator was bursting with sweet and juicy pomegranates. It was a flavor I had never tried before in a cheesecake. I thought it would make a delicate and lovely pairing with cream cheese. To make things tangy, I used up zest and juice from a sweet lime. The result was such a gorgeous baby pink color cheesecake! I just fell in love with it 🙂
Frozen Sweet Lime~Pomegranate Cheesecake3
I went sweet and salty route this time. The crust for this cheesecake is made with chocolate Oreos, butter and just a pinch of salt. This salty kick enhances the cheesecake flavor to another level. If you’re not a fan of sweet-n-salt, feel free to skip the salt as it will still taste divine! But I highly recommend salt as it is not too over-powering. So promise me you’ll add it to know what I’m REALLY talking about… You’ll thank me! 😉
Frozen Sweet Lime~Pomegranate Cheesecake2
Frozen Sweet Lime~Pomegranate Cheesecake4
I made a big batch as I was having company but you can easily halve the recipe and make it in 4-inch spring-form pan. The frozen cheesecake tastes best when eaten within 12-15 hours of being made. It becomes harder and icier the more it stays in the freezer. In case of leftovers, let it thaw for 15 minutes before serving.
Frozen Sweet Lime~Pomegranate Cheesecake with Salted Oreo Crust
Makes: 10-12 slices | Prep time: 20 minutes | Cook time: 0 minute | Chilling time: 4-5 hours
Ingredients:
Crust:

  • 15 chocolate Oreos or any chocolate sandwiched biscuits
  • 3 Tbsp melted butter
  • 1/4 tsp salt
Cheesecake Filling:
  • 3 pomegranates
  • Zest and juice from 1 sweet lime
  • 1/2 cup + 1 Tbsp icing sugar
  • 2 8 oz. package cream cheese, at room temperature
  • 2 cups medium-fat fresh cream (40% fat), chilled

Direction:

  1. Line 9-inch round spring-form pan with parchment paper. Grind Oreos in a food processor until you have fine crumbs. Add melted butter and salt. Spoon the crust and press down firmly over the base using flat base of a glass. Chill in refrigerator while you make the filling.
  2. Remove morsels from pomegranates, save morsels from half pomegranate and juice rest of the morsels with lime juice. Strain the juice into a bowl, add icing sugar and whisk to dissolve.
  3. In a large bowl, take cream cheese and whisk until smooth. Use electric hand mixer/stand mixer for this. Add juice and sweet lime zest to cream cheese and whip till combined.
  4. In a separate bowl, whip the fresh cream till soft peaks form. Gently fold it with cream cheese mixture to achieve a lump-free consistency.
  5. Remove spring-form pan from the refrigerator and spoon the cheesecake filling over the crust. Let it chill in freezer covered in cling film. After 1 hour, sprinkle with pomegranate seeds and return to chill in freezer for another 3-4 hours. Once set, release from spring-form pan, slice and serve. Run the knife under hot water before slicing.

Note: Can be consumed as a sweet lime~pomegranate cheesecake ice-cream if frozen without the Oreo crust.

Share this recipe:

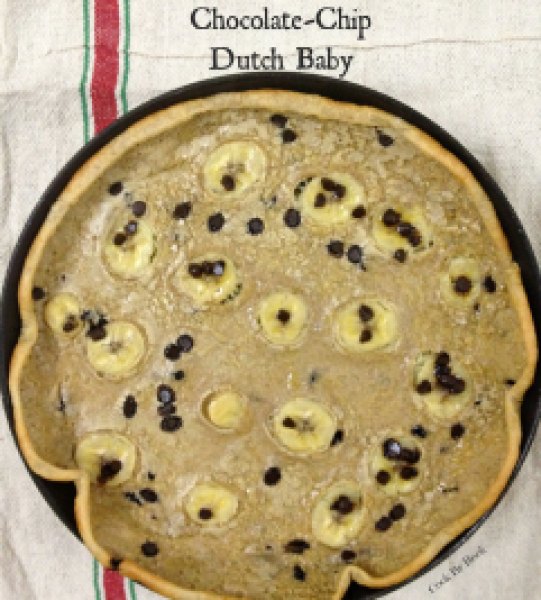
Skinny Banana Chocolate-chip Dutch Baby

Skinny Banana Chocolate-Chips Dutch Baby4

I know I went MIA AGAIN and you must think that I do not take the blog seriously but in my defense, life happened. It so happens that life loves to throw unlikely surprises my way! So what happened you ask… Well, my in-laws arrived in town 3 weeks back and due to the super-dramatic climate-change here, both caught Mono. Next in queue was my hubby dearest!

So in the midst of house-work and multiple visits to the clinic on daily-basis, I could squeeze in time to blog only 2 previous recipes. I was definitely active on social media. I did check-out what my other blogger friends were writing about but I did not have patience to write down a recipe or to edit pictures for the post. It’s not like I did not have recipes to post or I was not cooking. In fact, I was cooking more regularly than ever! At least 3 different meals were being prepared on a daily basis. And now that everyone is fit and fine, I’m going to take a little breather from home-cooking and going to eat-out little bit more and of course, start posting here regularly!
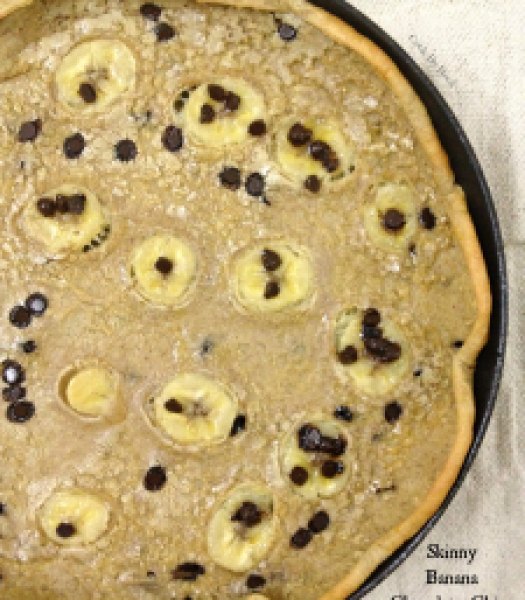
Skinny Banana Chocolate-Chips Dutch Baby1

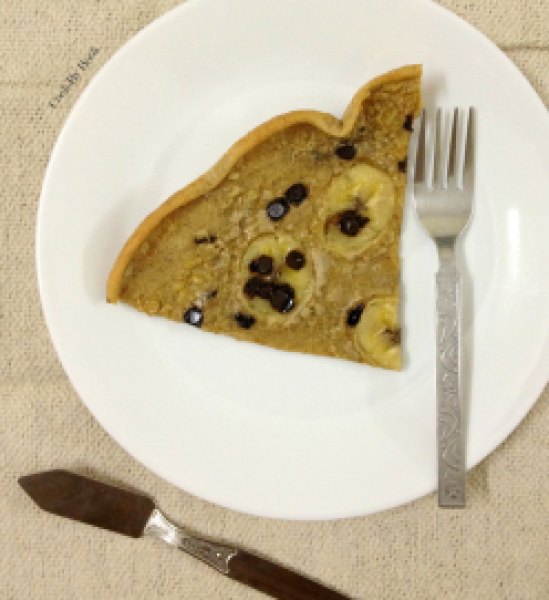
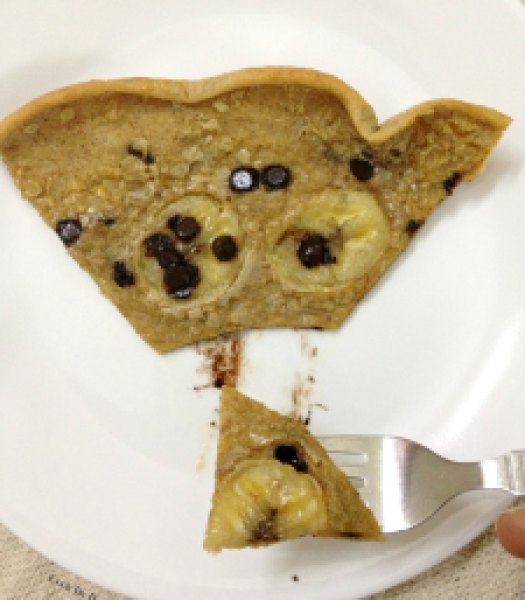
I bring you today another easy skinny pancake recipe. It is perfect for breakfast or Brinner, serves a small family perfectly that too without the hassle of flipping individual pancakes! You know I’m lazy and love quick-fixes more than anything right?! 😉

The Dutch Baby is another name for German pancake which is baked in a cast-iron skillet or a metal pan and its puff falls soon after being removed from the oven. This pancake is ready in a record time of 20-25 minutes from start-to-finish! Made with minimum ingredients, this is a perfect recipe for days when your refrigerator has scarce ingredients. You just need 2 eggs, little flour, some milk and 1 banana to be in business! Rest of the ingredients are your usual suspects.

I do not own a cast-iron skillet so I baked this in a 10-inch metal pan I have. Brown sugar, banana and cinnamon is a match made in heaven. The result is perfectly caramelized banana topped pancake topped with chocolate-chips. Your house is going to smell delicious for next few hours! Whattay way to start mornings or end work-laden days! Enjoy! 🙂
Skinny Banana Chocolate-Chips Dutch Baby2


Skinny Banana Chocolate-Chips Dutch Baby3

Skinny Banana Chocolate-chip Dutch Baby

Makes: 1 big Dutch Baby | Prep time: 5 minutes | Cook time: 15 to 20 minutes

Ingredients:

  • 1 banana thinly sliced
  • 1 Tbsp unsalted butter
  • 2 large eggs
  • 1/2 cup milk (skim milk, soy milk or almond milk)
  • 2 or 3 Tbsp brown sugar
  • 2 tsp vanilla extract
  • 1/2 cup whole wheat flour
  • 3/4 tsp ground cinnamon
  • Pinch of salt
  • 2-3 Tbsp dark chocolate chips (Use more as per your liking)
Directions:
  1. Preheat the oven to 425 F.
  2. Prepare a 9-inch oven-safe skillet by spraying with cooking spray or greasing it. Place butter in the skillet. Put skillet in the oven to melt the butter. You can do this while oven is still in preheating mode. Once butter has melted, in about 2-3 minutes, remove the skillet from the oven and set aside.
  3. In a large bowl, add eggs, milk, sugar, vanilla and whisk to combine.
  4. Add the flour, cinnamon, salt and whisk until smooth and free from lumps.
  5. Pour the batter on to the skillet and evenly top with banana slices. Sprinkle the chocolate chips evenly and bake for 15-20 minutes until golden and puffy. Mine was ready in 15 minutes.
  6. Slice and serve optionally with a dusting of powdered sugar or a pour from maple syrup.
Share this recipe: