Category: Appetizers

Mango Red Paprika Hummus {Healthy & Low-fat}

I love dips dearly, hummus and salsa being my absolute favourite. Mango season means making mango salsa every other day in this household and chips are always welcome but I don’t really even need any accompaniments with it. I eat dips by spoonfuls tbh! But I had never thought of adding mango to hummus so I was very skeptical before attempting mango hummus the first time. Also, I know I am quite behind in blogging all the mango recipes I made this Summer as the mango season is almost over in most parts of our country. But if, like me, you keep stash of mango cubes in the freezer for rest of the year then you are in luck and can still make this delicious hummus in any season for that matter (read recipe notes)!

This hummus is full of healthy ingredients and contains good fat from mango and olive oil. The hummus doesn’t require using Tahini which means you already have all the basic ingredients in your pantry. I use dry roasted sesame seeds instead of Tahini. The dry roasted cumin and red paprika lends a great depth of flavour to the hummus. I love serving it with multigrain lavash or as a spread on toasted whole wheat bread.

I hope you all have a fantastic weekend (while I sulk because I work Saturdays ?) with a bowl of this luscious mango hummus in one hand and a book in the other. Enjoy!

Print Recipe
Mango Red Paprika Hummus
Course Appetizers
Cuisine Middle Eastern
Prep Time 10 minutes
Servings
people
Ingredients
Course Appetizers
Cuisine Middle Eastern
Prep Time 10 minutes
Servings
people
Ingredients
Instructions
  1. In a fry-pan heated on a medium high heat, add sesame seeds and cumin seeds. Reduce the heat and let it dry roast until they slightly change their colour (about 5-7 minutes) to pale brown.
  2. In a blender or food processor jar add all the ingredients and blend on high speed until smooth. If needed, add a bit more olive oil to bring everything together.
  3. Transfer the hummus to a serving bowl and sprinkle a pinch of red paprika on top. Serve with nachos, lavash, toasted bread or veggie crudités. Keeps well stored in an airtight container in the refrigerator for 3 days.
Recipe Notes

For this recipe, frozen mango could be used as well. Just thaw the mango until it reaches room temperature and it's ready for hummus.

Share this recipe:

Mango Cucumber Salsa

Mango Cucumber Salsa1
Hi! Trying to compensate my absence with back to back posts. I need to blog all the summer recipes I’ve made before the rainy season officially starts and I am really lagging behind. I thought at least I’ll give you this mango salsa recipe before mango season is ends. This salsa is a perfect accompaniment to your chips and a great side to grilled chicken or lamb chops.
I don’t remember how many bowls of this sunshine I have devoured this summer. It is my absolute favorite. I eat chips just so that I can have salsa (or any other dips/condiment for that matter!!) and end up having it by spoonfuls in lieu of chips! I have a couple of peaches sitting in my fridge, waiting to be used up & I most certainly plan of turning them in to this salsa sans cucumber this evening (with mint of course!).
Enjoy& be patient.
Weekend is almost here! 😉
Mango Cucumber Salsa2
Mango Cucumber Salsa:
Serves: 2 | Prep time: 5 minutes | Cook time: 0 minute | Total time: 5 minutes
Ingredients:

  • 1 small red onion, finely chopped
  • 1 jalapeño pepper, seeded & finely chopped
  • 1 cucumber, finely chopped (about 1 cup)
  • 1 ripe mango, sliced, pitted & finely chopped (about 1 1/4 cup)
  • Salt & freshly cracked pepper, to taste
  • 1/4 cup fresh basil, chiffonade (can be subbed with coriander leaves)
  • Juice from 1 lemon

Don’t know what is basil chiffonade? – Pioneer woman tells you here!

Directions:

Toss all of the ingredients in a bowl. Refrigerate until ready to serve (about 3-4 hours max otherwise it turns mushy). Serve with your favorite chips or a meat of choice.

Share this recipe:

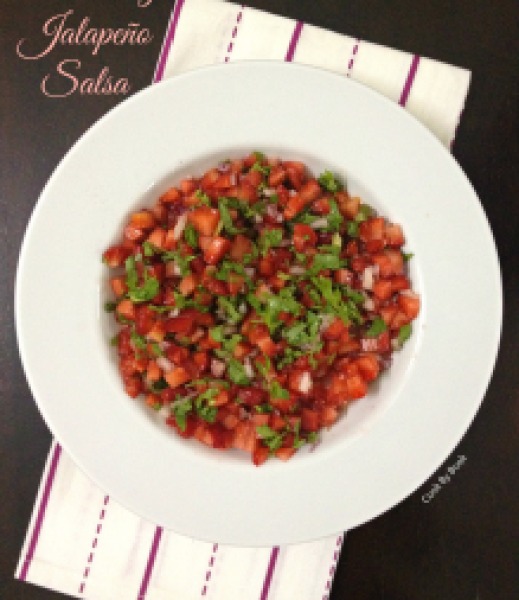
Strawberry Jalapeño Salsa

Strawberry Jalapeño Salsa1


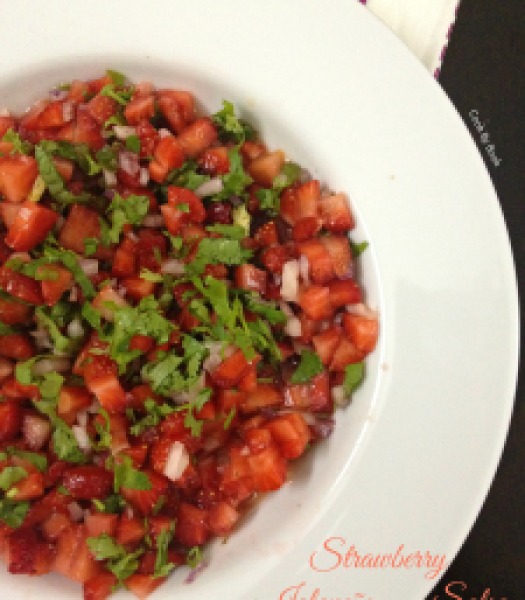
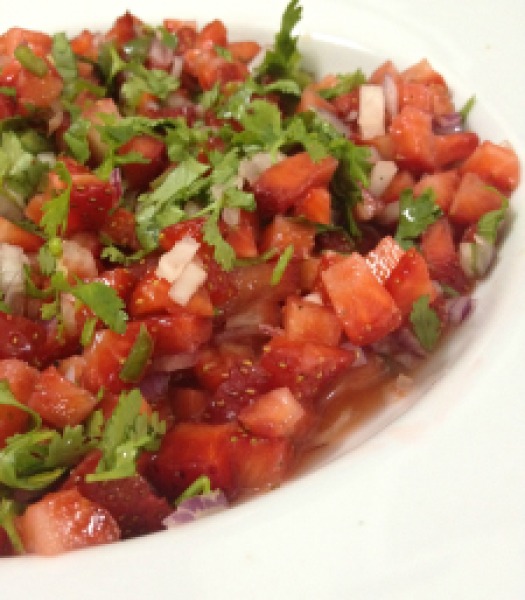
This salsa is so so good. I made it the other night when few friends came over and I knew after the first bite that I had a winner. Thankfully I had clicked few pics beforehand (food blogger problems!) so I decided to make it a post.

Actually, it is quite silly of me to be presenting this as a recipe with strict measurements because, really, you can just chop, drop and taste as you go! So consider this as a rough guideline. You may substitute orange juice in the recipe with lime or make it using pineapple instead of strawberries. Summer on your plate!


Strawberry Jalapeño Salsa3


This recipe here works so perfectly and you can use it on chicken, fish, meats, tacos, bruschetta, or just scoop it up with chips! Pretty versatile. Bring it to a pot-luck or a party and I bet no one has had it before! It is sweet, tangy, spicy and has a lot going on. Strawberries are in abundance right now, so go for it!

Brighten up your Monday with this simple yet cracking dish!
Have a great week ahead! 🙂


Strawberry Jalapeño Salsa2


Strawberry Jalapeño Salsa

Serves: 3-4 | Prep time: 10 minutes

Ingredients:

  • 1 small onion, finely chopped
  • 1 jalapeño pepper, seeds removed and finely chopped
  • Zest and juice from 1 medium orange
  • Around 20 fresh strawberries, chopped into small even dice
  • Fresh cracked black peppers
  • Handful of cilantro, rinsed and finely chopped

Directions:

In a large bowl, let onion, jalapeño, orange juice and zest steep till you prepare strawberries.
Add strawberries, pepper, cilantro and toss. Chill until ready to serve.

Note: Don’t make this much more than an hour or so before serving. Like all salsas, it will wilt and the fruit may get a little mushy. An hour is the optical amount of time for the flavors to meld and the juices to start flowing. Longer than that salsa will slowly start to lose its fresh appearance.

Share this recipe:

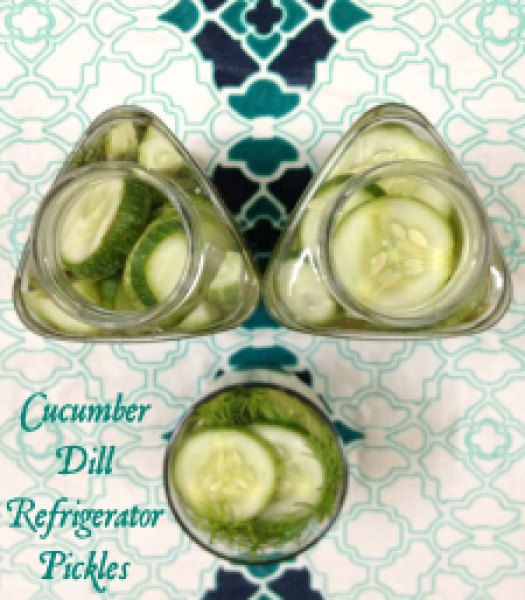
Cucumber Dill Refrigerator Pickles

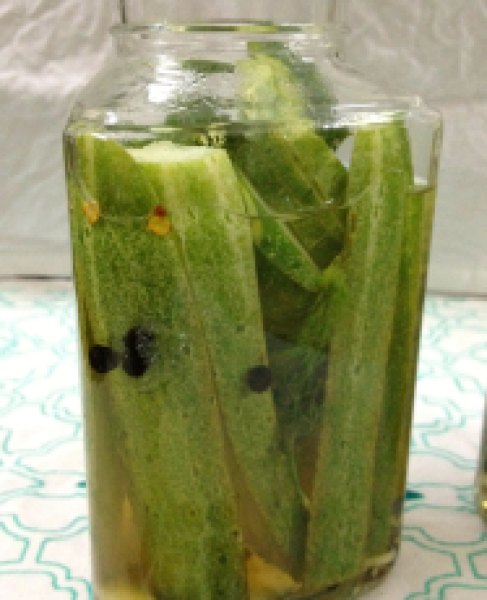
Cucumber Refrigerator Dill Pickles2

This post was supposed to happen last weekend. But life happened, I fell sick and it took me a week to recover so here I am again with the list of never-ending excuses! But I’m sure you guys understand. Anyways… Let’s get on with the post. You’ve waited long enough!

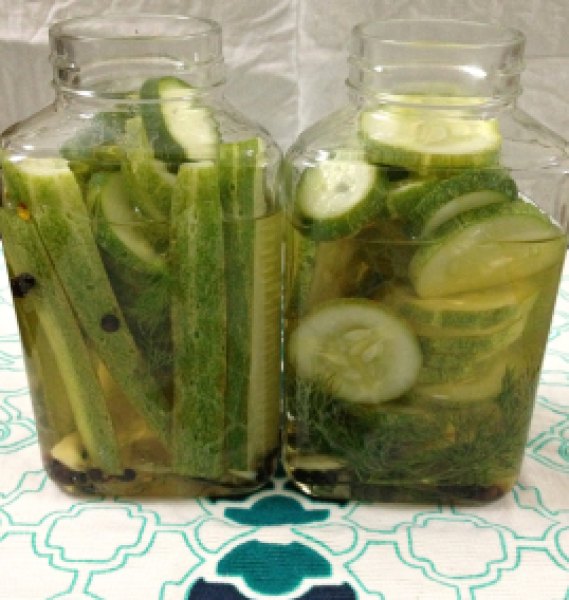
You would think that I am a little late with this particular post.. Summer is the time for pickling. But don’t you worry… I’ve got this covered for ya! This refrigerator pickle can be made any time of the year. As long as you get cucumbers and fresh dill! And if you’re in super-cold parts of the world, then dill seeds would work perfectly too! Don’t like cucumbers? (As if it’s even possible!!), use jalapeno peppers, beetroots*, carrots* or red peppers. They would be equally delicious if not more!

*These vegetables will need 30-60 seconds of quick blanching in boiling water before they can be pickled for better flavor-absorption.

Cucumber Refrigerator Dill Pickles3

This was my first time making pickles. Little veggies in jars with vinegar. So much happiness!! I was quite nervous and excited at the same time, so I started reading a lot on the subject (In short, I Googled a lot!) before taking the plunge. I suggest you do the same. It’s a whole new world! Thankfully I was not canning. Made just a small batch considering small size of my refrigerator. It turned out to be pretty easy! Nothing to be afraid of.. So rinse away some glass jars and ease our way in this new world of quick pickles.

The only place you’ll struggle is waiting before digging in. Yes, 48 crucial hours before you can munch on these. Have patience and this too shall pass! 🙂

I short-listed 2 recipes online. Both seemed easy and great but different in terms of the usage of vinegar. I like my pickles tart hence I used the recipe calling for more vinegar. The changes I made are, I used fresh dill instead of dill seeds and added some sugar to the brine and that is how I liked it. You can click on the link below to check the original recipe. I would try the second recipe next time around. It will please those who thinks there is ridiculous amount of vinegar used in my recipe below. 😉 The link for less vinegary recipe is at the end of the post.

Enjoy! Happy Weekend!

Cucumber Refrigerator Dill Pickles1

Cucumber Dill Refrigerator Pickles

Recipe adapted from The Kitchn

Yields: 2 pints

Ingredients:

  • 600 gm / 1.5 pounds cucumbers (Around 3 medium sized)
  • 1 cup apple cider vinegar
  • 1 cup water
  • 1 Tbsp pickling salt (I used sea salt)
  • 2 Tbsp sugar
  • 6 garlic cloves, peeled (2 per jar)
  • 1/4 tsp red chili flakes per jar
  • 10-12 sprigs of fresh dill per jar
  • 1/2 tsp black peppercorns per jar

Directions:

  1. Wash and cut the cucumbers. Leave the skin on but wash thoroughly to ensure that there’s no dirt on them. Cut them in either slices or spears.
  2. In a medium saucepan, bring vinegar, water, pickling salt and sugar to a simmer. Once simmering, remove from heat.
  3. Divide the spices and dill sprigs among 2 or 3 clean glass jars. The number of jars depend upon the size of the jar you’re using.
  4. Add the sliced cucumbers and pack tightly. Do not pack very hard to bruise the cucumbers. Pour warm brine in each jar, leaving approximately 1/2-inch headspace.
  5. Tap jars gently on countertop to dislodge any trapped air-bubbles. Apply lids and let jars cool to room temperature. Place jars in refrigerator and let them sit for at least 48-hours before eating. Pickles will last for up to 1 month at least.

You may also want to try: Refrigerator Dill Pickle from Annie’s eats

Share this recipe:

Caprese Skewers & Spinach Walnut Pesto

Caprese Skewers1

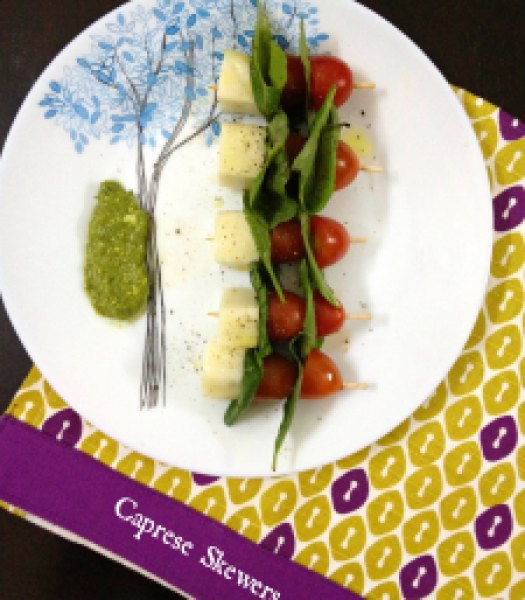
So I made some Caprese skewers.. They are so dang cute! Of course there is absolutely no need of a recipe to make them. It’s just cherry tomatoes, basil leaves and Mozzarella cheese on thrown together on a stick seasoned with salt, pepper, olive oil and balsamic vinegar. That simple! Making these is a child’s play and they’ll rock any party! It can be served as an appetizer or as a last course with favorite cocktail or wine! 😉

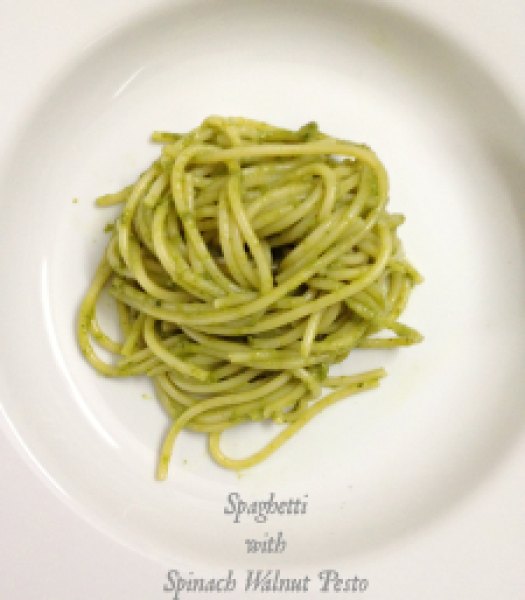
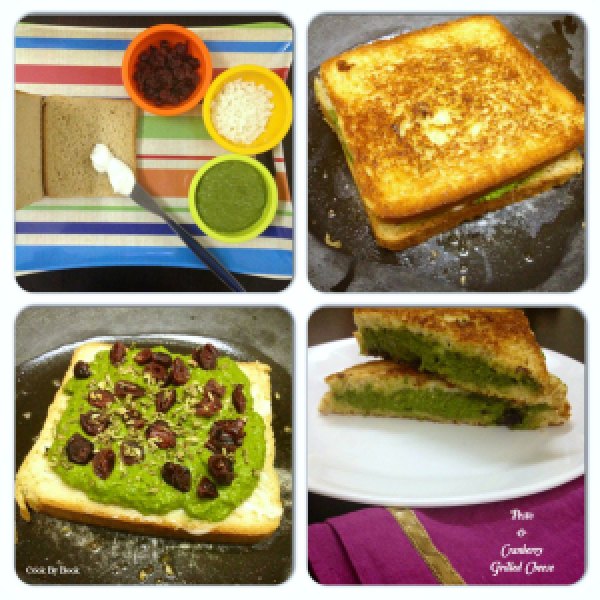
I served these skewers with spinach walnut pesto.. Hmm… seems interesting?! Require a recipe for another quick pesto? Then read on.. I have told time and again that pesto is my fave. It is so versatile. I made a big enough batch for only 2 of us in the house and served it with these skewers, made dinner with some spaghetti, threw some in my breakfast omelet and made some grilled cheese for lunch. Phew!

So let’s get down to the recipe business!

Caprese Skewers:

Ingredients:

  • cherry tomatoes, halved
  • fresh Mozzarella balls
  • basil leaves
  • extra-virgin olive oil
  • balsamic vinegar
  • salt and pepper, as per taste

Directions:

Skewer the cherry tomatoes alternating with basil leaves and Mozzarella balls. Once they are all skewered, drizzle with balsamic vinegar and olive oil. Sprinkle with a little salt and pepper and serve alongside spinach walnut pesto.

Spinach Walnut Pesto

Ingredients:

  • 3 cups spinach leaves
  • 2 cloves fresh garlic
  • 1/2 cup walnuts, toasted or untoasted (I’m lazy & used untoasted)
  • 3/4 cup Parmesan cheese
  • 3 Tbsp lemon juice
  • salt and pepper, to taste
  • 3/4 cup olive oil to begin with, add more as and if required

Directions:

Blend all the ingredients in a food processor till smooth puree is formed. Add more olive oil as and if required. Store in an air-tight container and refrigerate up to 4-5 days.

Spaghetti with Spinach Walnut Pesto

Grilled Cheese

Share this recipe: