Month: December 2013

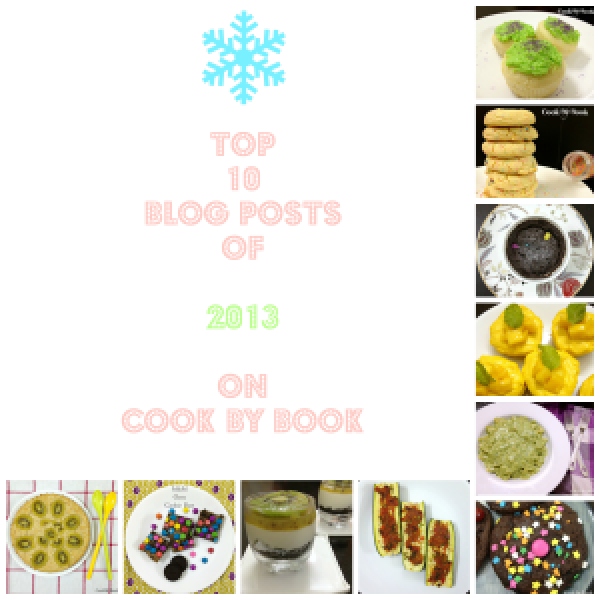
Good Bye 2013 ~ Top Viewed 10 Blog Posts —-> A Toast to Past & Future!

Top10Collage

“Nobody tells this to people who are beginners, I wish someone told me. All of us who do creative work, we get into it because we have good taste. But there is this gap. For the first couple years you make stuff, it’s just not that good. It’s trying to be good, it has potential, but it’s not. But your taste, the thing that got you into the game, is still killer. And your taste is why your work disappoints you. A lot of people never get past this phase, they quit. Most people I know who do interesting, creative work went through years of this. We know our work doesn’t have this special thing that we want it to have. We all go through this. And if you are just starting out or you are still in this phase, you gotta know its normal and the most important thing you can do is do a lot of work. Put yourself on a deadline so that every week you will finish one story. It is only by going through a volume of work that you will close that gap, and your work will be as good as your ambitions. And I took longer to figure out how to do this than anyone I’ve ever met. It’s gonna take awhile. It’s normal to take a while. You’ve just gotta fight your way through.”

― Ira Glass

2013 has been a sweet year for Cook By Book! I feel super-ecstatic as I type. This was a first year of blogging for me. I was thrilled when I started this place in April, 2013. It has been 8+ amazing months of interaction with you all. I loouu you my readers and fellow bloggers! I am so thankful for you all. Really!! Through all the ups and downs of life, I have still been able to post 82 recipes on the blog! Hurraaayyy!!

Another milestone to be thankful for — I was able to achieve 100+ follows from fellow bloggers. Yippiii!! I thank them from the bottom of my heart! You all have been absolutely lovely and soo encouraging with your kind comments! ♥ ♥ ♥

A special thanks to Pinterest too! If you don’t follow my boards there please do so 🙂

The blogosphere is getting filled with ‘Top-10’ posts and I decided to jump on the bandwagon too. It will be a great post to look back to in a future. I pulled out the stats for the past year and made this list. The top post was of course the Homepage and third spot was taken by ‘About Me’ page so they don’t count. Top recipe posts were definitely the ones I had posted in the beginning of the year when I was an amateur (I still am!) so they may not be my best work. I will let you judge!

Here goes the list! Let me know in the comments which one is your favorite! 🙂

10. Kiwi Buttermilk Cake ~ Eggless

 9. M&M Oreo Cookie Bars

 8. No-Bake Kiwi Cheesecake with Oreo Crust

 7. Skinny Zucchini Boats

 6. Skinny Devil’s Food Cake Mix Cookies 

 5. Farfalle with Fresh Coriander and Cashew Pesto

 4. Mini Mango No-Bake CheeseCake

 3. Microwave Chocolate-Nutella Mug-Cake

 2. Funfetti Cake Mix Cookies

 1. Mountain Dew Cupcakes with Mountain Dew Buttercream Frosting ~ My Favorite & apparently yours too!!

Wish you all a Rocking New Year Eve & Happiest New Year!
Clink Clink! 😀
See you back in 2014!!!

Share this recipe:

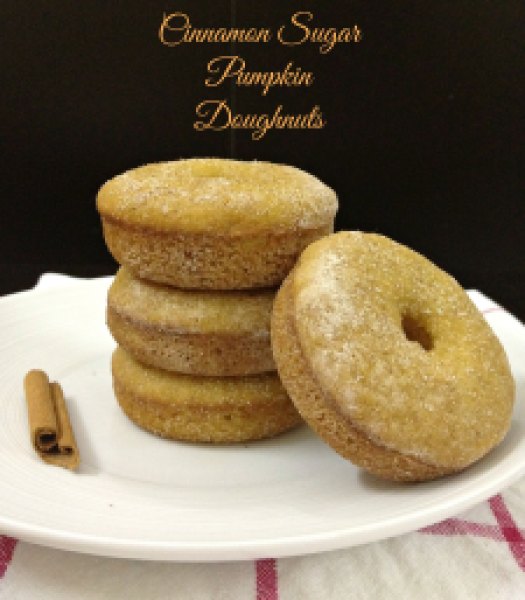
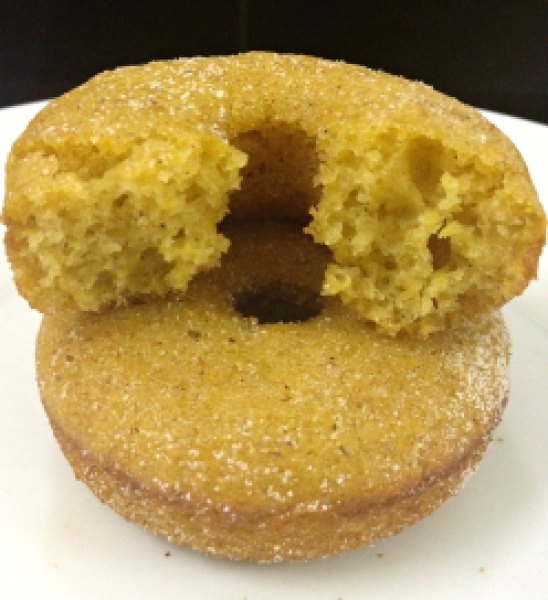
Baked Cinnamon Sugar Pumpkin Doughnuts

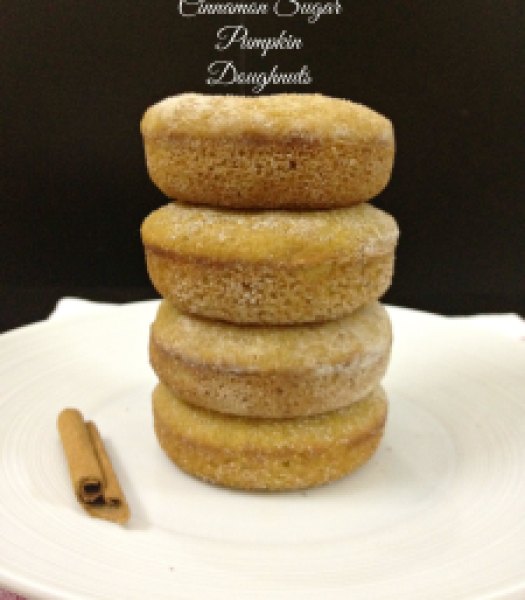
Baked Cinnamon Sugar Pumpkin Doughnuts2
This is my last recipe post for the year and I can not help but write about doughnuts! Yes! Another baked doughnut recipe for you all. I was able to scratch one more thing off my list before bidding adieu to 2013. No, I am not talking about buying a doughnut pan. I am talking about making pumpkin puree from scratch! It was added to the list simply because we don’t get canned pumpkin puree here. Of course the final result was immensely satisfying and rewarding. Pioneer Woman created this easy tutorial light years ago which I followed. Now I have freezer-full of pumpkin puree and no, I am not whining about it! 🙂
These doughnuts are my 2nd favorite after these. Do not close your browser window thinking this recipe is not good enough. These are equally soft, fluffy and gorgeous as my favorite ones. It is just that chocolate always tops my list and cinnamon follows hence the second place. If you want best of both worlds then fold in some dark chocolate chips to the batter. Totally sinful and acceptable! Just saying! 😉
Baked Cinnamon Sugar Pumpkin Doughnuts1
Baked Cinnamon Sugar Pumpkin Doughnuts3
These lovelies are so pillowy, you may want to sleep on them! They are perfectly cakey plus each bite is wrapped in cinnamon. Your house will smell dee-vine! The batter comes together easily in one bowl, without using any mixer. If you don’t own a doughnut pan, here is a good news, you may easily bake them in a muffin-pan!
I am not going to ask you to make them first thing in 2014 ‘IF’ your new-year resolution is to eat healthy as they are not completely low-fat but do indulge in them on your cheat-day as I can guarantee that you’ll absolutely LOVE them without regret!
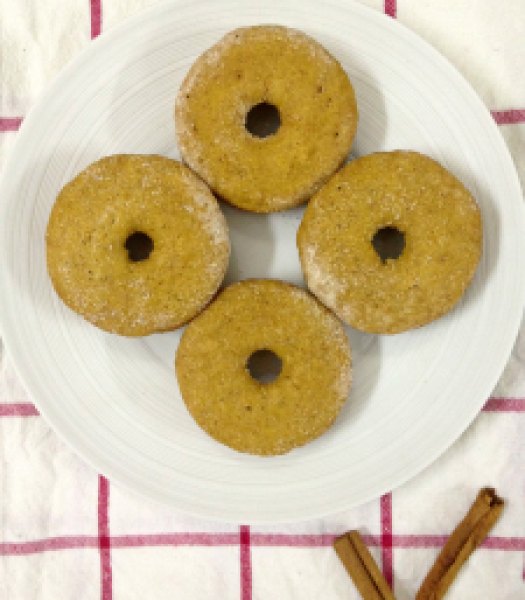
Baked Cinnamon Sugar Pumpkin Doughnuts4
Baked Cinnamon Sugar Pumpkin Cake Doughnuts
Makes: 12 doughnuts | Prep time: 10 minutes | Bake time: 13 minutes | Total time: 25 minutes
Ingredients:
  • 1 large egg
  • 2/3 cup white granulated sugar
  • 1/4 cup vegetable oil
  • 3/4 cup pumpkin puree
  • 4 Tbsp yogurt
  • 1/2 tsp vanilla extract
  • 3/4 cup + 2 Tbsp all-purpose flour
  • 1 teaspoon pumpkin pie spice
  • 1/2 teaspoon salt
  • 1/2 teaspoon baking powder
  • 1/2 tsp baking soda
For coating:
  • 3 Tbsp vanilla sugar
  • 1 tsp ground cinnamon

Directions:

  1. Preheat the oven at 180ºC/350ºF. Grease the doughnut pan with oil and set aside.
  2. In a medium bowl, whisk together flour, pumpkin pie spice, salt, baking powder and baking soda. Set aside.
  3. In a large mixing bowl, whisk together egg and sugar. Beat in oil, pumpkin puree, yogurt and vanilla extract one by one. Slowly fold in dry ingredients to the wet ingredients. Do not overmix the batter. Mix just until no flour pockets remain.
  4. Carefully spoon the batter to the doughnut pan, filling not more than 3/4th. Bake for 13 minutes. Let cool in pan for about 5 minutes and then invert on the cooling rack.
  5. In a zip-lock bag, combine vanilla sugar and ground cinnamon. One at a time, put the still-quite-hot doughnuts in a bag and shake lightly to cover. Remove from bag and serve! Store in an airtight container at room temperature for 2-3 days.
Share this recipe:

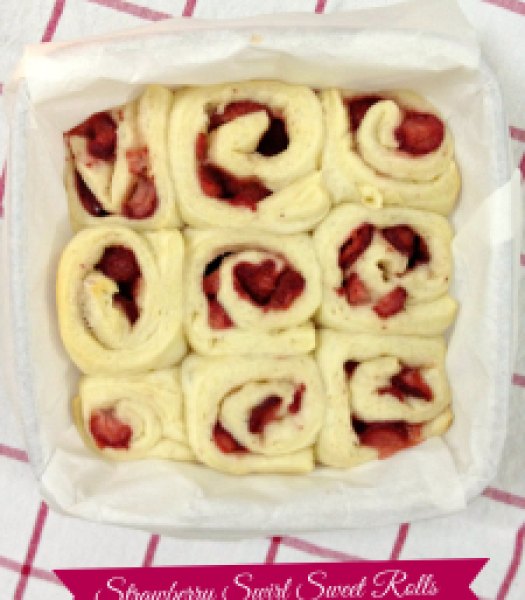
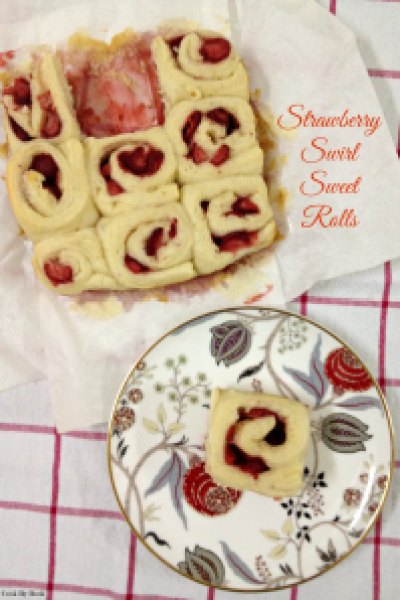
Good Morning with Strawberry Swirl Sweet Rolls

Strawberry Swirl Sweet Rolls1


Heya!

Hope you all had an amazing Christmas & got to spend time with family, friends and your loved ones! I had a fantastic day which started with a breakfast of these delicious Blueberry Pancakes. I used this recipe with the addition of frozen blueberries in the batter. Nibbled on some cheese, chocolate and Fruit Cake which had time to age for more than 3 weeks. Took a walk with hubby. And spent the rest of the day watching Miracle on 34th street & It’s a wonderful life, cozying up in a blanket. It was indeed a wonderful day!

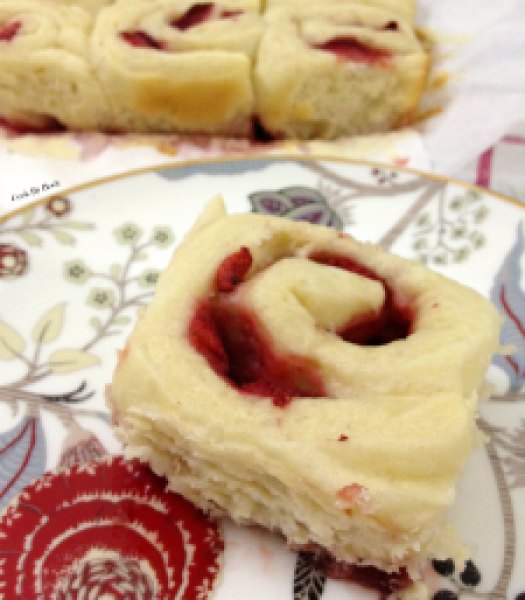
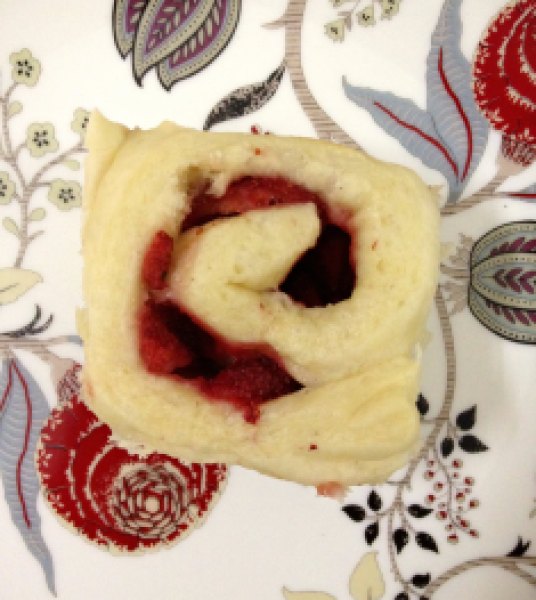
Today I have got you a perfect holiday entertaining recipe. Ring the morning of 2014 with these juicy, sticky and sweet strawberry rolls. They are tender and puffy, utterly soft and buttery. Totally melt-in-your-mouth-experience! Plenty festive too!


Strawberry Swirl Sweet Rolls3


This happened to be a big win for me before the end of 2013. I finally concurred my fear of handling yeast and got these rolls right at first attempt! Woohooo!! They are that easy people! Just read the recipe carefully before starting the prep and follow all the steps, you are halfway there! The wait time of 4 hours is a bit tedious but if you do not have that kind of time at a stretch then you can do all the work at night. After the 1st rise in a warm place, let the rolls rise overnight at room temperature to bake in the morning. That way you don’t have to wait till noon to eat them! Convenient, isn’t it?! 😉


Strawberry Swirl Sweet Rolls2


Double this recipe if you’re serving a larger crowd. You can freeze the extra rolls sans the glaze and reheat them in micro when sweet roll cravings hit. Also, I do not have pictures with the glaze but it is absolutely necessary to top these with glaze. Okay, it is up to you to decide (Nope, glaze is MUST!). Not that I am pushy but the glaze makes them sweeter and better!

Happy Holidays!!!
Enjoy!!

Strawberry Swirl Sweet Rolls

Recipe & preparation minimally adapted from Food & Wine

Servings: Makes 9 rolls | Prep time: 30 minutes | Bake time: 25 minutes | Total time: 4 hours 30 minutes

Ingredients:

DOUGH

  • 1/2 cup milk
  • 1/3 cup white granulated sugar
  • 3/4 Tbsp instant dry yeast
  • 1/4 cup unsalted butter, softened to room temperature
  • 1 large egg
  • 1/2 tsp grated lemon zest
  • 1/4 tsp salt
  • 2 and 1/4 cups + 2 Tbsp all-purpose flour, plus more for dusting/rolling

FILLING

  • 3/4 cup frozen strawberries, sliced thick (NOT thawed)
  • 1 tsp grated lemon zest
  • 3 Tbsp white granulated sugar
  • 1/2 tsp cornstarch

GLAZE

  • 1/2 cup confectioners’ sugar
  • 1 and 1/2 Tbsp cream/milk

Directions:

  1. MAKE THE DOUGH: In a small saucepan, warm the milk over low heat until warm (No need of using thermometer but about 95ºF). Pour the warm milk into the bowl of a stand electric mixer fitted with the dough hook and manually stir in the sugar and yeast. Let stand until the yeast is foamy, about 5 minutes. Add the softened butter, egg, zest and salt. Scrape down the sides and manually stir as needed. Gradually add flour and beat at medium speed until a soft dough forms. Increase speed to medium-high and beat until the dough is soft and supple, about 10 minutes longer. *If you do not have a stand-mixer with a hook attachment, knead the dough by hand in this step.Transfer the dough to a lightly floured surface and knead it with your hands for about 2 minutes. *You may add little more flour if the dough is still too sticky to handle at this point. Form the dough into a ball and transfer it to a lightly greased bowl. Cover the dough and let sit in a warm place until doubled in size, 1 to 2 hours.

    Line the bottom of a 8×8 inch baking dish with parchment paper,leaving room on the sides. Turn the dough out onto a lightly floured work surface and, using a rolling pin, roll into a 10×14 inch rectangle. I used a ruler for accuracy. Make sure the dough is smooth and evenly thick, even at the corners.

  2. MAKE THE FILLING: In a medium bowl, toss the frozen strawberries slices with the lemon zest, sugar and cornstarch. Spread the cold sugared strawberries evenly over the dough. Tightly roll up the dough to form a 14-inch-long log. Cut into 9 even rolls (about 1.5 inches in width each). Arrange them in the prepared baking pan, cut sides up. Cover the rolls and let them rise in a warm place until they are puffy, about 2 hours. The berries will release their juice at the bottom of the pan – this is OK.
  3. Preheat the oven to 200ºC/400ºF degrees. Cover the rolls with aluminum foil and bake for about 20 minutes covered and 5 minutes uncovered, until they are golden and the berries are bubbling. Transfer the pan to a rack to cool for about 15 minutes.
  4. MAKE THE GLAZE: In a small bowl, whisk the confectioners’ sugar and cream/milk until smooth. Add more sugar or cream, depending how thick you want the glaze. Pour glaze over the rolls and serve warm.

*Make Ahead: During the second rise, cover the sliced rolls and let sit overnight at room temperature before baking. Baked rolls sans glaze can be frozen up to 2 months and warmed up to enjoy at a later date. Glaze right before serving.

Strawberry Swirl Sweet Rolls4

Share this recipe:

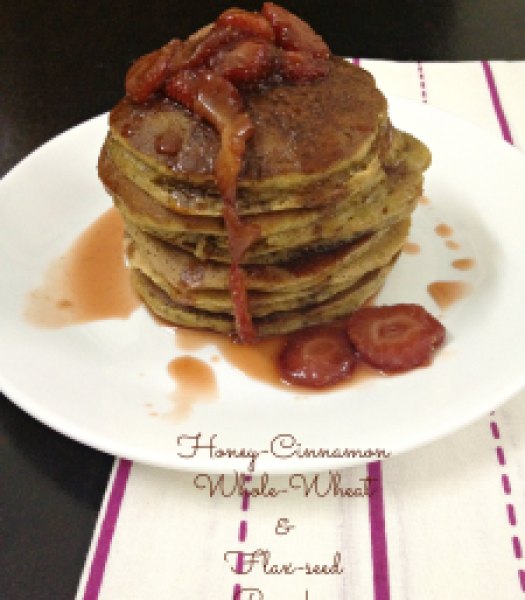
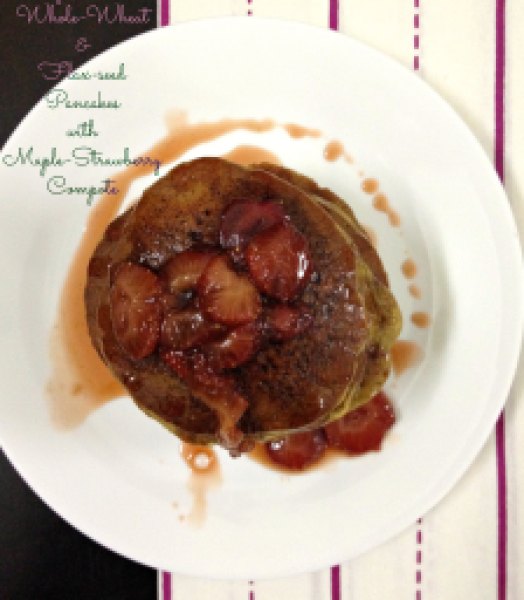
Honey-Cinnamon Whole-Wheat & Flax-seed Pancakes with Maple-Strawberry Compote

Honey-Cinnamon Whole-Wheat & Flax-seed Pancakes2


Last 10 days were spent visiting family and hibernating during pleasant, cozy North-Indian winter. It was so relaxing. Generous hot mugs of ginger tea and coffee were gulped while the endless conversation flowed. Bowls of warm red carrot halwa, Gulab Jamuns, Sarson ka saag & Makke ki Roti (corn flat-bread) were devoured. Insane amount of homemade white butter was consumed with everything! Happiness!! Such wonderful days! I stayed away from the blog for the duration and I am back just in time 🙂

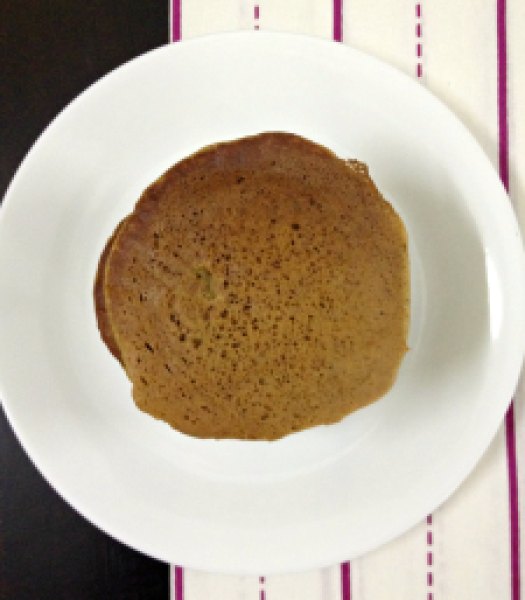
I know this is very last minute and most of you have already planned the menus for tomorrow (In that case, make these the next day!). Last minute planners, I am here at your rescue! Try this super-quick, super-simple yet ultra-delicious breakfast option for a total fuss-free Christmas morning. Oh, they are healthy of course! The pancakes are unbelievably soft and fluffy, that too without addition of any oil/butter. They require very few ingredients which I’m sure you will already have at your disposal! This way you can kick-start your morning on a right note 🙂
Wishing all of you MERRY CHRISTMAS!!
Merry, happy & lotsa love!!   


Honey-Cinnamon Whole-Wheat & Flax-seed Pancakes1


Honey-Cinnamon Whole-Wheat & Flax-seed Pancakes3


Honey-Cinnamon Whole-Wheat & Flax-seed Pancakes with Maple-Strawberry Compote

Yields: 12 pancakes | Prep time: 5 minutes | Cook time: 20-25 minutes | Total: 30 minutes

Ingredients:

Pancakes

  • 1 cup whole wheat flour
  • 4 Tbsp ground flax seed
  • 1 tsp ground cinnamon
  • 1 tsp baking soda
  • 1/2 tsp salt
  • 1 cup buttermilk
  • 2 eggs
  • 1 tsp vanilla extract
  • 4 Tbsp honey

Maple-Strawberry Compote

  • 1/2 cup pure maple syrup
  • 7-8 oz. fresh strawberries, cut into thick slices
  • 1 tsp vanilla extract

Directions:

  1. Sift together flour, flax seed, cinnamon, baking soda and salt in a medium bowl.
  2. In a large mixing bowl, whisk together buttermilk, eggs, vanilla extract and honey.
  3. Slowly add dry ingredients to wet ingredients & stir to combine.
  4. Heat a medium non-stick skillet to medium heat. Spoon a ladleful of batter into the center of the skillet and form a nice round pancake. Let cook till the bubbles start forming on the top surface and the bottom will be golden brown. Flip and cook for an additional minute or so until browned and cooked through. Handle them carefully while flipping as they are quite soft and delicate. Transfer each pancake to a plate until all batter is used up.
  5. Compote: In a small saucepan, heat the maple syrup and strawberries on a low heat. Let the mixture cook and come to a boil, stirring in between, about 5 minutes. Remove from the heat and stir in vanilla extract. Top the pancakes with the compote.

* You may serve these pancakes coated with peanut butter or with fresh fruit preserve.
* If you don’t have buttermilk, feel free to use plain or vanilla yogurt instead.
*The pancake recipe is an oldie from my Archives and was posted on my Facebook page (on 10/04/’13) just before I started blogging here.

Share this recipe:

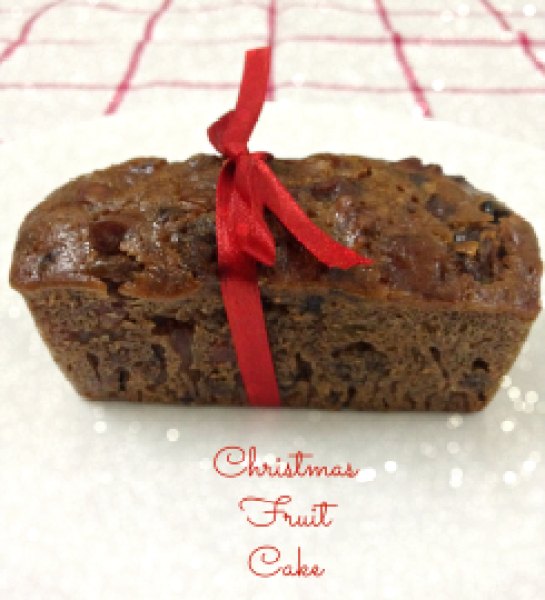
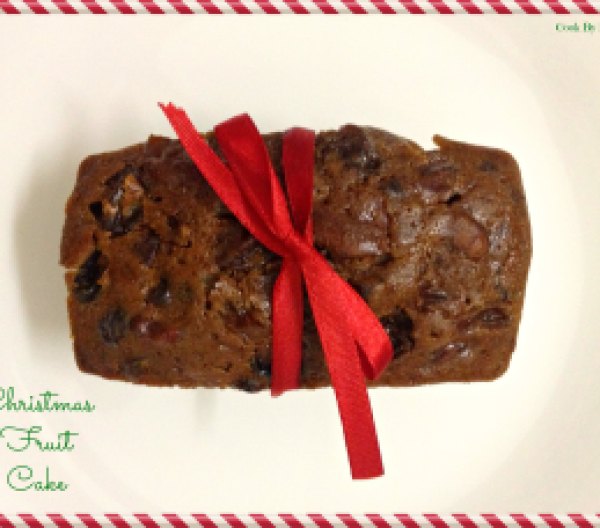
Christmas Fruit Cake

Christmas Fruit Cake1


This was going to be my first year baking Christmas cake. I was super-excited! Really! I prepared the fruit-soak almost 3 weeks in advance which is major for me as I have never been much of a planner! And of course for the recipe as the liqueur gets a chance to marry the fruit 😉

I started hunting for recipes months ago. And I got to know that Christmas cakes have got such bad reputation! They are quite infamous for being boring, dry, overly sweet and like a hard brick that I was fairly skeptical at even attempting to make it at home. It deterred my enthusiasm quite a bit. Hence it was a pretty daunting task zeroing on THE recipe. But finally chanced upon the one which spoke to me and boy, hold your breath people, I have found THE recipe for your Christmas cake this year!


Christmas Fruit Cake4
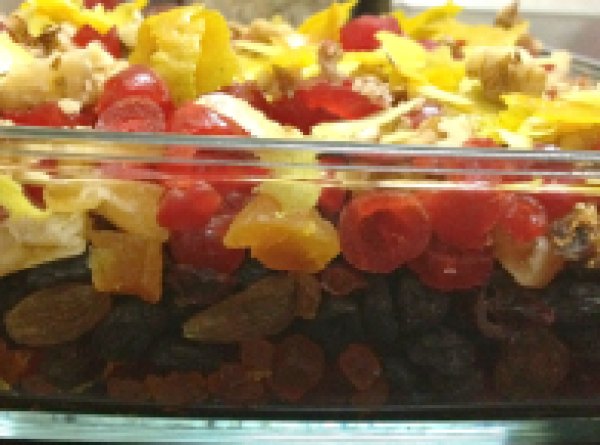
Assorted fruits & nuts mixed in before pouring the liquere


Christmas Fruit Cake2


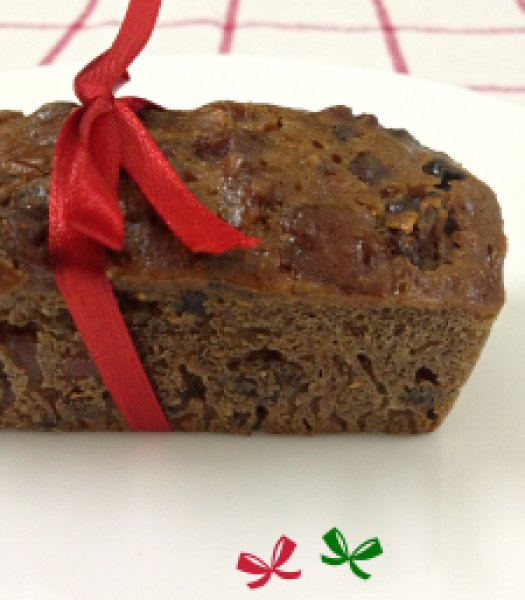
The recipe is fairly simple. As I told you before, the fruit-mix needs to be soaked in advance. Then a night before making the cake, just simmer few ingredients. This step guarantees moister and softer cake as the fruit-mix get a chance to soften up a bit. Dump all the other ingredients into this mixture. And that’s it! You know I have a thing for simple and quick recipes and this was just that! Pop the cakes to be baked in the oven and forget about them for an hour. Do whatever you do in the meanwhile like get lost on Pinterest (so addicting!) or doing your nails (perfect utilization of time!) and they’ll be ready! I did a taste from my mini loaf and the cake was supremely moist! Success!!


Christmas Fruit Cake3


Be sure to wrap the cakes (tightly) soon (when they are still quite warm.. almost hot) after removing from moulds and showering them with liqueur, to avoid anymore direct contact with the atmosphere. This will ensure that the moisture gets locked. If you want more liqueur then feed the cakes every 6-7 days with more liqueur (till ready to eat) and wrap them back. They taste best after several days/weeks of aging so be patient! 🙂

Happy Baking!!
xx

Christmas Fruit Cake

Recipe barely adapted from Rasa Malaysia

Fruit-Mix: To be prepared 2-3 weeks in advance or at least 48 hrs before

  • 7 cups chopped mixed fruits (I used assortment of raisins, sultanas, black currents, dried cranberries, dried apricots, dried pineapple, dried figs, glaced cherries, tutti frutti, orange and lemon peel)
  • 1 cup of roasted nuts (walnuts, almonds, hazelnuts, pecans or pistachio – I used walnuts and almonds)
  • 1-1.5 cups of brandy or rum

Pour the chosen liqueur over dried fruits and roasted nuts and store this mix in a glass airtight container in a cool,dry place.

Preparing Cake:

Ingredients:

  • 1 cup unsalted butter
  • 1 cup brown sugar
  • 1/2 cup honey
  • 1 cup orange juice
  • 1 tsp baking soda
  • 2 1/3 cups all purpose flour
  • 2 Tbsp milk powder (I skipped it & I don’t think it made a difference)
  • 2 Tbsp fresh orange zest
  • 1 Tbsp fresh lemon zest
  • 1 tsp ground nutmeg
  • 1 heaping tsp ground cinnamon
  • 1/4 tsp ginger powder
  • 1/4 tsp ground cloves
  • 4 large eggs, slightly beaten

Directions:

  1. Combine prepared fruit-mix (fruits+nuts+liqueur), butter, sugar, honey, orange juice and baking soda in a large saucepan. Stir over low heat until the sugar has dissolved. Bring the mixture to boil and simmer for about 5 minutes over low heat. Stir consistently. Remove the saucepan and leave to cool. Do this step a night before or few hours before making the the cake as it takes sometime for the mixture to completely cool.
  2. Preheat the oven to 150ºC/300ºF. Grease 8×4 inch loaf pan and 6-count (3×2 inch) brownie pan with butter. Set aside.
  3. In a medium bowl, sift together flour, milk powder, zests and ground spices.
  4. Gently stir in eggs to the cooled fruit mixture. Fold in the dry ingredients. Divide the mixture in to 2 parts and pour one half in loaf pan and the other half in brownie pan. Bake for about 60 minutes or until top slight cracks and is cooked.
  5. Remove the cake from the mould after letting cool for 5-10 minutes and generously brush the tops with brandy/rum. If you’re bold enough, make several holes in the cake by inserting skewer through n through at several places and pour the liqueur generously. Tightly cover with multiple layers of aluminium foil and finally with plastic wrap. Store in an airtight container. The cake tastes best eaten after a few days of aging. If you’re making weeks ahead like I did, brush the cake with brandy/rum every 6-7 days.

*Serve with a dusting of powdered sugar and decorated with glaced cherries and slivered almonds.

♥ Another great recipe I chanced upon is here. Do check it out!

Share this recipe: