Tag: vegetarian

Cinnamon Stovetop Oatmeal ~ For One

cinnamon stovetop oatmeal -1

You don’t need me tell you how to make an oatmeal. I’m sure, you can handle that on your own.

Maybe I need to remind myself how to make oatmeal. Maybe I need to remind myself to make oatmeal at all… and eat it.. for breakfast. Staring at my laptop first thing in the morning, burning my mouth sipping hot coffee does not make breakfast.

I thought if I needed a reminder, you might need it too. So let’s make this healthy stovetop oatmeal with cinnamon and any seasonal or even frozen fruits of your choice. A treat for that special person, YOU!

Cinnamon Stovetop Oatmeal-2

This oatmeal is perfect for the weather… so comforting and so healthy! The addition of cinnamon is mandatory. You may throw in some nutmeg too. Addition of nuts or seeds not so much but if you do add them, you’ll not regret it. This makes for such a wholesome breakfast in such a short time and hardly demands a ton of ingredients. Water, milk, quick cooking oats and cinnamon – you could manage these everyday, isn’t it? Total no-brainer. Oh, you could also double the recipe to serve two. ?

Have an exciting weekend peeps!

Cinnamon Stovetop Oatmeal – For One

Serves: 1 | Ready under 10 minutes

Ingredients:

  • 1/2 cup water
  • 1/2 cup milk – soy, almond, coconut or cow milk
  • 1/2 tsp ground cinnamon
  • 1 Tbsp cane sugar/honey/maple syrup
  • 1/4 cup quick cooking oats
  • Pinch of salt
  • 1/2 tsp vanilla extract
  • Optional toppings: chopped walnuts, sliced almonds, raisins, cranberries, chia seeds, hemp seeds, pumpkin seeds

Directions:

  1. In a medium saucepan, add water, milk, cinnamon and cane sugar. If using honey/maple syrup read the last step. Turn the heat up to high and bring to a boil. Add the oats and salt and reduce the heat to low. Let simmer stirring occasionally for a minute.
  2. Turn the heat off. Stir in vanilla and honey/maple syrup (if not using cane sugar). Top with fruits or other toppings (mentioned above) of your choice. Serve immediately.

Shop the recipe:

Here are some items I used to make today’s recipe.


Some of the links above are affiliate links, which pay me a small commission for my referral at no extra cost to you! Thank you for supporting Cook By Book.

Share this recipe:

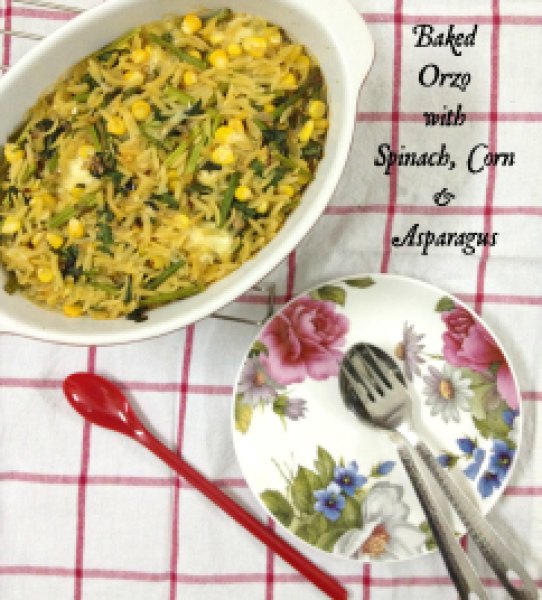
Baked Orzo with Spinach, Corn & Asparagus

Baked Orzo with Spinach, Corn & Asparagus1
Okay, I have a pattern. On this blog. I write either about desserts or pasta here. I have a proof. But what can I say?! They are two of my favorite things. The weather here is not helping the matters either. This rainy, gloomy weather forces me to switch on the oven almost everyday! It makes me add cinnamon to every sweet stuff I bake so that the house smells like Fall. I am craving soups and wearing cardigan while going out. Gosh, how I am in love with the weather right now!!
You guys know I am all for skinny dishes. But that does not mean I do not like eating overloaded cheesy goodness. In fact, I LOVE it so much but just NEVER make it. I can’t bring myself to add a pound of cheese to any dish knowingly. Period.
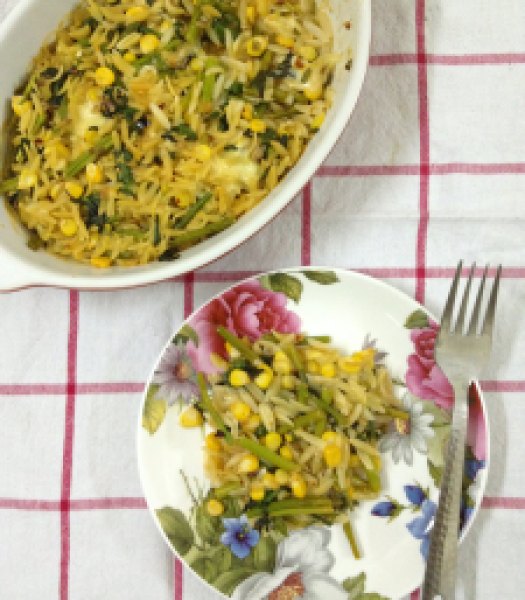
Baked Orzo with Spinach, Corn & Asparagus2
This dish here is in no way skinny. But not unusually loaded either. Something in between. A dish I would dive in. It is everything I had hoped and dreamed for in baked pasta. There’re pillows of corn and asparagus throughout. There are decadent, gooey cheese pulls stretching from every forkful. And it is easy. Yes, as easy as this simple mac-n-cheese I know how to make. So make it NOW as there is no reason to keep yourself away from such a bliss.
Baked Orzo with Spinach, Corn & Asparagus
Serves: 2
Ingredients:

  • 1/2 cup Orzo, a rice shaped pasta
  • 1/2 cup corn kernels
  • 8-10 spears of asparagus cut into 1-inch pieces, hard/woody ends discarded
  • 1 Tbsp olive oil
  • 5-6 shallots, finely chopped
  • 2 garlic cloves, minced
  • 1 stalk of celery, finely chopped
  • 2 Tbsp tomato pest
  • 1/2 cup spinach leaves, packed, roughly chopped
  • 3 Tbsp Parmesan cheese, shredded
  • 1/3 cup Mozzarella cheese, small cubes of 1/2 cm
  • salt, to taste
  • freshly ground pepper
  • 1/4 tsp oregano flakes
  • 1/4 tsp red chili flakes
  • 1/2 tsp lemon zest
  • 1/2 cup reserved pasta water

Directions:

  1. Preheat the oven to 180ºC / 350ºF. Boil a pot of water with generous sprinkle of salt. Add Orzo, corn kernels and asparagus to the boiling water. Let it boil for 2 minutes and after that save 1/2 cup of water. Drain Orzo, corn kernels, asparagus and set aside.
  2. Simultaneously heat a large frying pan over medium-high heat. Add oil to the hot pan and once oil is shimmering, add the shallots, garlic and celery. Cook for 3 minutes or so till shallots turn translucent. Add tomato paste, Orzo, corn kernels, asparagus and cook for 3 more minutes. Off the heat. Immediately mix-in spinach leaves.
  3. Add Parmesan, Mozzarella, salt, pepper, oregano, red chilli flakes, lemon zest and pasta water and mix well.
  4. Transfer mixture to a small oval or 6×6-inch square ovenproof baking dish. Cover with foil and bake for 15 minutes, then bake for 15 minutes without the foil. (You can change ratio of foil-on to foil-off time as per your preference for crunchy pasta lid.) Let rest for 5 minutes before serving.

Notes:

*You can use whole-wheat Orzo or replace Orzo with any other small-sized pasta.
*I used pasta water and did not feel that the dish was lacking in flavor at all. But if you do not like using water then use vegetable stock.

Share this recipe:

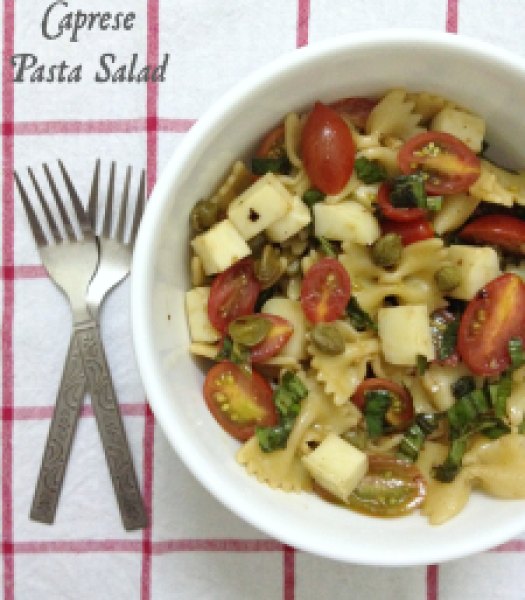
Caprese Pasta Salad

Caprese Salad1


It’s my Mother’s Birthday today! She is the most special woman in my life. She is my first best friend and I have had heaps of special moments with her. She handed down so many traits of hers to me… We both love bags, shoes, clothes and FOOD! She is such an awesome cook!

As already confessed in my intro page, I never learnt to cook before I got married and being such a great cook that she is, my mom was quite concerned about that part. She sincerely wrote down all her recipes in a diary for my convenience and gifted it to me on my D-day. That is my most prized possession and a lovely gesture on my mom’s part! I should soon get down to posting few of her special recipes!

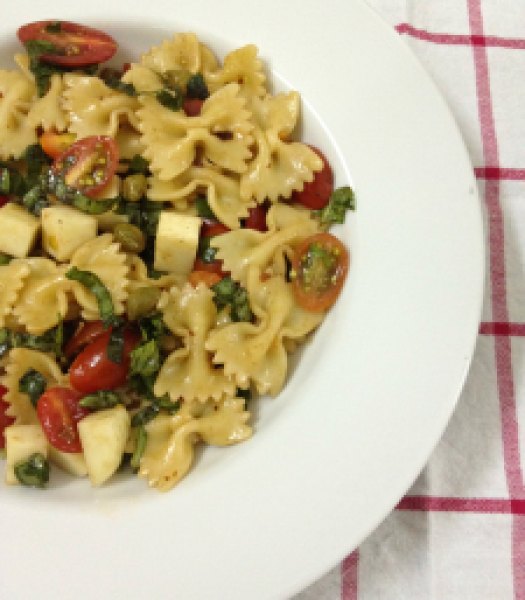
Among many things my mother and I share, we both LOVE pasta! So aptly, I am posting a very simple pasta salad which is very refreshing and flavorful. I’m sure my mom would have enjoyed this thoroughly if I could make this for her at home for tonight’s celebration. But we are distanced by miles hence a virtual birthday dish will have to suffice! 🙁


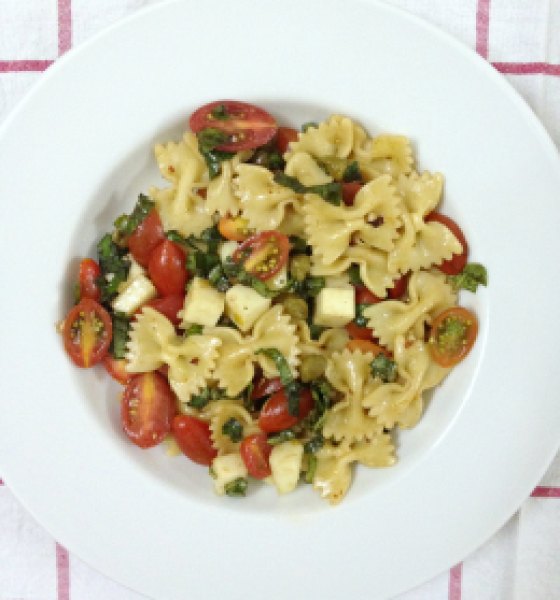
Caprese Salad2


I love Caprese in any and every form!

You must remember I once created this unusual ice-cream with it and these skewers served with pesto!

This time I brought together 2 of my favorites and created this dee-lish caprese pasta salad. Of course with a twist… I added capers for a little tang! And it really did wonders. This salad is so beautiful, adorned with pear tomatoes and bursting with basil! Hope you enjoy this as much as we did!

Happiest of Birthday Mother! Cheers!!!

Caprese Salad3

Caprese Pasta Salad
Servings: 4-5 as a side and 2-3 as a light lunch/dinner
Ingredients:
For salad:
  • 2 heaping cups bow-tie pasta
  • Around 20-25 pear tomatoes, sliced
  • 25-30 small cubes of Mozzarella
  • 2 Tbsp capers, drained & washed
  • 1/4 cup thinly sliced basil leaves
For dressing:
  • 2 cloves garlic, minced
  • 1 Tbsp balsamic vinegar
  • 1 Tbsp extra-virgin olive oil
  • A pinch of red chili flakes
  • Salt and pepper, to taste

Directions:

  1. Cook pasta in generously salted boiling water according to package directions till al-dante. Drain and rinse with cold water.
  2. In a large bowl, add pasta, sliced tomatoes, Mozzarella cheese cubes, capers and toss.
  3. In a small bowl, take all the ingredients mentioned under dressing and whisk.
  4. Add the dressing to the large bowl of salad ingredients and toss well. Taste and adjust the seasoning. Let it chill in refrigerator for half an hour. Top with sliced basil leaves just before serving.
Share this recipe:

Independence Day Special ~ Saffron Pistachio Kulfi

Saffron Pistachio Kulfi1
I seem to have desserts ready for almost all the occasions.. I love love love sugary sweets! When the cravings hit me, it is impossible to shut my brain and there is no turning back till those cravings are satisfied. You must think I’m talking like a crazy or an addict! You’re thinking right! Not that I need a therapy or something… Just saying! It’s 1 a.m. here as I type this post, got a coffee craving which I tried to control and instead ended up snacking on a coffee-almond ice-cream! I know… weak! 🙁 But don’t judge! In my defense, this is the only sweet stuff I have had in a whole day!
You all know I have a sweet corner for ice-creams. So much that not so long ago I even had an ice-cream week on the blog! Check this out! Crazy right?! So it would be impossible that I would let the Independence day be gone without posting a total Desi ice-cream dessert in the honor of the occasion.
Saffron Pistachio Kulfi2
Kulfi is so popular throughout the country. Love of it is unbiased. It is a perfect reflection of our country’s unity despite the cultural diversity! Oh well, I have a way of twisting everything as per my own convenience! I mean only I can talk about kulfi and country being mirror-image of each other or whatever! But I hope you all agree with me on this one.. What better way to celebrate 15th August, our 66th independence day than this ice-cream dessert! I bet it’s a family favorite in every household! 🙂
Kulfi is traditionally prepared by evaporating milk on a low heat with almost continuous stirring to keep milk from sticking to the bottom of the vessel, until its volume was reduced by half, thus thickening it. It is almost like eggless custard turned in to ice-cream. I’ve stuck to the traditional recipe and have refrained from using condensed milk as I somehow detest it! Okay, I sort of hate condensed milk! I guess it’s a night for confessions! Relieved! Humph..
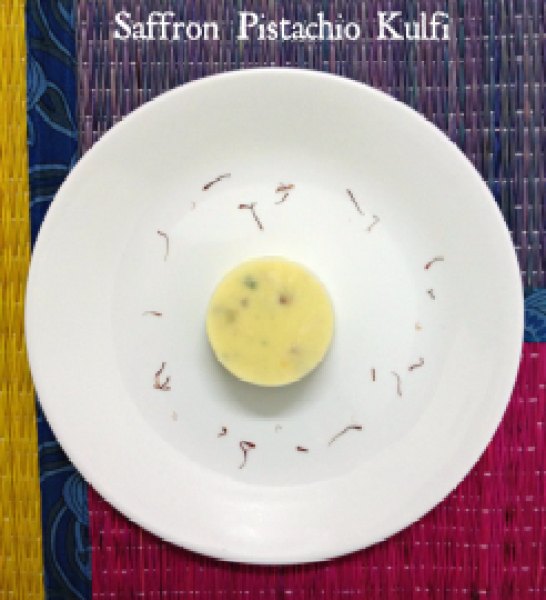
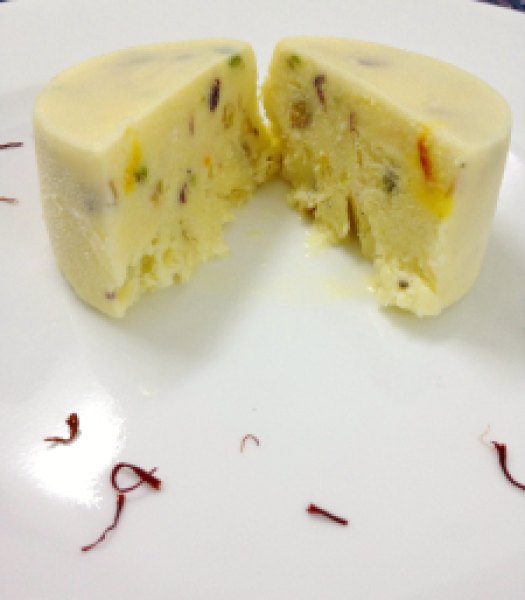
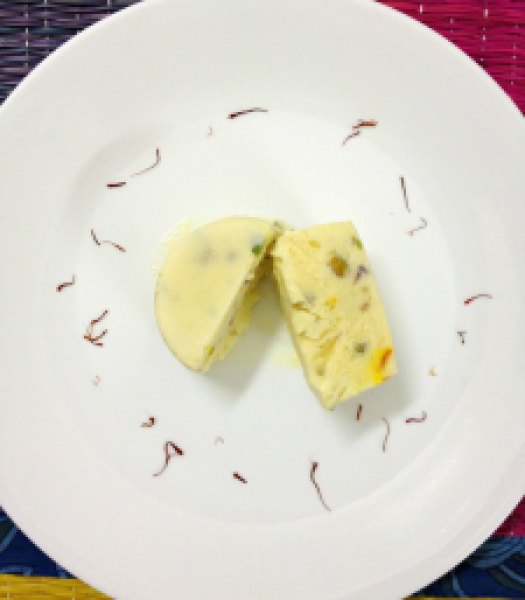
Of course no cliched tricolor desserts people! Hence the recipe for kulfi is has been kept as close to natural as possible. No artificial flavorings or colors have been used. You get a subtle yellow from saffron, crunch from pistachio and aroma from cardamom. It is heavenly! Do try it now and thank me later! 😉
HAPPY INDEPENDENCE DAY!!!
Saffron Pistachio Kulfi3
P.S. No saffron was harmed during the shoot of these photos. It was all returned back to the safety of its jar. So you all can relax now! 😀
Saffron Pistachio Kulfi
Yields: 6 servings
Ingredients:

  • 1 and 1/2 cup full-fat milk
  • 1/4 cup full-fat milk, extra
  • 2 Tbsp cornflour
  • 4 pods of cardamom
  • 1/4 tsp strands of saffron
  • 1/3 cup sugar (adjust as per preference)
  • 1/4 cup finely chopped salted pistachios, plus extra for garnishing
  • 1/2 cup fresh cream (40% fat)

Directions:

  1. In a non-stick/ceramic heavy-bottomed saucepan, add 1 and 1/2 cup milk and bring it to boil on a high heat. Now reduce the heat to low and let it simmer, stirring occasionally to keep it from sticking to the bottom of the vessel.
  2. Warm 1/4 cup of milk in microwave for 10-20 seconds. Add cornflour to it and mix till it dissolves completely. Add saffron strands to it. Separate the cardamom seeds from the pod and powder the seeds with mortar-pestle. Add the powder and pods to the milk. Let this mixture sit aside till the milk is getting reduced.
  3. Once milk has evaporated and thickened till its volume has reduced to half (in about 10-15 minutes), add the flavored milk-cornflour mixture (remove the cardamom pods) slowly to the milk stirring continuously. Add sugar and pistachio and cook for another 2-3 minutes. Taste and adjust sugar as per your preference.
  4. Remove the mixture from heat and let it cool and come to room temperature. Whip the fresh cream till soft peaks are formed. Whisk in the whipped cream to the cooled milk mixture. Pour the mixture in the molds. Refrigerate in the freezer. After about 1 hour of freezing, insert kulfi stick in each mold and freeze for another 4-5 hours. De-mold and serve immediately topped with chopped pistachios (optional).

Notes:

*You can make these without adding cornflour too. It will still taste the same but may melt at a faster rate.

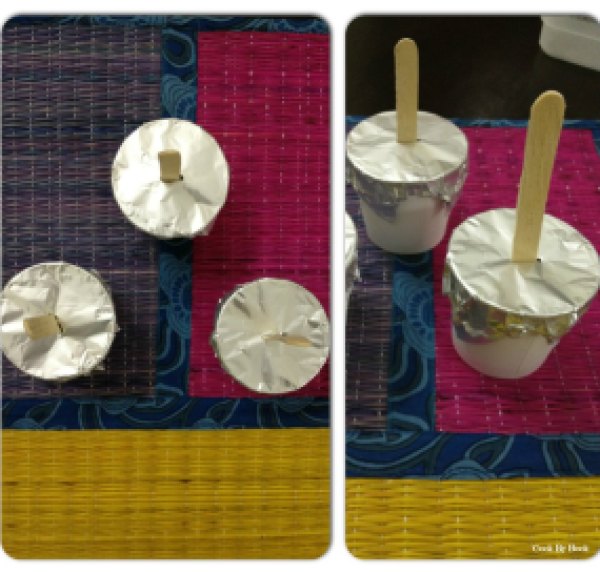
*I did not have kulfi molds hence I used paper cups covered with silver foil. To de-mold, simply cut the paper cup from one side and loosen the kulfi.
*In case you’re using plastic/metal kulfi molds, dip each mold in hot water for 2-3 seconds and then de-mold the kulfi easily.
*Kulfis are best consumed within 2 days of being made. They won’t get spoiled in freezer but will become icy and rock-like if kept for longer duration.
Saffron Pistachio Kulfi4
Share this recipe:

Serenity ~ Coconut Water Fruit Punch

Serenity2
Its been ages since I last posted drink’s recipe here. In fact, its been long since I stirred up some new fancy-schmancy drink! I have been drinking my share of Iced teas and coffees but have not created any new combination worth sharing…
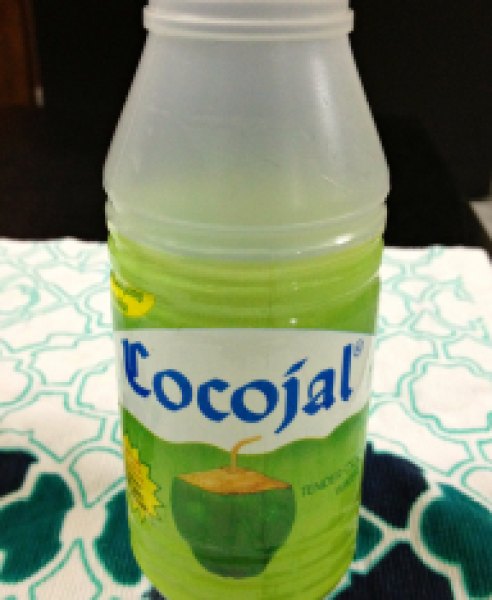
So here is what I made over this past weekend. And it involves something I’ve been drinking a lot lately! Cocojal.. It’s nothing but packaged tender coconut water.. It comes in pineapple and lime flavors too but I prefer it plain, unflavored one. I’m in so much love with it that I have almost 2 bottles a day. You can see I’m totally addicted!
Serenity3
I know what you guys are thinking.. Every nook and corner of my part of world is bursting with vendors selling tender coconuts and still I drink packaged version! Shocked?! Don’t be.. I prefer the packaged version for several reasons. It’s convenient, I like it chilled and you know it is going to be sweet every single time! If you’re against packaged stuff then feel free to use fresh tender coconut water.
I have been craving for some vacation from quite sometime now. Situation has it that it’s not going to be possible for sometime. Hence I took control of the situation, made this, put my feet up and relaxed while sipping on these. And I envisioned myself at my favorite beach in Goa! If you are in more of a celebratory mood, add champagne/white wine to it!
There is no specific recipe for it as such as it is not exactly science. Feel free to make with whatever combination works for you. It is just that simple… No sugar added required!
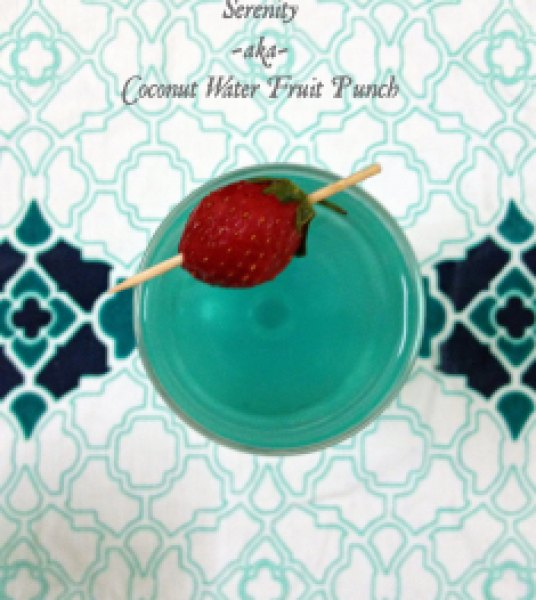
I was feeling tropicalish so I added a drop of blue food-color to my drink and it turned in to perfect ocean blue! If you hate food-colors then add Curacao Bleu syrup to achieve the desired blue. Double or triple the recipe if serving a larger crowd as it is so perfect for parties. If making this for girls’ night or bridal shower, add a drop of pink/red food-color! Again you may add a splash of Grenadine syrup to achieve the desired pink. World is much better in PINK! 😉
Garnish with fruits like berries or pineapple and cheers!
Serenity1
Serenity ~aka~ Coconut Fruit Punch (vegan, gluten free, soy free, no added sugar)
Serves: 4
Ingredients:
  • 3 bottles Cocojal, 600 ml (approx 20 oz)
  • 1/2 cup apple juice
  • 1/2 cup pineapple juice
  • 1 drop blue food colouring
  • Choice of frozen/fresh fruit cubes, for serving

Directions:

Combine all the ingredients together in a large bowl or pitcher, stir and refrigerate till it is time to serve. Garnish with fruits on stick.

*Notes:

Do not add ice-cubes to the drink. It makes the drink more watery. If you want then freeze coconut water, pineapple juice or apple juice in an ice-cube tray in advance and add them to drink as “ice” cubes.
Liqueur lovers can stir-in champagne/white wine to the drink.

P.S. I have not been compensated by Cocojal in any way for writing this post. All the opinions expressed here are personal.

Share this recipe: