Tag: vegetarian

Skinny Strawberry Chocolate Chip Muffins ~ Eggfree

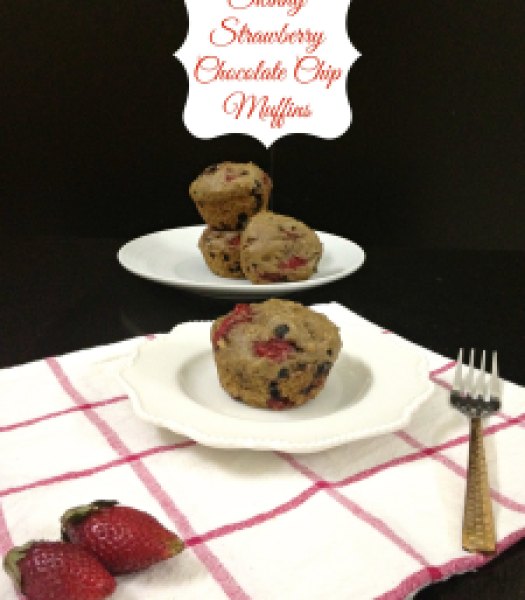
Skinny Strawberry Chocolate Chip Muffins1
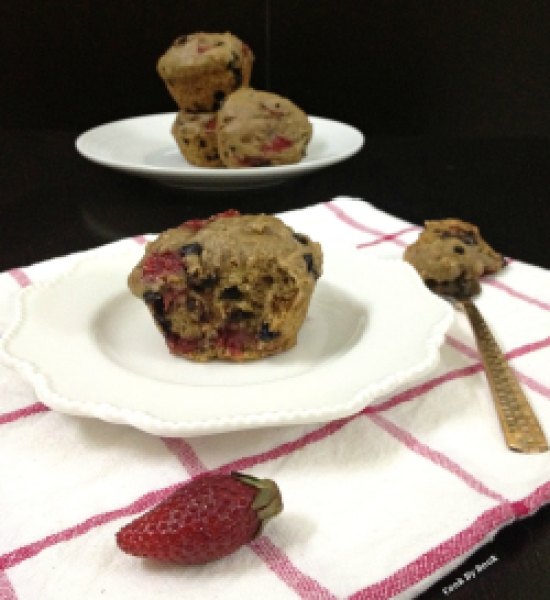
Skinny breakfast for your honey on Valentine’s day coming right up! It has lots of strawberries and just the right amount of dark chocolate… Match made in heaven! Indulgent yet skinny. Celebratory yet healthy. Befitting, don’t you think?
While posting these Skinny Muffins last week, I realized that I have few recipes posted here and wanted to set that right. Now that this sappy, lovey-dovey day is just round the corner, I had a perfect excuse to whip up this breakfast treat for the blog!
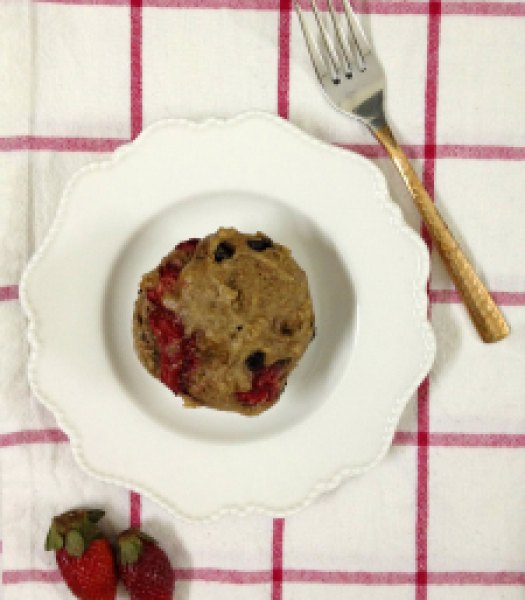
Skinny Strawberry Chocolate Chip Muffins3
There is nothing better than a warm muffin served with a hot mug of coffee. It gets better if served in bed! This muffin is a flavor bomb! Bits of strawberries and chocolate chips in each bite is blissful. These muffins are soft, moist and surprisingly skinny. So flavorful and fluffy. No dry crumbs in sight here.
They need very few and simple ingredients. One of the most magical ingredient of them is applesauce. Unsweetened of course. Applesauce will make sure that you don’t need to use any oil or butter! I wanted to keep the refined sugar to the minimum without making them taste cardboard-like. So I used combination of brown sugar and honey to sweeten them. I’m glad to report they were perfectly sweet!
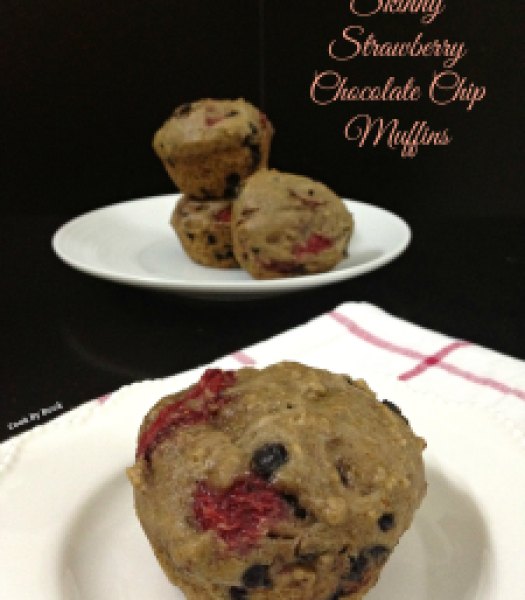
Skinny Strawberry Chocolate Chip Muffins4,jpg
The batter comes together quickly and so easily! No mixer required. The batter is going to be quite thick but don’t worry. You will be able to scoop it easily in the muffin pan with ice-cream scoop. Do not use muffin liners as muffins may stick to the liners. I filled the muffin moulds to the brim and got 6 large muffins but you may fill them till 3/4th mark and get about 8 regular-sized muffins. Do as you please. Just make them already as they certainly don’t need an occasion! 😉
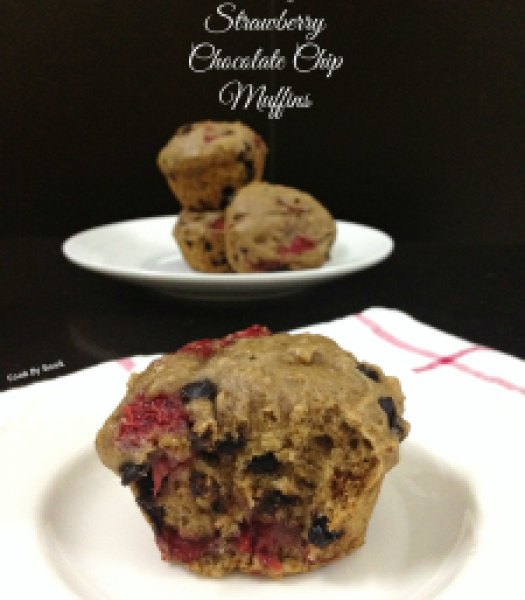
Skinny Strawberry Chocolate Chip Muffins2
Skinny Strawberry Chocolate Chip Muffins5
Skinny Strawberry Chocolate Chip Muffins ~ Eggfree
Yields: 6 large or 8 regular-sized muffins | Prep time: 15 minutes | Bake time: about 20 minutes
Ingredients:

  • 3/4 cup all-purpose flour
  • 1/2 cup whole wheat flour
  • 1/2 tsp baking soda
  • 1/2 tsp ground cinnamon
  • 2/3 cup unsweetened applesauce (I used homemade)
  • 1/4 cup brown sugar
  • 1/4 cup honey
  • 1/2 tsp vanilla extract
  • 3/4 cup diced fresh strawberries (you may use frozen berries)
  • 1/3 cup dark chocolate chips (or semi-sweet)
Directions:
  1. Preheat the oven at 180ºC/350ºF. Spray 6-count muffin pan with oil*. Set aside.
  2. In a medium mixing bowl, whisk together flours, baking soda and ground cinnamon. Set aside.
  3. In another medium bowl, whisk together applesauce, sugar, honey and vanilla extract. Add the wet ingredients to the dry until *just* combined. Fold in the strawberries and chocolate chips.
  4. Divide the batter evenly between 6 muffin cups. Bake for 16-20 minutes. Mine took exactly 18 minutes. Let them cool for about 5 minutes before releasing from pan.

*Do not use muffin liners as muffins may stick to the liners.

Note: Do not use whole wheat flour entirely as the muffins may not be turn out as soft.

Share this recipe:

Inside-Out Double Chocolate Chip M&M Cookies ~ Whole Wheat & Eggfree!

Inside-Out Double Chocolate Chip M&M Cookies2


Hope the new year started on a wonderful note for you all! I am still trying to recover from the indulgent last week we had. But don’t worry, I am not here to talk about my new year resolutions or boring stuff like that 😉 I love how each new year allows us to have a clean, fresh slate giving us time to reflect upon the past and visualize the future.

I simply don’t believe in dieting. Too much of good things can’t ever be bad now, can it! Plus, I always feel that being fit is certainly not about following a restrictive diet but making a lifestyle choice. And I certainly believe in eating healthy which goes without saying as my blog-post titles almost always include healthy, skinny or light, more than you would like to see may be!

So this year is going to be all about being happy! (You can track my progress on my Instagram) Taking each day as it comes. You all know I am not much of a planner so this is all I am looking forward to this year. Umm, may be a bit more of travelling! 😉


Inside-Out Double Chocolate Chip M&M Cookies1


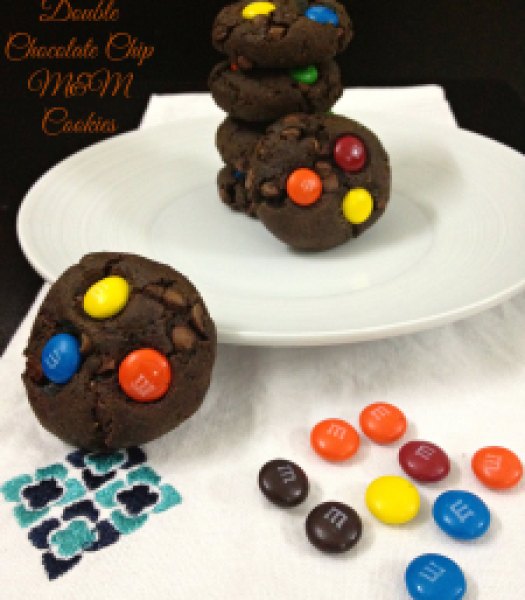
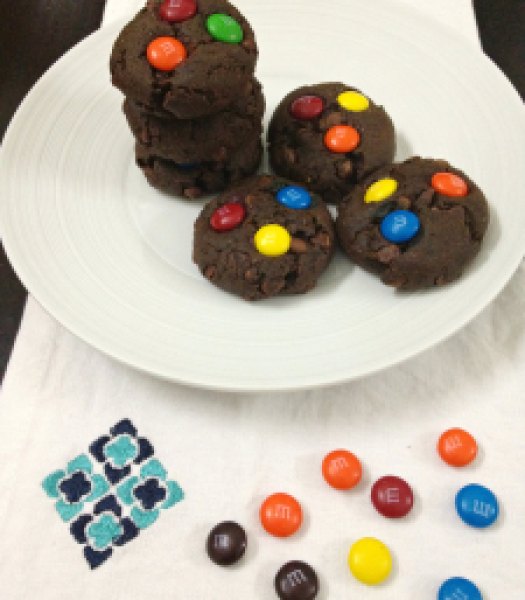
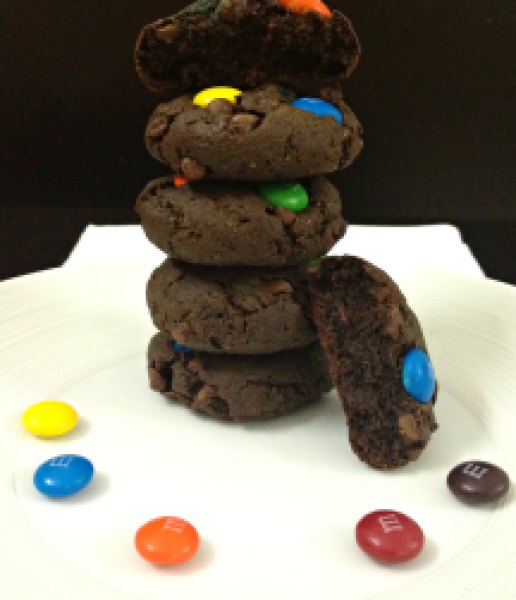
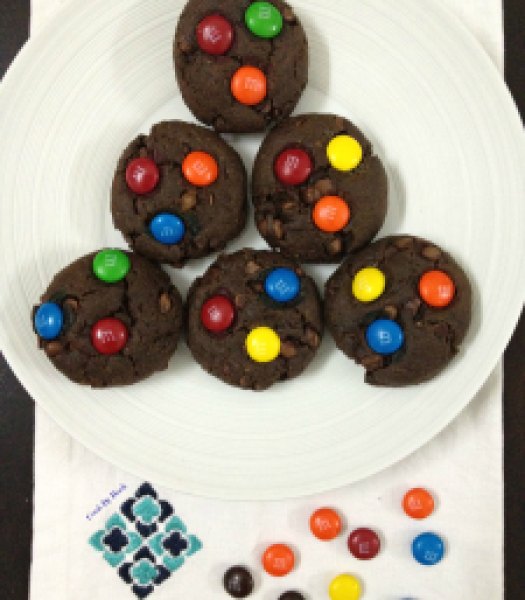
These cookies were developed in 2013 and I never got a chance to share them at that time. I knooow it’s a crime and hence I don’t want to keep this fabulous recipe from you anymore. So I am choosing to showcase these unbelievably soft and chewy chocolate cookies laced with chocolate chips and M&Ms as a first recipe post of 2014! They are perfectly thick and so puffy. With a pop of color too!

I have kept those of you in mind who are resolute to eat healthy this year. These cookies use whole wheat flour, brown sugar and date syrup. Of course, without compromising on taste. Oh, they are eggfree too! To make them vegan, you may replace butter with olive oil and replace regular milk with soy/almond milk. Best of all world indeed! You may use any or combination of your favorite chocolate chips. I would love to use white chocolate chips the next time around because of the brilliant visual effect it will create!


Inside-Out Double Chocolate Chip M&M Cookies3


Inside-Out Double Chocolate Chip M&M Cookies ~ Whole Wheat & Eggfree

Yields: Around 30 cookies | Prep time: 15 minutes | Chill time: 30-60 minutes | Bake time: 13 minutes

Ingredients:

  • 3 Tbsp flax seed powder + 4 Tbsp water + 5 Tbsp milk
  • 1/2 cup unsalted butter, at room temperature
  • 1/2 cup brown sugar
  • 1/4 cup date syrup
  • 2 Tbsp vanilla extract
  • 2 cups whole wheat flour
  • 1/2 cup + 2 Tbsp unsweetened cocoa powder
  • 1 tsp baking soda
  • 1/2 tsp salt
  • 3 Tbsp milk
  • 1/2 cup milk chocolate chips
  • 1/2 cup dark chocolate chips
  • lots n lots of M&Ms

Directions:

  1. In a small bowl, mix together flax seed powder, water and milk. Set aside for 10 minutes.
  2. In a medium bowl, sift together whole wheat flour, cocoa powder, baking soda and salt. Set aside.
  3. In a large mixing bowl, with the help of your electric mixer, beat the butter until soft. Add sugar and beat until light and fluffy on a medium speed for about 1-2 minute. Beat in date syrup, vanilla extract and flax seed mixture.
  4. Fold in dry ingredients to the wet ingredients. Add 3 Tbsp of milk to form the dough. Fold in chocolate chips. Chill the dough in refrigerator for about 30 minutes to 1 hour.
  5. Preheat the oven to 160ºC/325ºF. Line the baking sheet with parchment paper. Take about 2 Tbsp of dough, form it into a ball between your palms and flatten them. The cookies won’t spread much while baking so flatten how much ever thickness you like. Press M&Ms on the cookie dough. Bake them for 13 minutes. Let them cool on baking sheet for 5 minutes before transferring them on cooling rack to cool completely. The cookies will stay fresh for 1 week at room temperature in an airtight container.

*For vegan version : Replace butter with olive oil and replace regular milk with soy/almond milk.

Inside-Out Double Chocolate Chip M&M Cookies4

Share this recipe:

Skinny Zesty Salad

Skinny Zesty Sala1


After hogging lots and lots of sweets and fried stuff during 5 days of festivities in the past week, believe it or not, but my digestive system needed a break. So I am doing a cleanse/detox for few days.

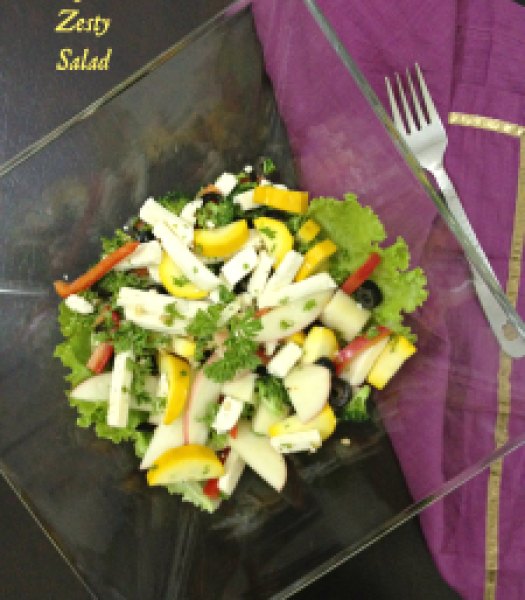
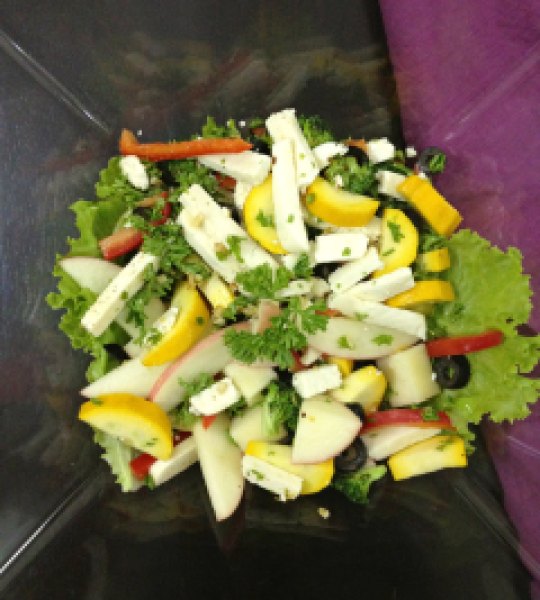
I made this skinny salad for lunch one day and have fallen in love with it since then. It is so versatile, protein-packed and healthy even for people with diet restrictions. Yes! It is suitable for all the vegetarians and vegans out there! A complete meal in itself.

Add any or all of the ingredients mentioned below or whatever you have in your refrigerator. Don’t like uncooked Paneer/tofu? Don’t worry! You can grill it with a bit of olive oil and some seasoning before adding it to your salad or skip it. I once made this with just apple, pear, pomegranate and it was still lip-smacking!

So do your body a favor, give yourself a break from cooking and make this hearty salad! 🙂

Skinny Zesty Sala2

Skinny Zesty Salad

Serves: 2 as a side and 1 as a main-course

Ingredients:

  • 1/2 Tbsp extra-virgin olive oil
  • 3-4 cloves of garlic, finely chopped
  • 1 cup broccoli florets
  • 200 gm Paneer/extra-firm tofu, cut into 2 inch-long thin strips
  • 1 small red bell pepper, chopped into thin strips
  • 1 small yellow zucchini, cut into semicircles
  • 1 small apple, thin slices
  • 4 Tbsp black olives
  • Bunch of lettuce
  • few sprigs of parsley, finely chopped

For dressing:

  • 2 Tbsp extra-virgin olive oil
  • 3 Tbsp white wine vinegar
  • Juice from 1 lemon, or more to taste
  • Zest of 1 lemon
  • Salt and pepper, to taste

Directions:

  1. Heat a small pan on stove and add 1/2 Tbsp oil to it. Add garlic and broccoli florets. Stir fry till cooked, approximately for 4-5 minutes. Be careful not to burn garlic. Set aside.
  2. In a small bowl, mix all the ingredients for dressing.
  3. In a medium bowl, add stir-fried garlic and broccoli florets. To this, add prepared paneer/tofu, bell pepper, zucchini, apple and black olives. Pour dressing over it and toss nicely.
  4. In a salad serving bowl, arrange lettuce at the bottom. Add salad on top. Sprinkle with chopped parsley and serve immediately*.

*If serving later, refrigerate the salad and add apple just before serving.

Share this recipe:

Baked Apple Cinnamon Doughnuts

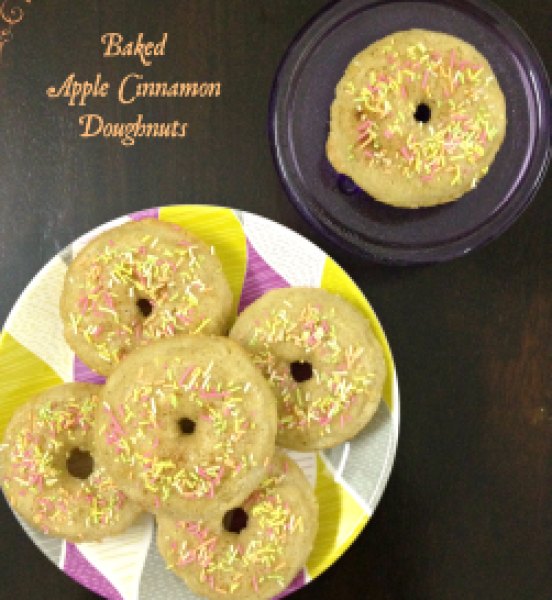
Baked Apple Cinnamon Doughnuts1

I’ve got some good news for ya all!!!

I FINALLY bought doughnut pan! Eeeeeeep!!!

I was so EXCITED the day it arrived that I wanted to put it to use immediately (As if it’s any surprise!). The stars and planets united and I was faced with early Diwali gifting occasion.. Happiest me! Without any second thoughts I knew it had to be freshly baked doughnuts.

I wanted to make chocolate doughnuts as my first doughnuts in this pan but these were for gifting so I decided against it. I mean, I can’t trust myself around chocolate and the gift couldn’t be an empty box so, smart move I thought! 😛

With the weather we are experiencing and soooo many apples sitting in my pantry, these adorable beauties were born. And I was absolutely pleased with my decision making ability this time around!
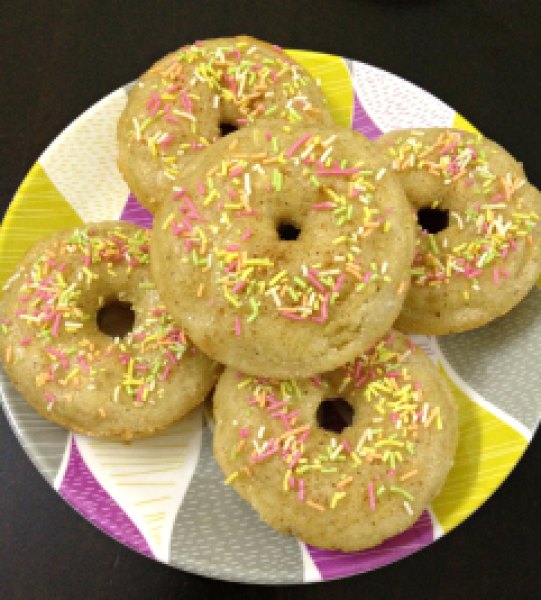
Baked Apple Cinnamon Doughnuts2

They were just So So Good, I wanted to eat the whole batch myself… No kidding!! I mean can you imagine anything better where you can have apple, cinnamon and sprinkles, all together?! Oh… our house smelled Dee-vine!

Needless to say that the doughnuts were so soft and moist plus a healthier breakfast option compared to the store-bought deep-fried version. Win-win!

So buy the doughnut pan right away if you don’t already have it. I got mine from here. You NEED it in your life… Trust me! Plus these make such cute gifts for this festive season too!

Baked Apple Cinnamon Doughnuts3

Baked Apple Cinnamon Doughnuts

Yields: 8 to 9 doughnuts

Ingredients:

  • 1 cup all-purpose flour
  • 1/4 cup whole wheat flour
  • 1/2 tsp baking powder
  • 1/4 tsp baking soda
  • 1/4 tsp salt
  • 1 tsp ground cinnamon
  • 1/4 tsp ground nutmeg
  • 4 Tbsp unsalted butter, melted
  • 1/2 cup white granulated sugar
  • 1 large egg
  • 1 tsp vanilla extract
  • 1/2 cup milk
  • 1 medium granny smith apple, peeled and finely chopped

Glaze:


  • 1 Tbsp melted butter
  • 2 Tbsp caster sugar + 1/2 tsp ground cinnamon, mixed together
  • sprinkles (optional)


Directions:

  1. Preheat the oven to 180ºC/350ºF. Lightly grease the doughnut pan and set aside.
  2. In a medium bowl, mix together flours, baking powder, baking soda, salt, cinnamon and nutmeg. Set aside.
  3. In another bowl, mix together butter, sugar, egg and vanilla extract. Whisk in milk to this mix.
  4. Make a well in the middle of the dry ingredients and add wet ingredients all at once to it. Add finely chopped apples. Stir together until no flour pockets remain but be careful not to over-mix.
  5. With a small spoon, dollop batter into the prepared pan. Fill each doughnut pan three-quarters full with batter. Bake for 11-12 minutes or until doughnuts are puffed up and lightly golden brown. Remove from the oven, allow to cool in the pan for a while before inverting onto a wire rack to cool completely.
  6. While doughnuts are still warm, brush melted butter on each doughnut. Sprinkle some sprinkles on each doughnut followed by cinnamon-sugar.

*These doughnuts are best served the day they are made.
*Feel free to grate the peeled apple if you do not like chopped pieces in every bite!
*Make the recipe eggless by simply replacing egg with 1/4 cup unsweetened applesauce.

Happy Baking!!


Share this recipe:

Cucumber Dill Refrigerator Pickles

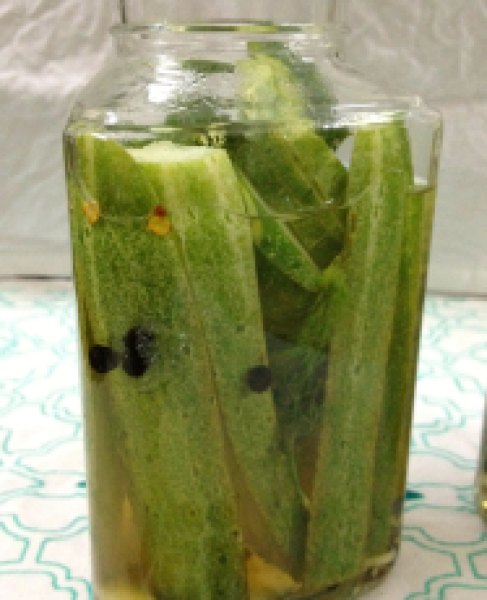
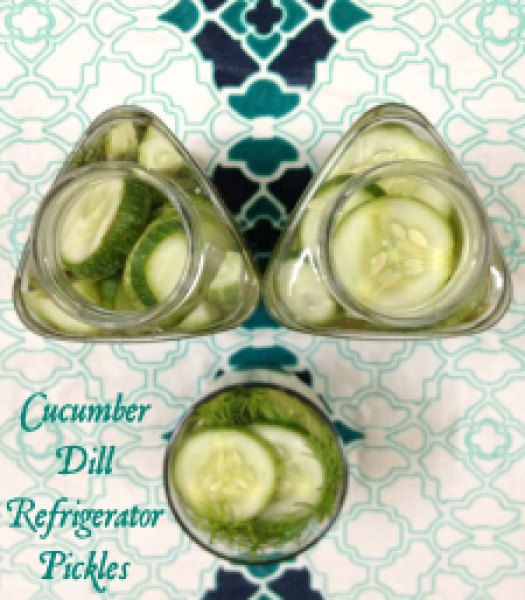
Cucumber Refrigerator Dill Pickles2

This post was supposed to happen last weekend. But life happened, I fell sick and it took me a week to recover so here I am again with the list of never-ending excuses! But I’m sure you guys understand. Anyways… Let’s get on with the post. You’ve waited long enough!

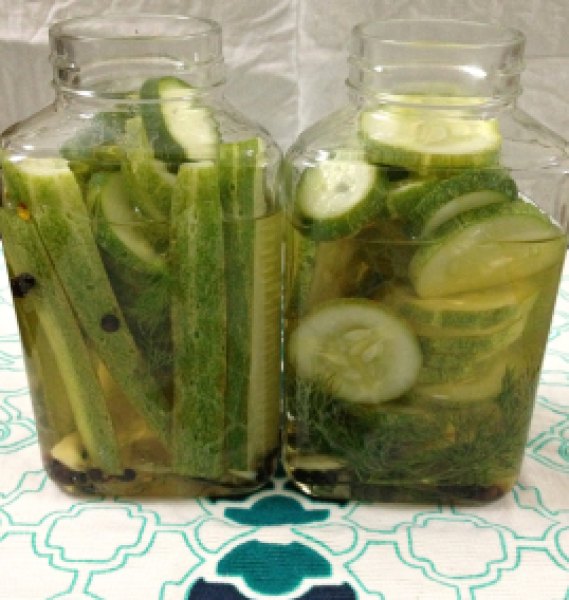
You would think that I am a little late with this particular post.. Summer is the time for pickling. But don’t you worry… I’ve got this covered for ya! This refrigerator pickle can be made any time of the year. As long as you get cucumbers and fresh dill! And if you’re in super-cold parts of the world, then dill seeds would work perfectly too! Don’t like cucumbers? (As if it’s even possible!!), use jalapeno peppers, beetroots*, carrots* or red peppers. They would be equally delicious if not more!

*These vegetables will need 30-60 seconds of quick blanching in boiling water before they can be pickled for better flavor-absorption.

Cucumber Refrigerator Dill Pickles3

This was my first time making pickles. Little veggies in jars with vinegar. So much happiness!! I was quite nervous and excited at the same time, so I started reading a lot on the subject (In short, I Googled a lot!) before taking the plunge. I suggest you do the same. It’s a whole new world! Thankfully I was not canning. Made just a small batch considering small size of my refrigerator. It turned out to be pretty easy! Nothing to be afraid of.. So rinse away some glass jars and ease our way in this new world of quick pickles.

The only place you’ll struggle is waiting before digging in. Yes, 48 crucial hours before you can munch on these. Have patience and this too shall pass! 🙂

I short-listed 2 recipes online. Both seemed easy and great but different in terms of the usage of vinegar. I like my pickles tart hence I used the recipe calling for more vinegar. The changes I made are, I used fresh dill instead of dill seeds and added some sugar to the brine and that is how I liked it. You can click on the link below to check the original recipe. I would try the second recipe next time around. It will please those who thinks there is ridiculous amount of vinegar used in my recipe below. 😉 The link for less vinegary recipe is at the end of the post.

Enjoy! Happy Weekend!

Cucumber Refrigerator Dill Pickles1

Cucumber Dill Refrigerator Pickles

Recipe adapted from The Kitchn

Yields: 2 pints

Ingredients:

  • 600 gm / 1.5 pounds cucumbers (Around 3 medium sized)
  • 1 cup apple cider vinegar
  • 1 cup water
  • 1 Tbsp pickling salt (I used sea salt)
  • 2 Tbsp sugar
  • 6 garlic cloves, peeled (2 per jar)
  • 1/4 tsp red chili flakes per jar
  • 10-12 sprigs of fresh dill per jar
  • 1/2 tsp black peppercorns per jar

Directions:

  1. Wash and cut the cucumbers. Leave the skin on but wash thoroughly to ensure that there’s no dirt on them. Cut them in either slices or spears.
  2. In a medium saucepan, bring vinegar, water, pickling salt and sugar to a simmer. Once simmering, remove from heat.
  3. Divide the spices and dill sprigs among 2 or 3 clean glass jars. The number of jars depend upon the size of the jar you’re using.
  4. Add the sliced cucumbers and pack tightly. Do not pack very hard to bruise the cucumbers. Pour warm brine in each jar, leaving approximately 1/2-inch headspace.
  5. Tap jars gently on countertop to dislodge any trapped air-bubbles. Apply lids and let jars cool to room temperature. Place jars in refrigerator and let them sit for at least 48-hours before eating. Pickles will last for up to 1 month at least.

You may also want to try: Refrigerator Dill Pickle from Annie’s eats

Share this recipe: