Tag: lemonzest

Good Morning with Strawberry Swirl Sweet Rolls

Strawberry Swirl Sweet Rolls1


Heya!

Hope you all had an amazing Christmas & got to spend time with family, friends and your loved ones! I had a fantastic day which started with a breakfast of these delicious Blueberry Pancakes. I used this recipe with the addition of frozen blueberries in the batter. Nibbled on some cheese, chocolate and Fruit Cake which had time to age for more than 3 weeks. Took a walk with hubby. And spent the rest of the day watching Miracle on 34th street & It’s a wonderful life, cozying up in a blanket. It was indeed a wonderful day!

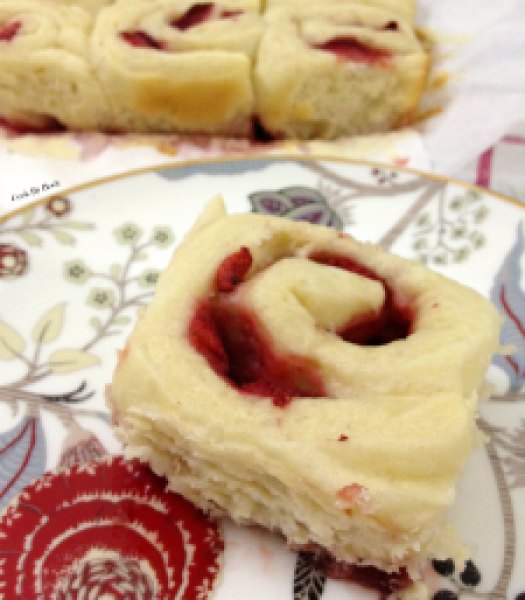
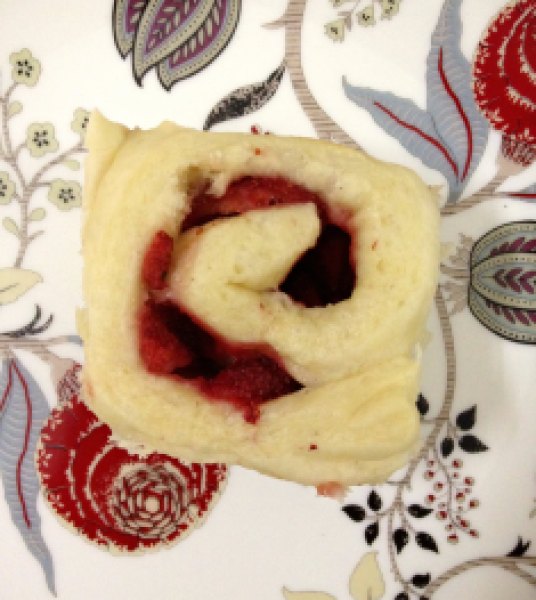
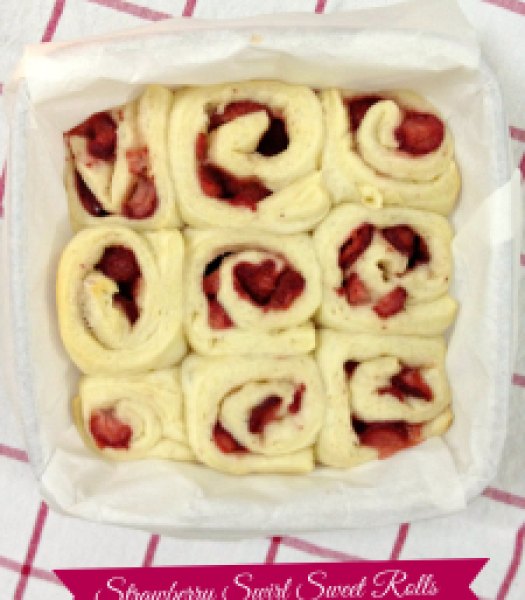
Today I have got you a perfect holiday entertaining recipe. Ring the morning of 2014 with these juicy, sticky and sweet strawberry rolls. They are tender and puffy, utterly soft and buttery. Totally melt-in-your-mouth-experience! Plenty festive too!


Strawberry Swirl Sweet Rolls3


This happened to be a big win for me before the end of 2013. I finally concurred my fear of handling yeast and got these rolls right at first attempt! Woohooo!! They are that easy people! Just read the recipe carefully before starting the prep and follow all the steps, you are halfway there! The wait time of 4 hours is a bit tedious but if you do not have that kind of time at a stretch then you can do all the work at night. After the 1st rise in a warm place, let the rolls rise overnight at room temperature to bake in the morning. That way you don’t have to wait till noon to eat them! Convenient, isn’t it?! 😉


Strawberry Swirl Sweet Rolls2


Double this recipe if you’re serving a larger crowd. You can freeze the extra rolls sans the glaze and reheat them in micro when sweet roll cravings hit. Also, I do not have pictures with the glaze but it is absolutely necessary to top these with glaze. Okay, it is up to you to decide (Nope, glaze is MUST!). Not that I am pushy but the glaze makes them sweeter and better!

Happy Holidays!!!
Enjoy!!

Strawberry Swirl Sweet Rolls

Recipe & preparation minimally adapted from Food & Wine

Servings: Makes 9 rolls | Prep time: 30 minutes | Bake time: 25 minutes | Total time: 4 hours 30 minutes

Ingredients:

DOUGH

  • 1/2 cup milk
  • 1/3 cup white granulated sugar
  • 3/4 Tbsp instant dry yeast
  • 1/4 cup unsalted butter, softened to room temperature
  • 1 large egg
  • 1/2 tsp grated lemon zest
  • 1/4 tsp salt
  • 2 and 1/4 cups + 2 Tbsp all-purpose flour, plus more for dusting/rolling

FILLING

  • 3/4 cup frozen strawberries, sliced thick (NOT thawed)
  • 1 tsp grated lemon zest
  • 3 Tbsp white granulated sugar
  • 1/2 tsp cornstarch

GLAZE

  • 1/2 cup confectioners’ sugar
  • 1 and 1/2 Tbsp cream/milk

Directions:

  1. MAKE THE DOUGH: In a small saucepan, warm the milk over low heat until warm (No need of using thermometer but about 95ºF). Pour the warm milk into the bowl of a stand electric mixer fitted with the dough hook and manually stir in the sugar and yeast. Let stand until the yeast is foamy, about 5 minutes. Add the softened butter, egg, zest and salt. Scrape down the sides and manually stir as needed. Gradually add flour and beat at medium speed until a soft dough forms. Increase speed to medium-high and beat until the dough is soft and supple, about 10 minutes longer. *If you do not have a stand-mixer with a hook attachment, knead the dough by hand in this step.Transfer the dough to a lightly floured surface and knead it with your hands for about 2 minutes. *You may add little more flour if the dough is still too sticky to handle at this point. Form the dough into a ball and transfer it to a lightly greased bowl. Cover the dough and let sit in a warm place until doubled in size, 1 to 2 hours.

    Line the bottom of a 8×8 inch baking dish with parchment paper,leaving room on the sides. Turn the dough out onto a lightly floured work surface and, using a rolling pin, roll into a 10×14 inch rectangle. I used a ruler for accuracy. Make sure the dough is smooth and evenly thick, even at the corners.

  2. MAKE THE FILLING: In a medium bowl, toss the frozen strawberries slices with the lemon zest, sugar and cornstarch. Spread the cold sugared strawberries evenly over the dough. Tightly roll up the dough to form a 14-inch-long log. Cut into 9 even rolls (about 1.5 inches in width each). Arrange them in the prepared baking pan, cut sides up. Cover the rolls and let them rise in a warm place until they are puffy, about 2 hours. The berries will release their juice at the bottom of the pan – this is OK.
  3. Preheat the oven to 200ºC/400ºF degrees. Cover the rolls with aluminum foil and bake for about 20 minutes covered and 5 minutes uncovered, until they are golden and the berries are bubbling. Transfer the pan to a rack to cool for about 15 minutes.
  4. MAKE THE GLAZE: In a small bowl, whisk the confectioners’ sugar and cream/milk until smooth. Add more sugar or cream, depending how thick you want the glaze. Pour glaze over the rolls and serve warm.

*Make Ahead: During the second rise, cover the sliced rolls and let sit overnight at room temperature before baking. Baked rolls sans glaze can be frozen up to 2 months and warmed up to enjoy at a later date. Glaze right before serving.

Strawberry Swirl Sweet Rolls4

Share this recipe:

SugarPlum Cinnamon Buttermilk Cake

SugarPlum Cinnamon Buttermilk Cake1

Happy Half New Year Everyone!!

You must be thinking who remembers or celebrates that! Neither do I! But got reminded of it on through WhattsApp messenger. Guys, we are in the middle of the year, we have finished 183 days of the year already! Another 182 days to go! Today is 184th day.. I know I am a day late in wishing you all but if none of you even remembered it then it doesn’t count, right? 😉

I can’t believe how half the year has already passed by and time has engulfed us in its speed that we can barely keep up! I have not even started ticking my to-do list of this year. So I really need to brace myself as soon it will be Christmas even before we know it!

And its finally raining in Bangalore!! Not as much as I would like but hey I am not complaining. Bangalore marked half of the year by gracing us with rain yesterday evening. I was so happy that I had to do a little dance, listen to my fave songs and bake! With cinnamon!!! I love how the aroma of cinnamon fills the house and this smell mixed with the smell of rain is almost heavenly!

SugarPlum Cinnamon Buttermilk Cake2SugarPlum Cinnamon Buttermilk Cake3

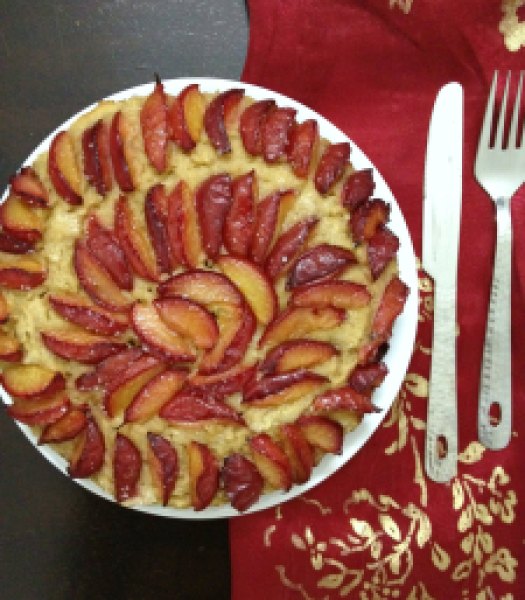
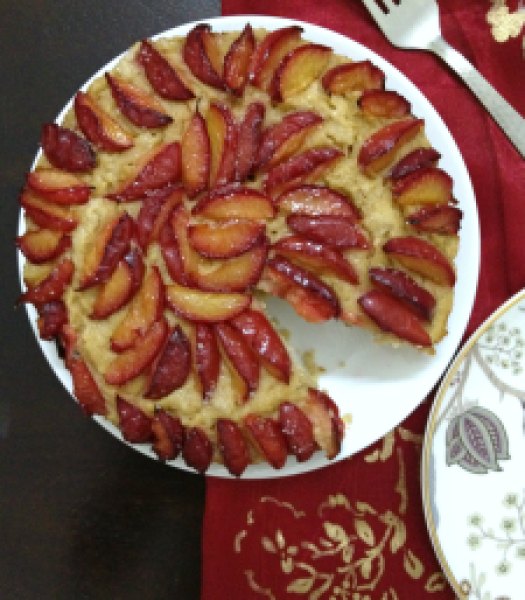
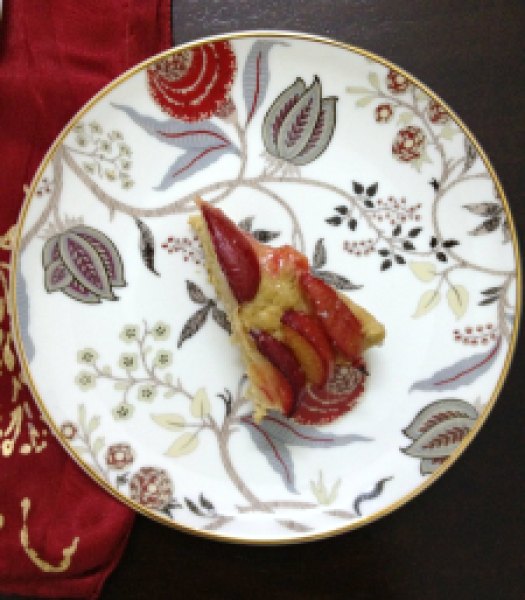
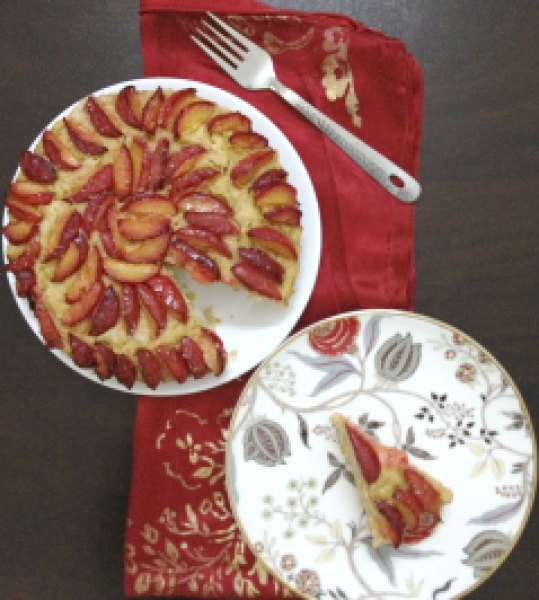
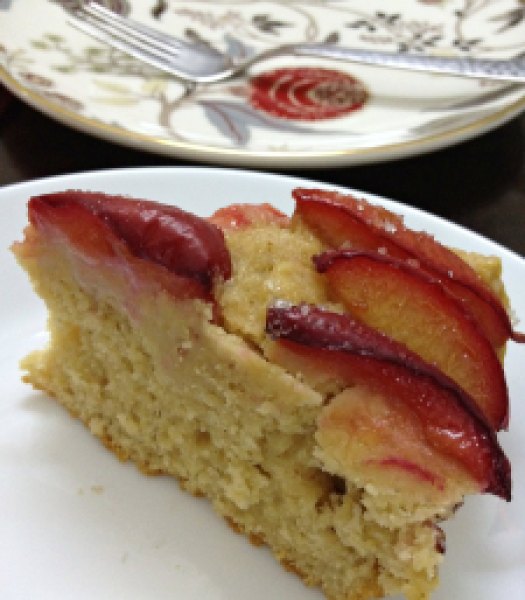
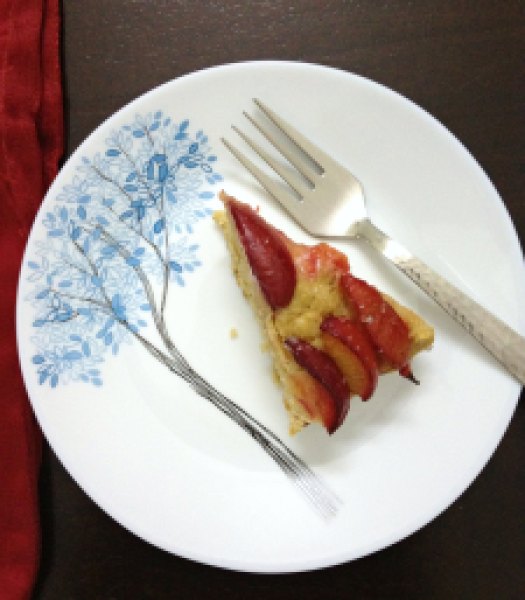
I had bought almost 2 kg of sugarplums from my regular supermarket as it was on sale! Half of them were super-ripe and sweet so it goes without saying that we enjoyed them just like that. Rest of them were quite sour and tart for which hubby & I both have got pretty low tolerance so I decided to use them in a cake.. A topping for a simple cinnamon buttermilk cake! They look like red jewels… So adorable it makes my heart sing! Plus, all the tartness is masked by the sweetness of the cake.

SugarPlum Cinnamon Buttermilk Cake4SugarPlum Cinnamon Buttermilk Cake5

As it was raining, there was music and I was in a mood to dance while I bake, I decided to whip the batter with hand. It was so therapeutic!!! No mixer is required for this cake and only 2 dirty bowls! Complete win-win.. 🙂

The plums I had were quite firm so slicing slivers from them was not so messy and quite pleasing experience. Be sure to use a sharp knife for this. Each plum will give around 8 slices.

Perfect as a coffee/tea time cake & perfect as a dessert served with vanilla custard or sweetened whipped cream or vanilla ice-cream!

Oh, did I mention it is healthy?? 😉

Enjoy!

SugarPlum Cinnamon Buttermilk Cake6

SugarPlum Cinnamon Buttermilk Cake

Adapted from Super Natural Every Day – Heidi Swanson

Prep Time: 25 min | Baking time: 30 min | Serves: 12

Ingredients:

  • 2 and 1/2 cup whole wheat flour
  • 1 Tbsp baking powder
  • 1 Tbsp ground cinnamon
  • 1/2 cup caster sugar
  • 1/2 tsp salt
  • 2 large eggs
  • 1 and 1/2 cup buttermilk
  • 1/4 cup butter, melted and cooled
  • zest of 1 very large lemon
  • 6-8 sugarplums, thinly slivered (ripe yet firm)
  • 3 Tbsp granulated white sugar

Directions:

  1. Preheat oven to 200 C/400 F. Grease an 11″ tart pan or quiche dish.
  2. Sift together flour, baking powder, cinnamon, sugar and salt in a bowl. In a separate large bowl, whisk together the eggs, buttermilk, melted butter and lemon zest.
  3. Add dry ingredients into wet ingredients and mix until all the flour pockets disappear and the batter is just combined.
  4. Spoon batter into greased pan, tapping the pan over the working station. Smooth the batter with back of your spoon, spreading it out towards the edges. Arrange plums in a circular pattern or just scatter them around. Top with granulated white sugar evenly.
  5. Bake for 30 minutes or till the toothpick inserted in the center comes out clean. Serve warm with a dusting of icing sugar or vanilla custard or sweetened whipped cream or vanilla ice-cream.
Share this recipe:

Lemony Peas & Mushroom Pasta & My Random Thoughts

“When you want something, all the universe conspires in helping you to achieve it.”
– Paulo Coelho in The Alchemist

And it really happened to me! Something really tiny, to prove it right. But it did happen and now I have altered perspective.. Of course you would have read about this in the book ‘The Secret’ but it is hard to believe anything till you experience it personally.

Let me come straight to the point and tell you what exactly happened. There is a place close to my house where my friend once saw a snake and after she told me about this incident when ever I used to pass from that place I used to think about a snake crossing my path. I am pretty scared of snakes and I mean who isn’t! So that anticipation, that fear was always there in the back of my mind. I used to imagine about snake coming out of nowhere and crossing my path every single time! It was and is crazy till now! So this thinking continued for around 4-5  months. And on one rainy evening finally my vision came to life! Instead of one I saw two snakes, intertwined with each other, dancing at tunes being played by rain gods. Oh yeah, there it was! In front of my eyes! I stared in bewilderment! I thanked my lucky stars fervently that I was not on foot and was protected by my car. And even till date, whenever I pass by I still think about the snakes crossing my path. You know how human mind works (or at least mine seem to!)… I try not to think about it but it’s there! So much that I have started skipping that area altogether!

So if you are still with me on my randomness (WOW, you are!) let me ask you something.. Is it only me or does it happen with you too? You would want to know why I am writing about it on my blog today?!! As mentioned in my last post I am turning 28 tomorrow and I was just reflecting on what all happened in last year and how I want my life to be in next year.. If our mind and thoughts have power to make it real, why not use it positively? I can constantly think about good things to happen and shape my life accordingly! Isn’t it just genius?!… Things to ponder!

So I’ll stop talking now about random stuff (Finally!!!). I sincerely thank you for being there in front of the screen and I love you for reading this post (longest till date!). I really do! 🙂

 It’s my birthday week so I am cooking all of my favorite things and you all know how much I LOVE pasta! So I made this simple pasta dish with peas and mushroom.

Lemony Peas & Mushroom Pasta1

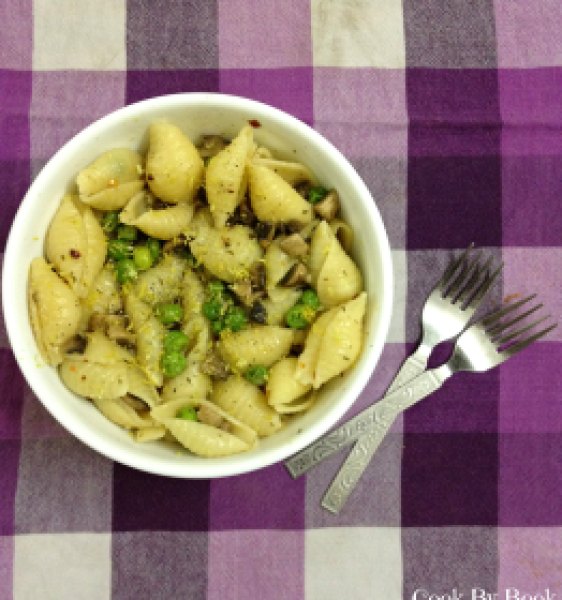
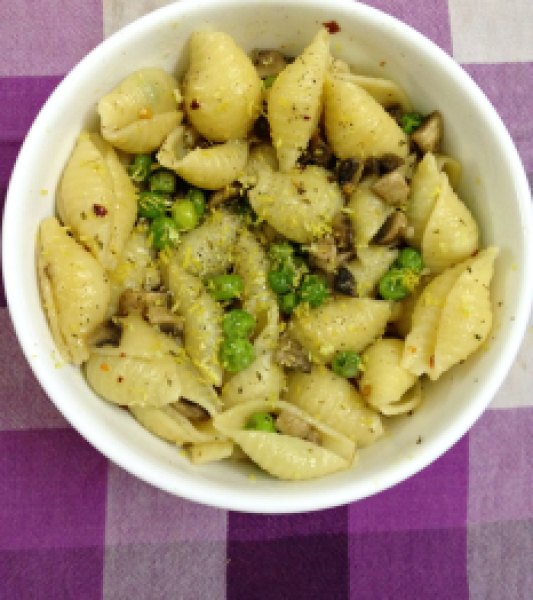
I used Conchiglie pasta in this recipe but you can use any other short pastas you have like Fusilli, Orecchiette or Farfalle.

Peas have been mildly blanched so you get the crunchy texture. Tad bit of Cheddar is added to make it perfectly cheesy. Addition of lemon zest just takes it to another level! It is light, buttery and perfect for quick lunch/dinner.

Lemony Peas & Mushroom Pasta2

Lemony Peas & Mushroom Pasta

Serves: 2

Ingredients:

  • 2 cup Conchiglie
  • 1 cup peas, fresh or frozen
  • 1 cup button mushrooms, diced
  • 1 Tbsp butter
  • 3-4 cloves of garlic, minced
  • 1/2 tsp red chili flakes
  • 1/2 tsp onion powder
  • salt and pepper, to taste
  • 2 Tbsp grated Cheddar
  • zest of 1 lemon
  • fresh parsley, chopped finely, optional

Directions:

  1. Cook pasta as per the manufacturer’s instruction. Reserve 1 cup of pasta water. Pour the remaining pasta water over the peas in colander so that peas will get blanched and pasta will get drained. If you want more tender peas then add them to the pasta pot 1-2 minutes left of cooking time.
  2. Heat the butter over medium heat in a large saucepan and add minced garlic. Saute it for about a minute, then add mushrooms and saute it for 4-5 minutes until tender.
  3. Add onion powder, chili flakes, salt and pepper. Then add 1/4 cup of pasta water and cooked pasta and peas to the pan. Add little more pasta water if required. Turn off the heat.
  4. Finish it off with grated Cheddar and lemon zest. Garnish with fresh parsley and serve.
Share this recipe:

Zesty Lemon Ice-cream with Blueberry Swirl

Zesty Lemon Ice-cream with Blueberry Swirl1

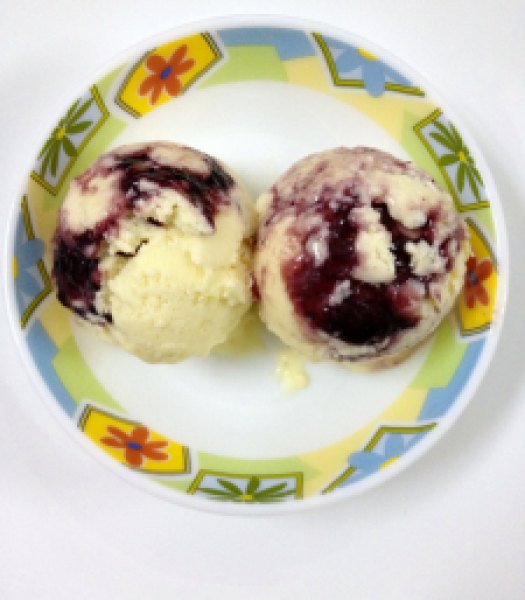
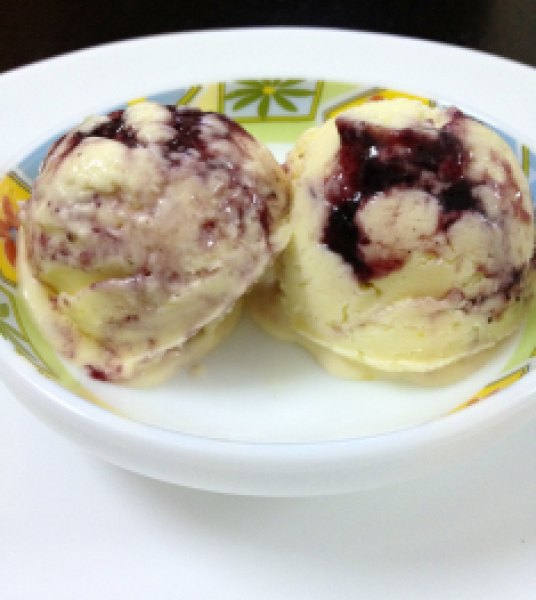
I have a declaration to make. This is by far THE best ice-cream I have ever made! Seriously!!! It’s so good that I could not believe this was made by me at home without the use of ice-cream maker. It came out so perfect, it was definitely to die for!

It was tart, light, refreshing, tangy, sweet, velvety… Lick-your-bowl good if you still don’t get what I mean! Everything you want your lemon ice-cream to be and more!

This ice-cream definitely screams SUMMER!

We are making this one little bit differently than how we were doing with our previous ice-creams. First, we need to make lemon curd for the base and then fold it in with whipped cream. That’s it!

Lemon curd is wonderful and super easy to make. It is so versatile that apart from using it in this ice-cream, you can use this as a filling for your tarts, pies and cakes or simply as a spread for your scones!

We are going to cook the lemon curd in a stainless steel bowl placed over a saucepan of simmering water aka double boiler. It will only take about 3-4 minutes to cook.

I have scaled down the recipe to make ice-cream for just 2 people. I have been whipping ice-cream daily so you can understand why I would do this! But I regretted my decision as soon as I had its first bite.. It was heavenly! And I wanted more!! 🙁

So let’s get down to the business!

Zesty Lemon Ice-cream with Blueberry Swirl2

Zesty Lemon Ice-cream with Blueberry Swirl

Yields: around 6 scoops

Ingredients:

  • 1 small egg
  • 1/4 cup granulated white sugar
  • 1 Tbsp lemon juice, sieved so that it is free from pulp
  • 1 Tbsp unsalted butter, room temperature
  • Lemon zest from 1 lemon
  • 1/2 cup fresh medium fat cream (40%), chilled
  • 2 Tbsp blueberry compote

Directions:

  1. In a stainless steel bowl placed over a saucepan of simmering water, whisk together the egg, sugar and lemon juice until blended. Cook, stirring constantly (to prevent from curdling), until the mixture becomes thick. This will take about 3-4 minutes to cook.
  2. Remove from heat and immediately pass the mixture through the sieve to remove any extra lumps. Whisk in butter and lemon zest. Let cool. It will continue to thicken as it cools down further. Freeze it till cream is ready.
  3. Whip the fresh cream till soft peaks form. Gently fold in the chilled lemon curd. If it is too tart for you then add more cream as per your taste.
  4. In a small airtight container, spoon in half the mixture and top it with blueberry compote, top with rest of the mixture and freeze for 4-5 hours before serving. Serve it topped with fresh blueberries and dig in!

*Tips: Lemon curd has to be made with fresh lemons. Juice lemons at room temperature to get more juice and strain the juice to remove any pulp from it. While grating the zest from the lemon, be sure not to remove pith (white membrane) from the lemon as it is very bitter tasting. Cold lemons are much easier to zest. You can use a zester or fine grater for this. Do this just before using as the zest will lose moisture if it sits out too long.

Lemon curd recipe scaled down and barely adapted from Joy Of Baking

Share this recipe:

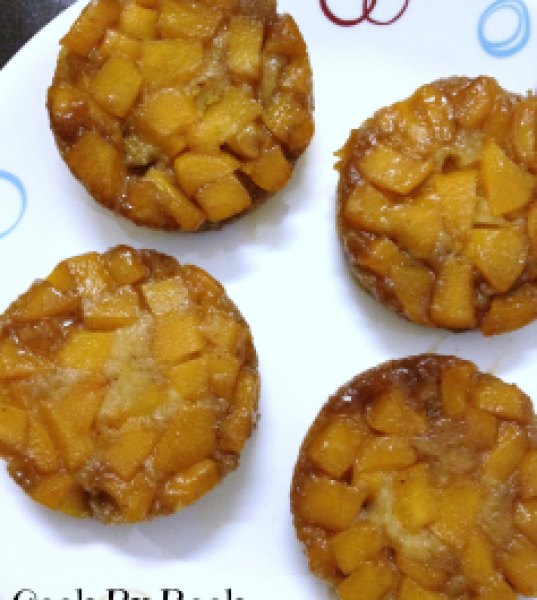
Peach Upside-Down Mini Cakes with Lemony Bits

Peach Upside-Down Mini Cake5

!!!Happy Father’s Day!!!

I know I am about a week early for Father’s day post but I just couldn’t stop myself from posting this scrumptious desert li’l bit early as it’s my dad’s birthday on June 9. We stay miles apart so he would not be able to taste it but that couldn’t stop me from baking something special for ‘The Most Special Man’ in my life.

My dad has been the strongest pillar for me and my sis. He is my greatest supporter, admirer and best friend. He has scolded me when he must and patted my back even at my smallest of achievements. He has taught me to ride bicycle and has held me before I fell and hurt myself. He has felt my injuries and illness more than I have suffered from them. I have been able to share anything and everything with him. He is the BEST FATHER I could have ever asked for and I thank my lucky stars everyday for it!

I will not be there to celebrate this special day along with my family but I would like to send my regards and bestest of wishes along his way. Wishing you a very very very Happy Birthday Dad! May God Almighty bless you with the best of health & may all your wishes come true!!!

My dad has been a big fan of summer fruits. As kids I remember my dad bringing bags full of peaches, plums, figs, melons and mangoes uberfresh from Farmer’s Market for us days-after-days. (Actually in case of mangoes, sacks full of it!!!) This is what turned me into biggest fruitaholic! I used to wait on summer holidays for the biggest fruit bonanza to begin so that I could keep hogging on freshest of produce!

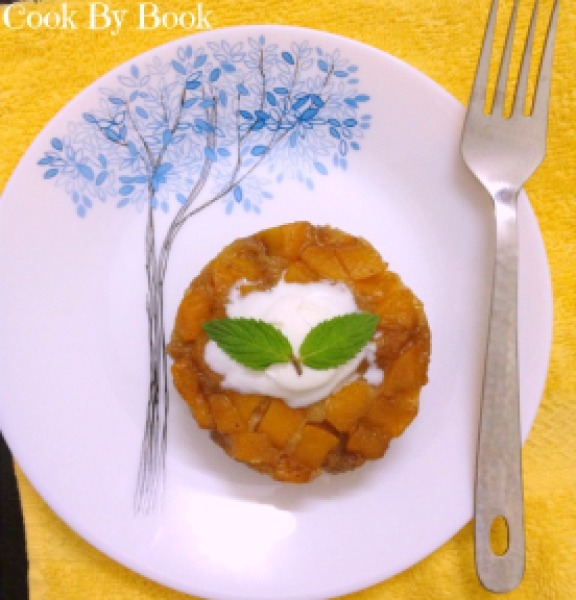
So on his special day I decided to bake using something which bound us as a family. Our love for summer fruits being one of it! I bring to you a very simple yet decadent ‘Peach Upside-Down Mini Cakes with Lemony Bits’

Be sure to bake this for Father’s Day to make your dad feel extra-special!
Its not extravagant but will surely please your dad!

Peach Upside-Down Mini Cakes with Lemony Bits

Yields: 4 mini cakes

Ingredients:

  • 1/4 cup softened unsalted butter, divided
  • 1/4 cup light brown sugar
  • 3 medium peaches, peeled, cored and diced
  • Lemon zest of 2 lemons
  • 1/4 tsp ground cinnamon
  • 1 cup, plus 2 Tbsp whole wheat flour
  • 1 tsp baking powder
  • 1/4 tsp baking soda
  • 1/8 tsp salt
  • 1/2 cup granulated white sugar
  • 1/2 cup vanilla yogurt
  • 1/2 cup milk
  • 1 tsp vanilla extract
  • Ice-cream, whipped cream or sweetened yogurt for serving (optional), I served mine with vanilla ice-cream and it tasted divine!

Directions:

Preheat the oven to 350 F/170 C. Grease each of 4 (8-oz) ramekins with 1/2 Tbsp of butter. In a small cup, melt rest of the butter and keep aside.

Peach Upside-Down Mini Cake1
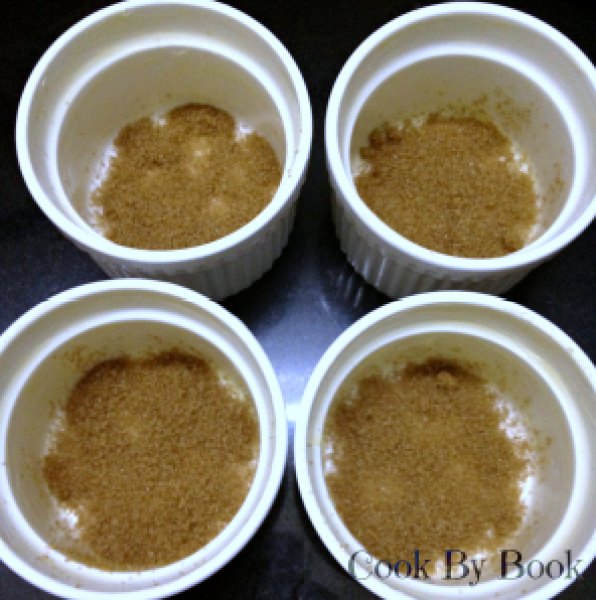
Sprinkle 1 Tbsp brown sugar evenly at the bottom of each ramekin.
Peach Upside-Down Mini Cake2
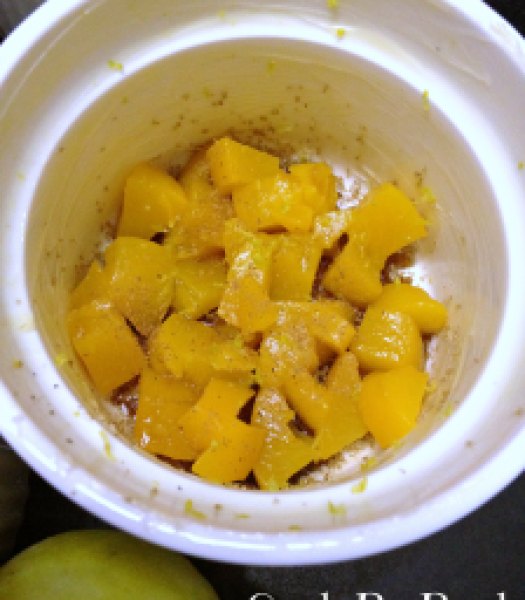
Mix diced peaches with lemon zest and ground cinnamon and divide them equally among 4 ramekins.

In a medium bowl, whisk flour, baking powder, baking soda and salt. In a separate bowl, whisk together sugar, yogurt, milk, vanilla and the reserved melted butter.  Add wet mixture to dry mixture and stir gently to barely combine. Do not over-mix.

Peach Upside-Down Mini Cake3
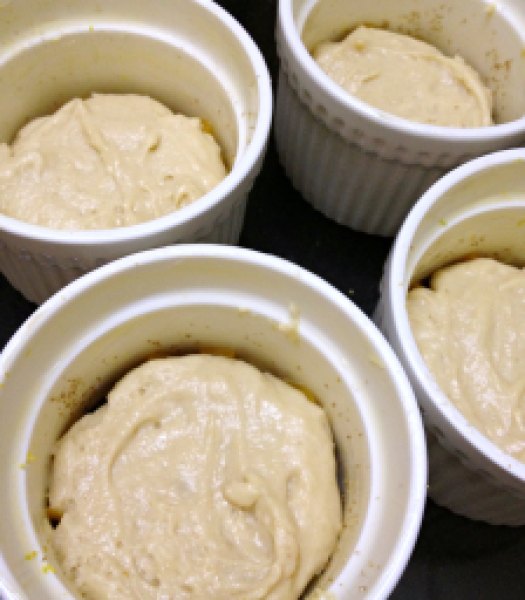
Spoon batter over peaches, diving equally.

Place ramekins on baking sheet and let it bake for 23-25 minutes or till the toothpick inserted in the center of the cakes comes out clean. Transfer ramekins to cool on wire rack.

Peach Upside-Down Mini Cake4
If serving immediately let cool for 5 minutes and run a knife around the edge of each ramekin and turn upside down onto serving plate. Serve topped with ice-cream, whipped cream or sweetened yogurt, if desired or as is.

If you are baking ahead of serving time then let the cakes cool for 10 minutes before releasing them from ramekins as the sugar and fruit juices would have thicken a bit by then. Re-hit in the microwave for 20-25 seconds before serving.

Directions:

  1. Preheat the oven to 350 F/170 C. Grease each of 4 (8-oz) ramekins with 1/2 Tbsp of butter. In a small cup, melt rest of the butter and keep aside. Sprinkle 1 Tbsp brown sugar evenly at the bottom of each ramekin.
  2. Mix diced peaches with lemon zest and ground cinnamon and divide them equally among 4 ramekins.
  3. In a medium bowl, whisk flour, baking powder, baking soda and salt. In a separate bowl, whisk together sugar, yogurt, milk, vanilla and the reserved melted butter.  Add wet mixture to dry mixture and stir gently to barely combine. Do not over-mix. Spoon batter over peaches, diving equally.
  4. Place ramekins on baking sheet and let it bake for 23-25 minutes or till the toothpick inserted in the center of the cakes comes out clean. Transfer ramekins to cool on wire rack.
    If serving immediately let cool for 5 minutes and run a knife around the edge of each ramekin and turn upside down onto serving plate. Serve topped with ice-cream, whipped cream or sweetened yogurt, if desired or as is.
    If you are baking ahead of serving time then let the cakes cool for 10 minutes before releasing them from ramekins as the sugar and fruit juices would have thicken a bit by then. Re-hit in the microwave for 20-25 seconds before serving.

Enjoy with your family! 🙂

Share this recipe: