Tag: Fruit

Lemon Crinkle Melts

Lemon Crinkle Melts1

A melt in your mouth lemon cookies.. Ooh, how I love thee. I craved them one afternoon so bad that I had to bake them PRONTO! I LOVE lemon even more than chocolate. Please don’t hate me! If there is a choice between chocolate and fruit, I most certainly always choose the latter (umm..yess.. mostly!). Chocolate vs lemon tart? Absolutely lemon tart! Chocolate donuts or strawberry filled donuts? Undoubtedly strawberry! Are we still friends? Okay, great! 🙂

Lemon Crinkle Melts2

These cookies were SOOO GOOD that I might have tried eating 4 in a go. Don’t try to picture that! I found this fantastic recipe on White On Rice Couple blog and they looked so gorgeous that I had to make them. I slightly reduced the quantity of butter and sugar mentioned in the recipe to suit our taste and they were perfect for us.

This recipe does not use any lemon extract and if you are worried about the lemon quotient then worry not, my friends. They are plenty lemony. I was blown away by the flavor and texture would be an understatement! If you love lemon cookies and love snickerdoodles like I do, you will find yourself stuffing yourself silly with these lovely cookies. Soft interior with slightly crisp exterior achieved by rolling the dough in confectioners sugar before baking. Delicate and bright! What’s not to love?!

Can you tell I’m obsessed? Yeah, this recipe will be definitely made again & again & again.
Enjoy!

Lemon Crinkle Melts3

Lemon Crinkle Melts

Recipe slightly adapted from White On Rice Couple

Yields: Around 24 cookies or more depending on size

Prep time: 10 minutes | Chill time: 30 minutes | Bake time: 9-11 minutes | Total time: 1 hour

Ingredients:

  • 1 1/2 cups all purpose flour
  • 1/2 teaspoon salt
  • 1/4 teaspoon baking powder
  • 1/8 teaspoons baking soda
  • 1 teaspoon lemon zest
  • 1/2 cup packed brown sugar
  • 1/3 cup white granulated sugar
  • 2/3 cup unsalted butter, softened
  • ½ teaspoon vanilla extract
  • 1 large egg (make it eggfree & use 1/4 cup unsweetened applesauce)
  • 2 Tablespoons fresh lemon juice
  • 1/4 cup confectioners sugar

Directions:

  1. Preheat the oven to 180°C / 350°F. Line a couple cookie sheets with parchment paper.
  2. In a medium bowl, whisk together the flour, salt, baking powder, and baking soda for at least 20 seconds. Set aside.
  3. In a bowl of your mixer, add lemon zest, brown sugar, white sugar and mix together with hand. Add butter to the bowl and beat butter and zesty sugar together until light and fluffy. Beat in the vanilla extract, egg and lemon juice until well combined. Scrape down the sides of the bowl and mix again to make sure everything is incorporated.
  4. Stir in the flour mixture until just combined, making sure to scrape the bottom of the bowl to get all of the flour. Cover the bowl with cling film and let the dough chill in refrigerator for 30 minutes.
  5. Sift the confectioners sugar onto a large plate. Form the dough into 1 inch sized balls. Roll the balls in the confectioners sugar then place 2 inches apart on the lined cookie sheets.
  6. Bake for 9-11 minutes or until the bottoms of the cookies just begin to turn light golden and the tops of the cookies look matte (no longer shiny or wet looking). Remove from the oven and allow to cool for a few minutes before transferring to a wire rack to cool completely.

Note: To make these cookies vegan, replace butter with vegan margarine.

Share this recipe:

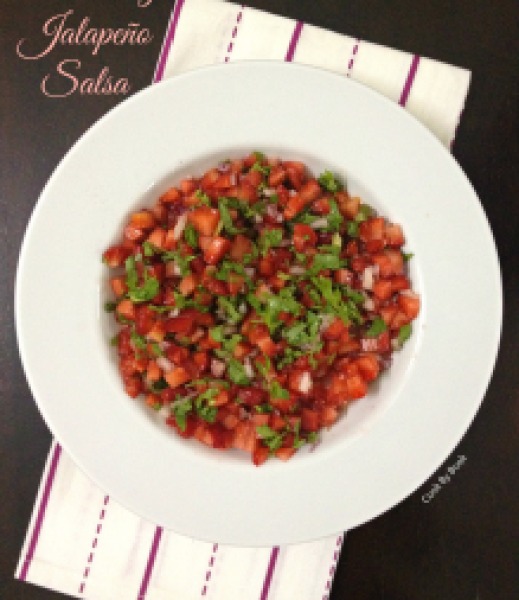
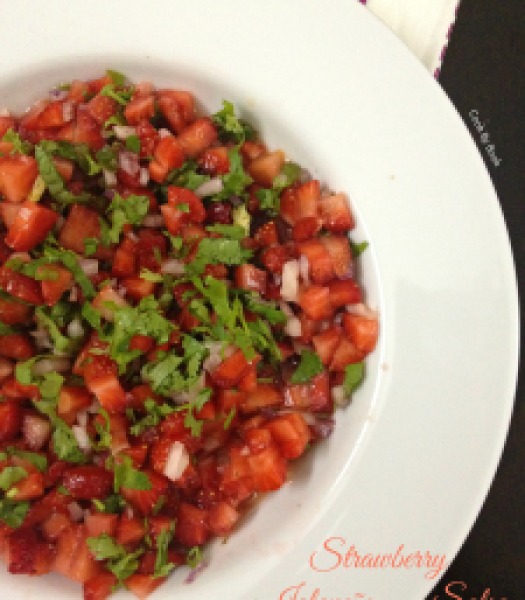
Strawberry Jalapeño Salsa

Strawberry Jalapeño Salsa1


This salsa is so so good. I made it the other night when few friends came over and I knew after the first bite that I had a winner. Thankfully I had clicked few pics beforehand (food blogger problems!) so I decided to make it a post.

Actually, it is quite silly of me to be presenting this as a recipe with strict measurements because, really, you can just chop, drop and taste as you go! So consider this as a rough guideline. You may substitute orange juice in the recipe with lime or make it using pineapple instead of strawberries. Summer on your plate!


Strawberry Jalapeño Salsa3


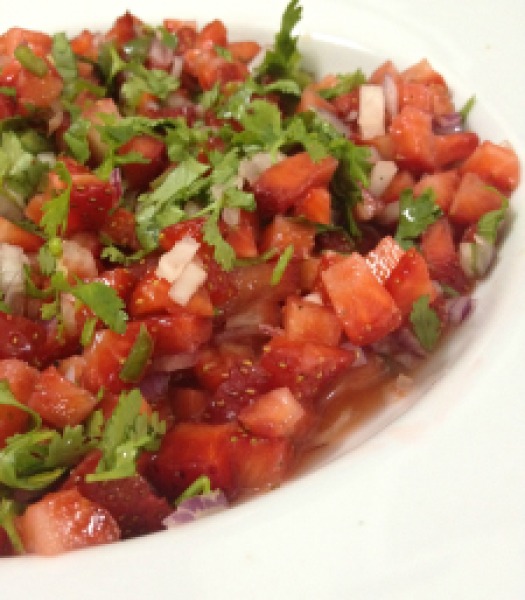
This recipe here works so perfectly and you can use it on chicken, fish, meats, tacos, bruschetta, or just scoop it up with chips! Pretty versatile. Bring it to a pot-luck or a party and I bet no one has had it before! It is sweet, tangy, spicy and has a lot going on. Strawberries are in abundance right now, so go for it!

Brighten up your Monday with this simple yet cracking dish!
Have a great week ahead! 🙂


Strawberry Jalapeño Salsa2


Strawberry Jalapeño Salsa

Serves: 3-4 | Prep time: 10 minutes

Ingredients:

  • 1 small onion, finely chopped
  • 1 jalapeño pepper, seeds removed and finely chopped
  • Zest and juice from 1 medium orange
  • Around 20 fresh strawberries, chopped into small even dice
  • Fresh cracked black peppers
  • Handful of cilantro, rinsed and finely chopped

Directions:

In a large bowl, let onion, jalapeño, orange juice and zest steep till you prepare strawberries.
Add strawberries, pepper, cilantro and toss. Chill until ready to serve.

Note: Don’t make this much more than an hour or so before serving. Like all salsas, it will wilt and the fruit may get a little mushy. An hour is the optical amount of time for the flavors to meld and the juices to start flowing. Longer than that salsa will slowly start to lose its fresh appearance.

Share this recipe:

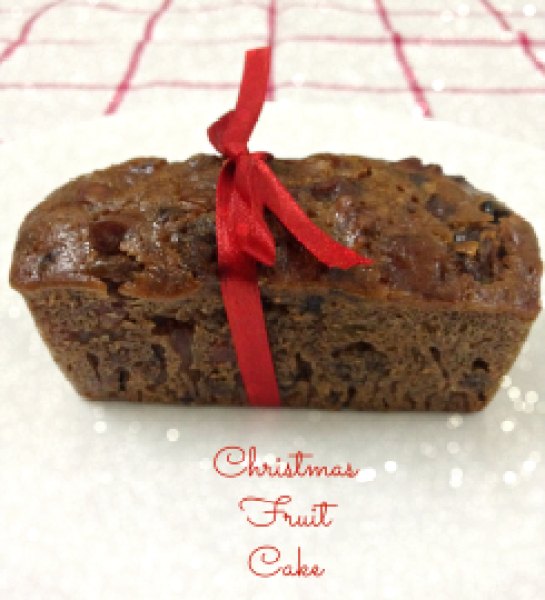
Christmas Fruit Cake

Christmas Fruit Cake1


This was going to be my first year baking Christmas cake. I was super-excited! Really! I prepared the fruit-soak almost 3 weeks in advance which is major for me as I have never been much of a planner! And of course for the recipe as the liqueur gets a chance to marry the fruit 😉

I started hunting for recipes months ago. And I got to know that Christmas cakes have got such bad reputation! They are quite infamous for being boring, dry, overly sweet and like a hard brick that I was fairly skeptical at even attempting to make it at home. It deterred my enthusiasm quite a bit. Hence it was a pretty daunting task zeroing on THE recipe. But finally chanced upon the one which spoke to me and boy, hold your breath people, I have found THE recipe for your Christmas cake this year!


Christmas Fruit Cake4
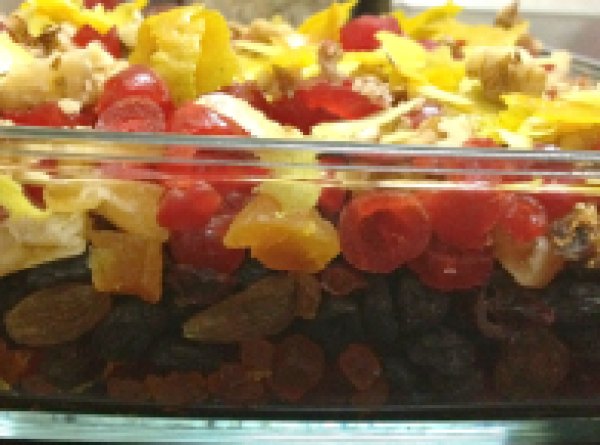
Assorted fruits & nuts mixed in before pouring the liquere


Christmas Fruit Cake2


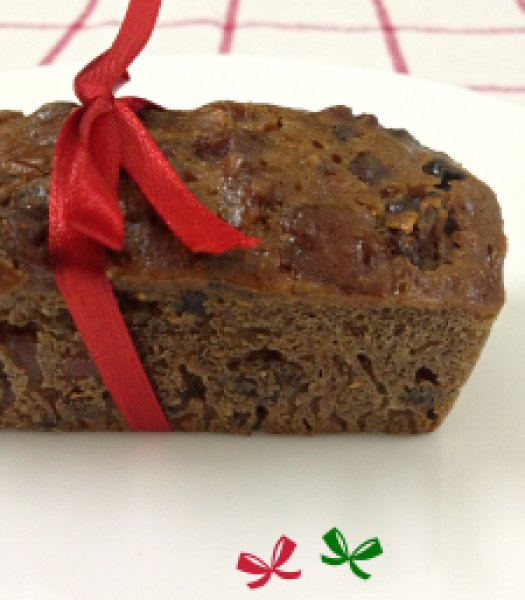
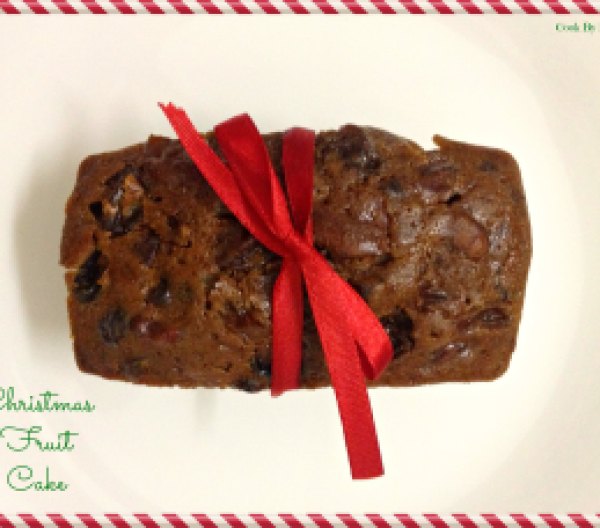
The recipe is fairly simple. As I told you before, the fruit-mix needs to be soaked in advance. Then a night before making the cake, just simmer few ingredients. This step guarantees moister and softer cake as the fruit-mix get a chance to soften up a bit. Dump all the other ingredients into this mixture. And that’s it! You know I have a thing for simple and quick recipes and this was just that! Pop the cakes to be baked in the oven and forget about them for an hour. Do whatever you do in the meanwhile like get lost on Pinterest (so addicting!) or doing your nails (perfect utilization of time!) and they’ll be ready! I did a taste from my mini loaf and the cake was supremely moist! Success!!


Christmas Fruit Cake3


Be sure to wrap the cakes (tightly) soon (when they are still quite warm.. almost hot) after removing from moulds and showering them with liqueur, to avoid anymore direct contact with the atmosphere. This will ensure that the moisture gets locked. If you want more liqueur then feed the cakes every 6-7 days with more liqueur (till ready to eat) and wrap them back. They taste best after several days/weeks of aging so be patient! 🙂

Happy Baking!!
xx

Christmas Fruit Cake

Recipe barely adapted from Rasa Malaysia

Fruit-Mix: To be prepared 2-3 weeks in advance or at least 48 hrs before

  • 7 cups chopped mixed fruits (I used assortment of raisins, sultanas, black currents, dried cranberries, dried apricots, dried pineapple, dried figs, glaced cherries, tutti frutti, orange and lemon peel)
  • 1 cup of roasted nuts (walnuts, almonds, hazelnuts, pecans or pistachio – I used walnuts and almonds)
  • 1-1.5 cups of brandy or rum

Pour the chosen liqueur over dried fruits and roasted nuts and store this mix in a glass airtight container in a cool,dry place.

Preparing Cake:

Ingredients:

  • 1 cup unsalted butter
  • 1 cup brown sugar
  • 1/2 cup honey
  • 1 cup orange juice
  • 1 tsp baking soda
  • 2 1/3 cups all purpose flour
  • 2 Tbsp milk powder (I skipped it & I don’t think it made a difference)
  • 2 Tbsp fresh orange zest
  • 1 Tbsp fresh lemon zest
  • 1 tsp ground nutmeg
  • 1 heaping tsp ground cinnamon
  • 1/4 tsp ginger powder
  • 1/4 tsp ground cloves
  • 4 large eggs, slightly beaten

Directions:

  1. Combine prepared fruit-mix (fruits+nuts+liqueur), butter, sugar, honey, orange juice and baking soda in a large saucepan. Stir over low heat until the sugar has dissolved. Bring the mixture to boil and simmer for about 5 minutes over low heat. Stir consistently. Remove the saucepan and leave to cool. Do this step a night before or few hours before making the the cake as it takes sometime for the mixture to completely cool.
  2. Preheat the oven to 150ºC/300ºF. Grease 8×4 inch loaf pan and 6-count (3×2 inch) brownie pan with butter. Set aside.
  3. In a medium bowl, sift together flour, milk powder, zests and ground spices.
  4. Gently stir in eggs to the cooled fruit mixture. Fold in the dry ingredients. Divide the mixture in to 2 parts and pour one half in loaf pan and the other half in brownie pan. Bake for about 60 minutes or until top slight cracks and is cooked.
  5. Remove the cake from the mould after letting cool for 5-10 minutes and generously brush the tops with brandy/rum. If you’re bold enough, make several holes in the cake by inserting skewer through n through at several places and pour the liqueur generously. Tightly cover with multiple layers of aluminium foil and finally with plastic wrap. Store in an airtight container. The cake tastes best eaten after a few days of aging. If you’re making weeks ahead like I did, brush the cake with brandy/rum every 6-7 days.

*Serve with a dusting of powdered sugar and decorated with glaced cherries and slivered almonds.

♥ Another great recipe I chanced upon is here. Do check it out!

Share this recipe:

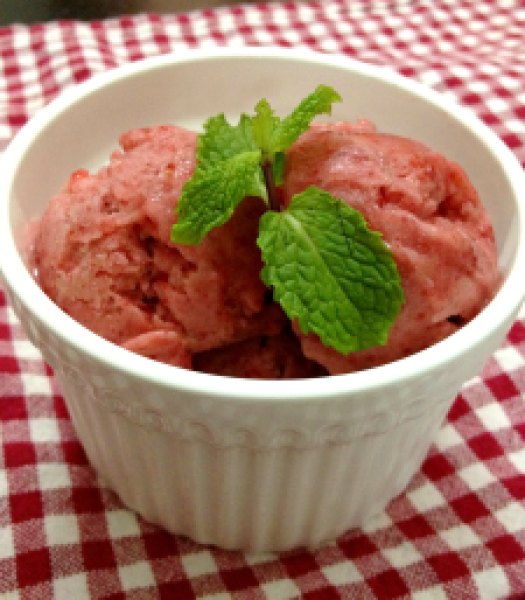
Skinny Strawberry And Banana Frozen Whip

Skinny ice-cream??!! Not joking guys!

A delicious, skinny, dairy-free, sugar-free, 2-ingredient breakfast treat!

Is that an oxymoron?! 😉 Not anymore!

Skinny Strawberry & Banana Ice-cream1

It’s a Wednesday… Middle of the week… So I thought of giving my creamy ice-cream posts a break and present this totally guilt-free fruity treat!

Still can not believe your eyes?

Trust me guys… This ice-cream is magical! Totally melt-in-your-mouth kind!

Tastes totally rich (even if it’s not!) and decadent!

Make it either post-workout and gobble it up immediately (which is just what I did!) or make it pre-workout, chuck it in a freezer and polish it off once you’re back from sweating out!

Totally acceptable as a dessert too!

So how did I accomplish this? If you remember my Mango & Banana Oatmeal Smoothie with a hint of Basil and Peach, Apricot & Banana Minty Milk Smoothie recipe, then you know how I had used frozen banana chunks to get a silky smooth consistency for my smoothies.  Frozen banana chunks get a total make-over when they are whipped in a blender. If you don’t like bananas then this is even better because they don’t even taste like bananas anymore after freezing and whipping! Super-ripe bananas give the best of results! I always have frozen bananas sitting in my freezer waiting to be used! If you don’t then freeze the fruit for at least 2 hours prior to making this.

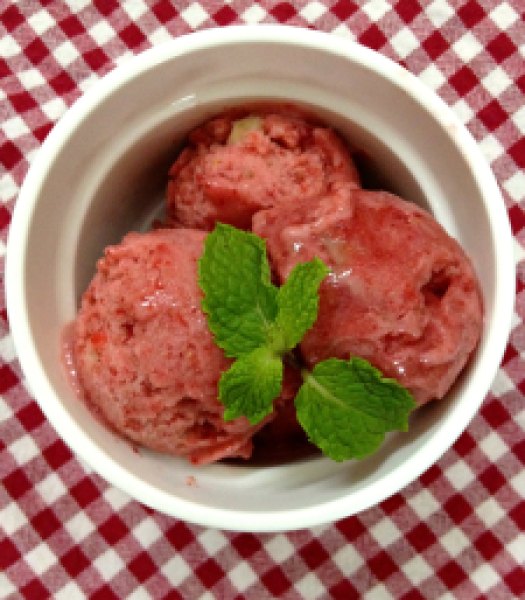
To whipped frozen banana goodness, I added frozen strawberries and the result is in front of you! Put on your thinking caps and start thinking of all the different flavors you can eat this way and that too guilt-free! Add cocoa powder or peanut butter or Nutella or frozen mango cubes or frozen peach cubes… Let me know what you would like to experiment with!

Skinny Strawberry & Banana Ice-cream2

Skinny Strawberry & Banana Ice-cream

Yields: 4 scoops

Ingredients:

  • 1 large overripe banana, cut in to chunks and frozen
  • 4 large strawberries, frozen
  • chocolate-chips for topping (optional)

Directions:

Add the frozen fruit in a blender or food processor bowl and whip for 30 seconds. Scrap down the sides and whip it again till you get a smooth, soft-serve kinda consistency.

Serve immediately topped with chocolate-chips (if using) or re-freeze any left-overs and let soften slightly before enjoying!

*This recipe is my entry for Event by Archana’s Kitchen – Summer Fiesta

Share this recipe: