Tag: Cook

Skinny Basil Veggie Kebabs with Corn Salad

Skinny Basil Veggie Kebobs with Corn Salad4

This week is going to be fun, though I will have to wait for the weekend for really good stuff to begin. I am celebrating my 28th birthday this Friday! I think birthdays should be a month-long celebration but we are all time-pressed in life! Not that it’s any excuse to ignore the small joys life brings our way but sadly, that’s the cruel reality!

Still nothing can slow down the excitement which is coursing through me! Another year has passed by and this year I am feeling more grown-up than ever! It is true that at the moment I am amongst the mayhem in my life as career transition and so much more is happening. Life is a mess right now.. nonetheless a beautiful mess!

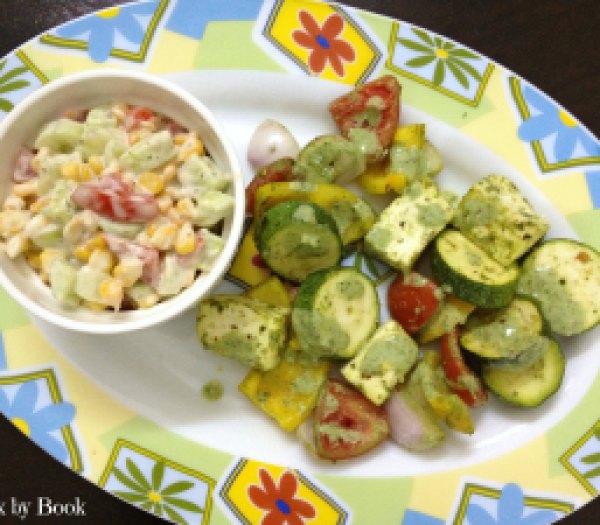
Let’s leave it at that and talk about our today’s recipe. It is a very simple yet delicious way to include so many veggies in your dinner. A light yet filling. I made this last week for dinner and it was so gratifying to get to eat it between the all-week ice-cream madness happening in the house!

Skinny Basil Veggie Kebobs with Corn Salad1

Skinny Basil Veggie Kebobs with Corn Salad2

Skinny Basil Veggie Kebobs with Corn Salad3

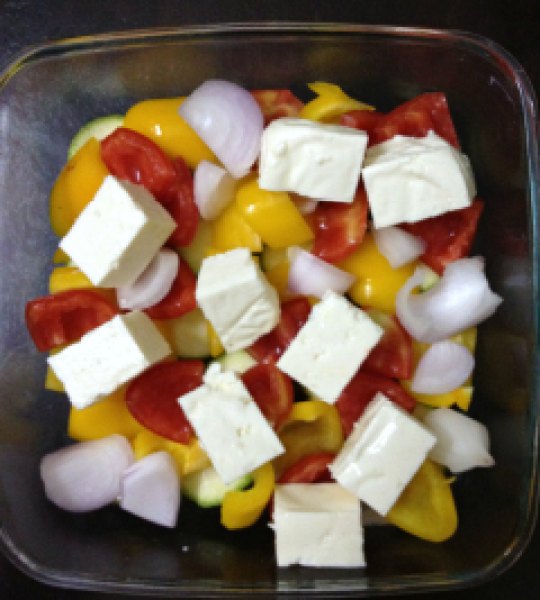
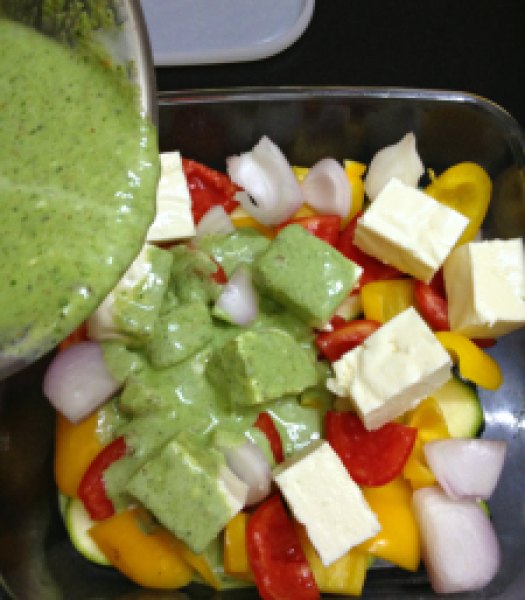
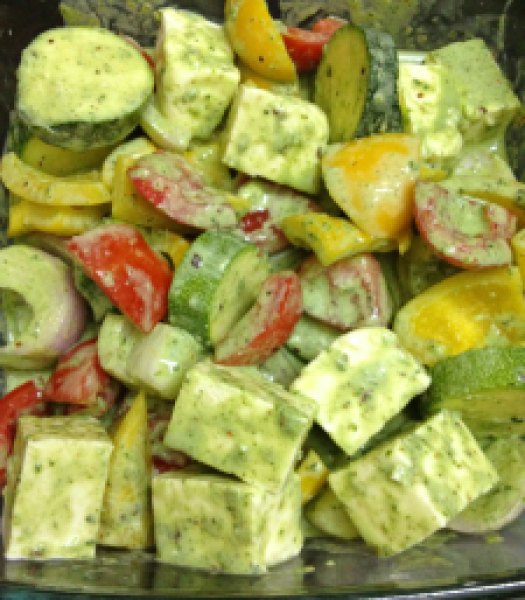
It was kind of cleaning-my-refrigerator day so whatever I had on hand I put that under the marinade and I was glad I did! You can also throw in whatever you have at home. Button mushrooms would be a great addition! I prepared the marinade the night before so the flavors were super-intense. But you can do this at least 4 hours before grill time. It makes a super-quick week-night dinner!

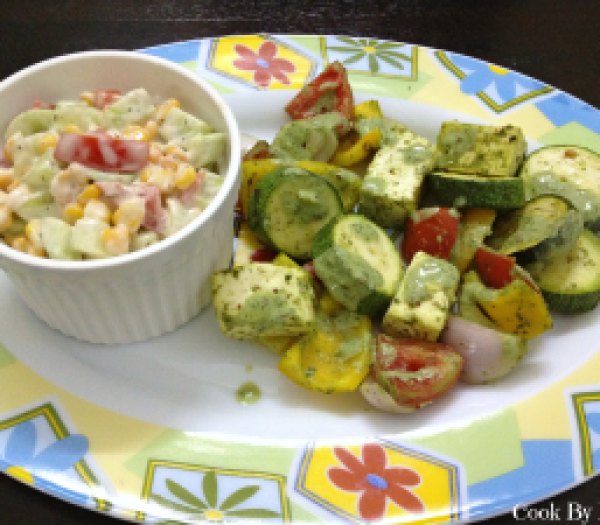
I don’t own a grill so I used my convection oven which came with rotisserie. Veggies could not get charred at all in the oven but they cooked perfectly. Nice and juicy! But if you own one (needless to say in that case, I’m totally J), it will make a great recipe for a BBQ party and the veggies will char beautifully!

Skinny Basil Veggie Kebobs with Corn Salad5

Skinny Basil Veggie Kebabs with Corn Salad

Serves: 2-3

Prep time: 15 minutes | Cook time: 20-25 minutes

Ingredients:

Marinade:

1 and 1/2 cup basil leaves
1/4 cup yogurt (I used home-made)
4-5 cloves of garlic
salt and freshly cracked pepper, as per taste
1 tsp garam masala powder
dash of lemon juice

Kebabs:

1 zucchini (medium sized)
1 bell pepper (I used yellow)
1 large red onion
1 large tomato (de~seeded)
200 gm cottage cheese

Corn Salad:

1 cup boiled sweet corn
1 small cucumber, diced
1 medium tomato, diced
1/4 tsp onion powder
1/2 tsp dry basil
salt and pepper, to taste
1 Tbsp mayonnaise
1 Tbsp yogurt

Directions:

  1. At least 4 hours before, blend all the ingredients for marinade to a smooth puree. Adjust the seasoning as per your taste. Cut veggies into 1″ cubes and toss with marinade in a bowl. Cover it and refrigerate until ready to cook.
  2. When ready, light grill. Using the wood or skewers, insert the veggies. Place on grill and cook on each side for 3-4 minutes till the veggies are uniformly charred.  *I don’t have grill so I used rotisserie function of my convection oven and cooked as per the instruction manual. Hence the char was missing but kebabs were cooked beautifully.
  3. While veggies cook, mix the ingredients for corn salad in a bowl and toss thoroughly.
  4. Serve skewers topped with remaining marinade (if any) alongside the corn salad.

*You can make this recipe vegan – by replacing yogurt with soy yogurt in marinade, replacing cottage cheese with tofu and in corn salad, omit mayonnaise and use soy yogurt instead.

 

Share this recipe:

Zesty Lemon Ice-cream with Blueberry Swirl

Zesty Lemon Ice-cream with Blueberry Swirl1

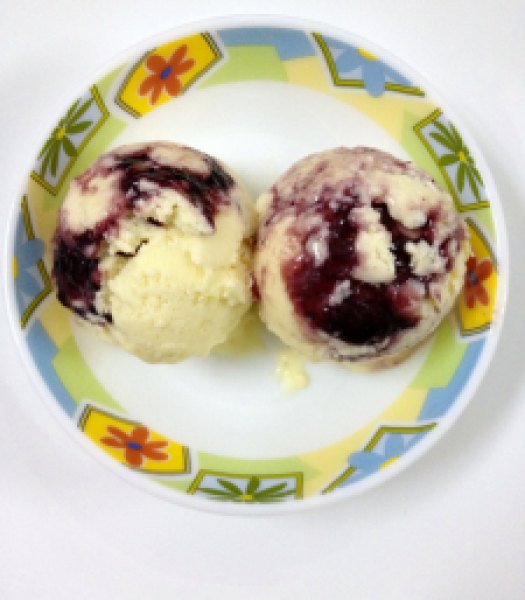
I have a declaration to make. This is by far THE best ice-cream I have ever made! Seriously!!! It’s so good that I could not believe this was made by me at home without the use of ice-cream maker. It came out so perfect, it was definitely to die for!

It was tart, light, refreshing, tangy, sweet, velvety… Lick-your-bowl good if you still don’t get what I mean! Everything you want your lemon ice-cream to be and more!

This ice-cream definitely screams SUMMER!

We are making this one little bit differently than how we were doing with our previous ice-creams. First, we need to make lemon curd for the base and then fold it in with whipped cream. That’s it!

Lemon curd is wonderful and super easy to make. It is so versatile that apart from using it in this ice-cream, you can use this as a filling for your tarts, pies and cakes or simply as a spread for your scones!

We are going to cook the lemon curd in a stainless steel bowl placed over a saucepan of simmering water aka double boiler. It will only take about 3-4 minutes to cook.

I have scaled down the recipe to make ice-cream for just 2 people. I have been whipping ice-cream daily so you can understand why I would do this! But I regretted my decision as soon as I had its first bite.. It was heavenly! And I wanted more!! 🙁

So let’s get down to the business!

Zesty Lemon Ice-cream with Blueberry Swirl2

Zesty Lemon Ice-cream with Blueberry Swirl

Yields: around 6 scoops

Ingredients:

  • 1 small egg
  • 1/4 cup granulated white sugar
  • 1 Tbsp lemon juice, sieved so that it is free from pulp
  • 1 Tbsp unsalted butter, room temperature
  • Lemon zest from 1 lemon
  • 1/2 cup fresh medium fat cream (40%), chilled
  • 2 Tbsp blueberry compote

Directions:

  1. In a stainless steel bowl placed over a saucepan of simmering water, whisk together the egg, sugar and lemon juice until blended. Cook, stirring constantly (to prevent from curdling), until the mixture becomes thick. This will take about 3-4 minutes to cook.
  2. Remove from heat and immediately pass the mixture through the sieve to remove any extra lumps. Whisk in butter and lemon zest. Let cool. It will continue to thicken as it cools down further. Freeze it till cream is ready.
  3. Whip the fresh cream till soft peaks form. Gently fold in the chilled lemon curd. If it is too tart for you then add more cream as per your taste.
  4. In a small airtight container, spoon in half the mixture and top it with blueberry compote, top with rest of the mixture and freeze for 4-5 hours before serving. Serve it topped with fresh blueberries and dig in!

*Tips: Lemon curd has to be made with fresh lemons. Juice lemons at room temperature to get more juice and strain the juice to remove any pulp from it. While grating the zest from the lemon, be sure not to remove pith (white membrane) from the lemon as it is very bitter tasting. Cold lemons are much easier to zest. You can use a zester or fine grater for this. Do this just before using as the zest will lose moisture if it sits out too long.

Lemon curd recipe scaled down and barely adapted from Joy Of Baking

Share this recipe:

Spinach, Corn & Egg Strata

Spinach,corn & egg Strata2

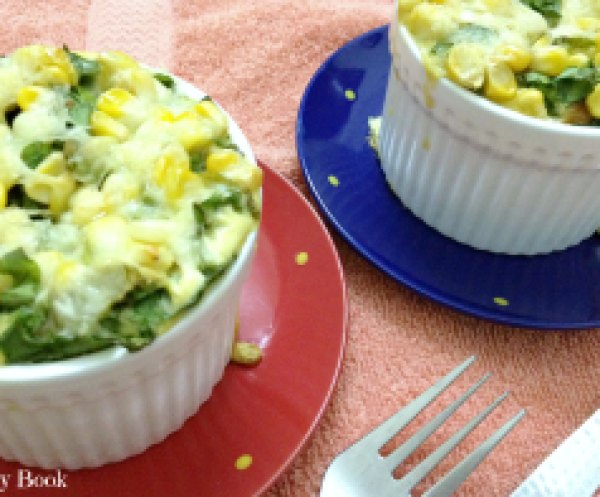
Today, I bring you a no-hassle, breakfast recipe.. Great for a weekday when everything is so crazy that breakfast is the last thing on your mind and even greater for your laid-back weekend as it takes pretty much zero-effort to whip it up!

Treat your dad on Father’s day morning with this and I am sure he would be really pleased!

You just throw all the ingredients together the night before but to be honest, I love how undemanding yet flavorful this dish is! The recipe makes two hefty portions and let me warn you, we were full after eating only half! So truly a great brunch option! 😉

Spinach,corn & egg Strata1

Spinach, Corn & Egg Strata

Prep time: 10 mins | Bake time: 45 mins | Total time: 55 mins

Ingredients:

  • 4 pieces bread
  • 2 handfuls of spinach
  • 3 eggs
  • 1 cup milk
  • 1/4 cup corn kernels
  • 2 tsp garlic powder
  • 1 tsp onion powder
  • 1 tsp oregano powder
  • salt and pepper as per taste
  • 1/3 cup mozzarella cheese

Directions:

  1. The night before, tear up bread into small pieces and slice up the spinach. Place in 2-4″ ramekins. Top with corn kernels. Whisk together eggs, milk, garlic powder, onion powder, oregano, salt and pepper. Pour over bread and spinach. Top with cheese and cover with cling film. Place in refrigerator overnight.
  2. In the morning, preheat oven to 375 F/180 C. Remove cling film and cover each ramekin with aluminium foil. Place on a baking tray and bake for 20 minutes. After 20 minutes remove aluminium foil and continue to bake uncovered for another 20-25 minutes or until egg mixture has set and strata has puffed. Serve warm.

Recipe adapted from Naturally Ella

Share this recipe: