Tag: cherries

Orange Cherry Baked Donuts ~ Eggfree, Low-fat

Oh hello donuts! How I missed thee. I baked these lovely orange cherry donuts couple weeks ago and because it’s been way too long since I baked any donuts, you can imagine my excitement.

Life here has been a bit of mumbo jumbo lately and I am falling short of words on how to describe my current disposition so instead let’s talk about the awesomeness that these donuts are. Summer (or any season for that matter) makes me crave citrus desserts and if you know me you know I prefer lemony desserts over chocolate almost every single time. Don’t get me wrong, I absolutely love chocolate and there are times when nothing else will do. But on most days, I crave lemon and orange comes close second.

The combination of orange and fresh cherries is just sublime. A delicate cake bursting with orange zest and citrusy notes, soft and pillowy, with a piece of cherry in each bite to make you swoon. The ingredient list is short with no funky stuff and the method no fuss. The recipe doesn’t even call for any oil or butter, isn’t that awesome? Yogurt and orange juice lends soft and fluffy interiors to these donuts. You can have them ready under 30 minutes flat, totally foolproof! You could totally make the recipe vegan by using vegan yogurt. Win-win for all!

So don’t wait until weekend to bake these. Get on them now! ?

Print Recipe
Orange Cherry Baked Donuts ~ Eggfree, Low-fat
The combination of orange and fresh cherries is just sublime. A delicate cake bursting with orange zest and citrusy notes, soft and pillowy, with a piece of cherry in each bite to make you swoon.
Course Desserts, Donuts
Cuisine American
Prep Time 10 minutes
Cook Time 15 minutes
Servings
donuts
Ingredients
Course Desserts, Donuts
Cuisine American
Prep Time 10 minutes
Cook Time 15 minutes
Servings
donuts
Ingredients
Instructions
  1. Preheat the oven at 180ºC / 350ºF. Grease 12-count donut pan with oil. Set aside.
  2. In one bowl, whisk together flour, baking powder, baking soda and salt. Set aside.
  3. In a mixing bowl, add orange zest and sugar and rub together with finger to release oils from the zest. Whisk in yogurt, orange juice and vanilla extract until the mixture formed is completely smooth.
  4. Slowly fold in dry ingredients into wet ingredients using rubber spatula until just combined. Do not overmix.
  5. Arrange 3 pitted, fresh cherries in each mould of the donut pan. Do this for 9 moulds. Divide the batter among 9 donut moulds (let 3 moulds empty). Be careful not to overfill the moulds, 3/4th would be just fine.
  6. Bake in the preheated oven for about 12-15 minutes or until a toothpick inserted in a center comes out clean. Let cool in the baking pan over a cooling rack for 5 minutes. Then carefully turn out doughnuts onto the rack to cool completely. Tastes best the next day, chilled in the refrigerator. Keeps well 3-5 days stored in an airtight container in refrigerator.
Recipe Notes

Don't own a cherry pitter? No problem, a chopstick will do the job! ?

Shop the recipe:

Here are some items I used to make today’s recipe.


Some of the links above are affiliate links, which pay me a small commission for my referral at no extra cost to you! Thank you for supporting Cook By Book.

Share this recipe:

No Churn Dark Chocolate Cherry Ice cream


Hello beautiful people!

Hope you all had an excellent weekend. I have FINALLY exported all the content from wordpress blog to my own website (yayyy!) and I am ecstatic to be writing this first, fresh blogpost from here. There was a hiatus of 2 months over here due to all the work involved with the website building and understanding all the technical nitty-gritty for a novice like me (using wordpress was definitely a piece of cake!) along with my day job. Please bear with me for days to come (in case you face any technical issues around here) till I work on aesthetics and fine-tune the works. A lot of you had messaged asking for this ice-cream recipe I am sharing today after I posted this picture on my Instagram. So I decided to abandon beautifying the website for now and share the recipe with y’all immediately. So let’s talk about dark dark chocolate, shall we?

This Instagram-fame chocolate ice cream is abso-freaking-lutely delicious. Rich, creamy, decadent, not-over-the-top sweet and most importantly super-simple, no-churn piece of work. Yes sir, no ice cream maker required, just like all the other awesome recipes I have shared with you in the past. No churn does not mean the ice cream is not smooth or forms ice crystals upon freezing but makes utterly good-looking scoops too.

The base of this ice cream is made with the trio of coconut cream, Mascarpone cheese and fresh cream. To this, we add chocolate ganache made with 75% good-quality dark chocolate. Together it forms a fluffy, mousse-like mixture and trust me, you will want to eat it as is, even before it freezes so patience is a key here! Every bite of this over-the-top-chocolatey ice cream is bursting with fresh cherries which are first simmered with dark rum. A-M-A-Z-E-B-A-L-L-S! I urge you to make this ice cream at least once before Summer and cherry season pass you by. Pretty please?


Print Recipe
No Churn Dark Chocolate Cherry Ice cream
Dark, decadent no churn chocolate ice cream bursting with fresh cherries in each bite.
Course Frozen Treats
Cuisine American
Prep Time 30 minutes
Cook Time 20 minutes
Passive Time 6 hours
Servings
people
Ingredients
Boozy cherries
Chocolate mix
Ice cream base
Course Frozen Treats
Cuisine American
Prep Time 30 minutes
Cook Time 20 minutes
Passive Time 6 hours
Servings
people
Ingredients
Boozy cherries
Chocolate mix
Ice cream base
Instructions
Boozy cherries
  1. Heat a medium sized fry pan on a medium-high heat and add cherries, rum/water and sugar to the pan. Let simmer for about 20 minutes until syrupy.
  2. Take it off the heat and let it cool for about 10-15 minutes on the counter and then refrigerate until cold, for about 2 hours at least.
Chocolate mix
  1. Put one large mixing bowl and whisk of your electric mixer in the freezer for about 10 minutes.
  2. After 10 minutes, take out the mixing bowl from the freezer. Without tipping, take out overnight chilled pack/can of coconut milk from the refrigerator. Gently scoop out the thick coconut cream from the top and put it into the chilled mixing bowl. Return the bowl to the refrigerator (not freezer this time).
  3. Take the reserved liquid from the coconut milk pack/can to a microwave safe glass bowl. Add milk, chopped chocolate, cocoa powder to this bowl. Microwave on low-power in the burst of 30-seconds 3-4 times, whisking in between, until chocolate completely melts. You could also do this step on double boiler instead. Whisk in vanilla extract at the end. Let the mix cool and in the meantime, proceed to the following steps.
Ice cream base
  1. Take out the bowl with coconut cream from refrigerator and whisk from freezer. Add Mascarpone cheese and heavy cream to the mixing bowl. Whisk with the electric mixer on medium-high speed until light and fluffy for about 2 minutes.
  2. Add confectioners sugar and whisk on medium-high speed until soft peaks form, for another 3-5 minutes.
  3. Decrease the speed to low and slowly whisk in chocolate mix to it, until just combined. The ice cream mix will have mousse consistency at this point.
  4. Gently fold in syrupy cherries to the ice cream mix.
  5. Transfer the ice cream to a loaf pan and freeze. Freeze for couple of hours for softer consistency. Freeze overnight for firmer consistency.
  6. Set out for at least 25 minutes prior to scooping and use a scoop warmed under hot water for proper scoop.
  7. Ice cream will keep in the freezer for a week but tastes best when fresh.
Recipe Notes

If you are using water instead of rum to make syrupy cherries, then strain the liquid before folding the cherries to the ice cream base in step-4 (and discard the liquid) as it may form ice crystals after freezing.


Share this recipe:

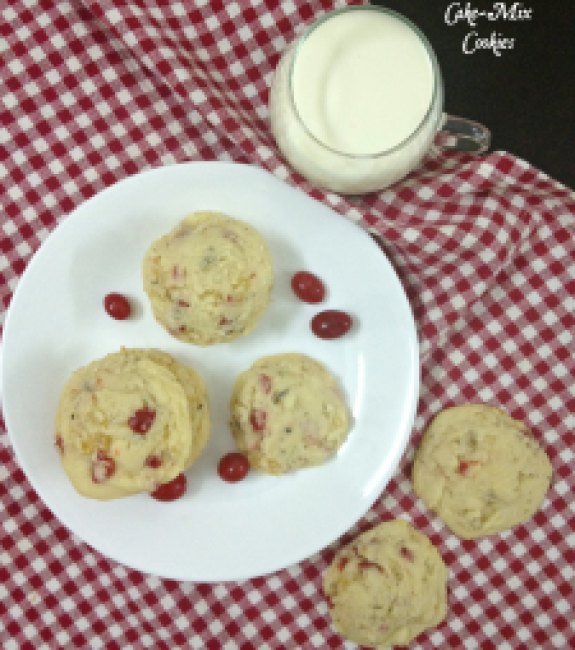
Pina~Colada Cake-Mix Cookies

Pina~colada Cake-mix Cookies1

I have been known for my love of eating my drink! You must have seen this and this! (< These are must try! They are simply loved by friends and family and most viewed recipe on my blog till date!!)

So now I want to take a plunge and start drinking my cookies! 😉 Who is with me on this?

When you incorporate a drink in baked goods, the flavor gets enhanced and intensifies. In my opinion cupcakes/cakes are more forgiving in a way you can play with liquid as the consistency of batter is not much of a concern. While it is trickier to be able to incorporate a drink in cookie-dough as it has to be just right, not overly runny or sticky else it goes straight in to the trash.

I am a very guarded person.. I hate disasters in the kitchen more than any other person. Just can not handle them. I know it is part-and-parcel of the game but non-salvageable disasters just make me crazy! Yup.. still dealing with my failed attempt at Mountain Dew cookies.. But I have not lost on them yet! I am sure I’ll come up with a winner recipe 🙂

Hence for this second drink-cookies expedition, being an overly-cautious person that I am, I decided to use cake-mix. They are just convenient and I could focus on the liquid~cake-mix ratio completely rather than focusing on flour-sugar ratio first. These were success at first attempt so I will be more confident while baking my next Pina-colada cookies from scratch. I will definitely update the recipe when it happens in future but till then enjoy these cake-mix cookies as they were the best cake-mix cookies I have baked so far and I have baked many!!

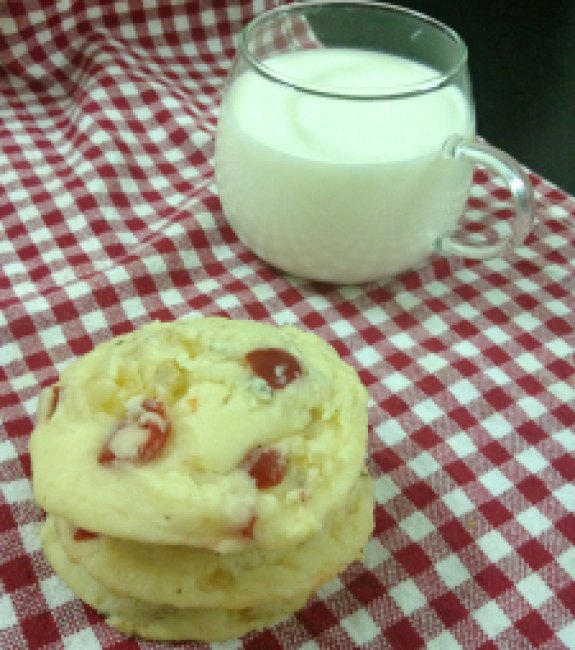
Pina~colada Cake-mix Cookies3

The batter comes together easily. In one bowl. With a spoon. No mixer required.

We are using cake-mix which virtually guarantees a success! They are soft, fluffy and yet chewy.

These are studded with the bits of dried pineapple and glazed cherries. And when we are talking Pina-colada how can we miss coconut so in goes shredded desiccated coconut. Feel free to add rum and adjust the liquid ratio accordingly if you are in cocktail-cookie mode!

These are perfect holiday cookies. I haven’t been able to take vacation this summer but drinking these cookies definitely felt like sipping a drink on a beach. So go ahead and bake these golden nuggets of sunshine to brighten up you day!

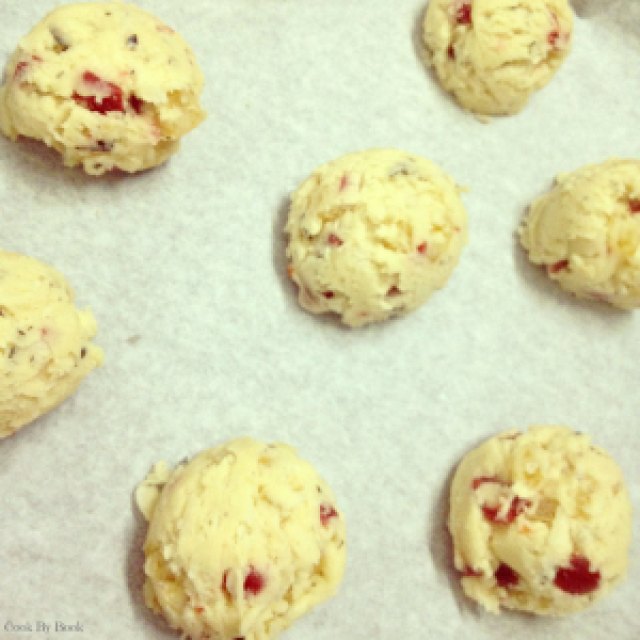
Pina~colada Cake-mix Cookies2
Before going to the oven

Pina~Colada Cake-Mix Cookies

Yields: 2-dozen regular-sized cookies or 1-dozen large cookies (Needless to say I baked mine large)

Ingredients:

  • 1/4 cup butter, at room temperature
  • 3 and 1/2 Tbsp Pina-colada squash/cocktail-mix
  • 250 gm Vanilla cake-mix (I used Pillsbury)
  • 3-4 Tbsp all-purpose flour (or less)
  • 1/2 heaping cup grated desiccated coconut
  • 1/4 cup finely chopped dried pineapple
  • 1/4 cup finely chopped glazed cherries (dried cherries or cranberries would work too)

*If want boozy cookies, add 1 Tbsp rum and reduce Pina-colada squash/cocktail-mix ratio to 2 and 1/2 Tbsp.

Directions:

  1. Preheat the oven to 180ºC / 350ºF. Line baking sheet with a parchment paper. In a large bowl, combine butter and Pina-colada squash/cocktail mix and stir by hand or with an electric mixer till combined.
  2. Add the cake-mix and stir until the batter is smooth. Add the flour one spoon at a time, as needed to solidify the dough. Add as little as possible to get chewy cookies. Adding more flour will make it cakey so add little-by-little.
  3. Fold in the coconut, pineapple and cherries and put the mixing bowl in the freezer for 15 minutes. Do not skip this step as chilled dough spreads less during baking.
  4. Using a Tablespoon or ice-cream scoop, drop 1-inch dough-balls on prepared cookie-sheet, allowing for adequate spacing. These cookies do not spread much and retain its puffier shape. Bake for 10 minutes or until cookies are barely browned on the bottom. The tops will look undone but they will continue to set on the cookie-sheet even after out of the oven. They will firm up as they cool so do not over-bake. Allow the cookies to cool on cookie sheet before attempting to move them. Store them in an air-tight container for up to a week at room-temperature.
Share this recipe:

Skinny Devil’s Food Cake Mix Cookies – Funfetti Friday!

Skinny Devil Food Cake Mix cookies2

Hey fellas, I have been ranting singing about my birthday from the beginning of this week but today is the real deal!

Happy 28th Birthday to Me! 🙂

And Happy Funfetti Friday to you all!

I didn’t want to bake a cake for my own birthday so instead I baked these cookies a day before to commemorate the celebration! I was feeling super lazy yet wanted a chocolate cookie and sprinkle on my birthday eve so decided to settle for these!

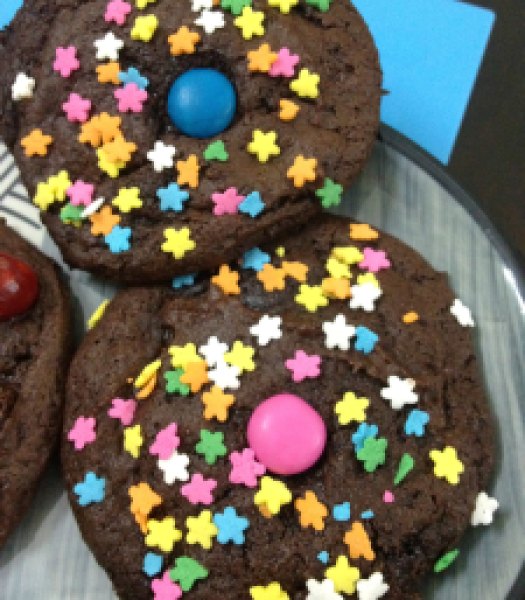
Skinny Devil Food Cake Mix cookies3

I kept them skinny by omitting butter with fat free yogurt. They were not crunchy but instead soft and moist but that is how I like my cookies so no complains! They almost tasted like fudgy brownies so bake them as brownies if you like and adjust the baking time accordingly.

It is a one-bowl treat so less dishes! The dough requires quite a bit of elbow grease to whip up so use sturdy spoon for mixing, preferably wooden spoon. The dough is quite sticky so put it in refrigerator for half an hour if you’re making cookies.

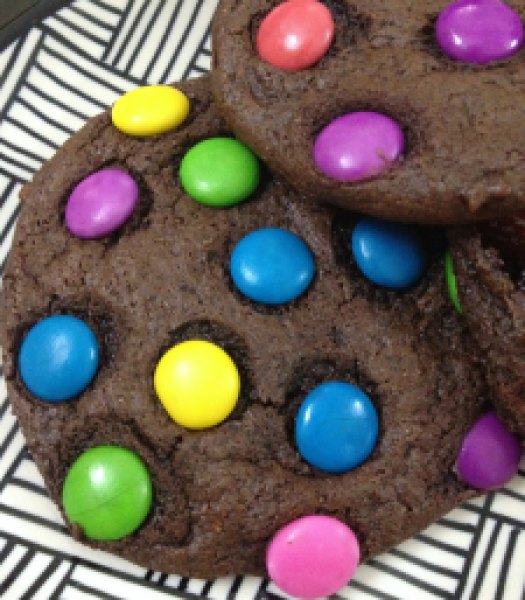
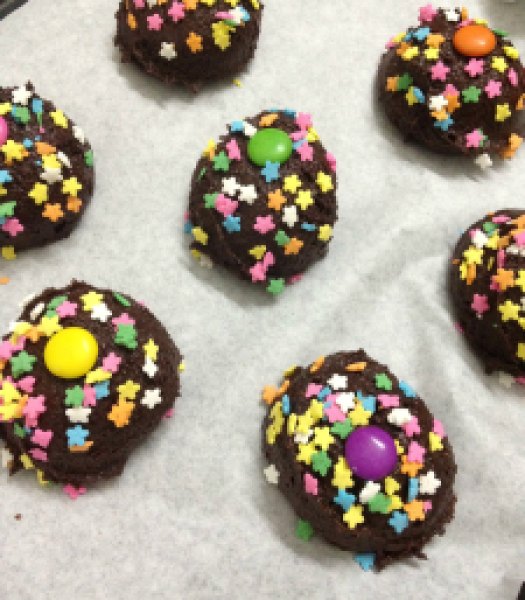
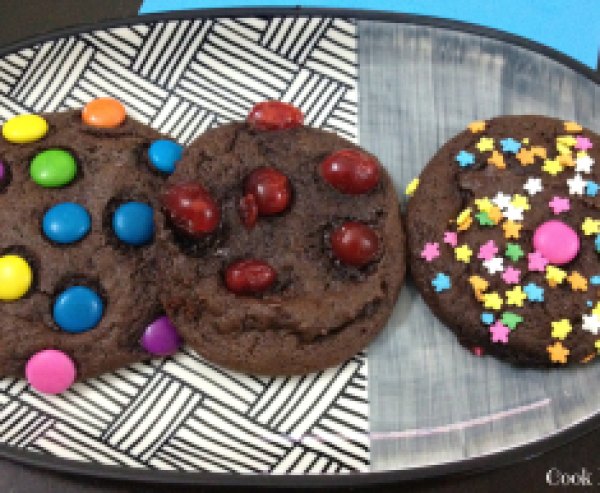
Use ice-cream scoop to form cookie balls and top them with sprinkles or M&Ms or candied cherries.. I used all 3 of them and loved how candied cherry tasted almost sinful with rich chocolate!

Skinny Devil Food Cake Mix cookies1
Dough chilled in refrigerator for half an hour & then scooped on to cookie sheet

You must be able to palpate the haste in my writing as you are reading down the post but that is exactly how this was typed. In a hurry!

So let’s not waste more time and get to the recipe!

Skinny Devil Food Cake Mix cookies4

Skinny Devil’s food Cake Mix Cookies

Yields: Around 12 large cookies

Ingredients:

  • 1 box (500 gm) chocolate cake mix (I used Betty Crocker Devil’s Food Cake Mix)
  • 2 large eggs
  • 1/3 cup fat free vanilla yogurt
  • sprinkles, M&Ms or candies cherries for topping

Directions:

  1. Preheat the oven to 350 F/170 C. Line a cookie sheet with parchment paper.
  2. Mix all the ingredients in one large bowl and chill in refrigerator for half an hour.
  3. Using ice-cream scoop, drop cookie balls on parchment paper. Decorate them with the topping of your choice.
  4. Bake for 11-12 minutes or till sides have firmed up. the center will still be gooey but will firm up once cookies cool down. Do not over-bake. Let rest on cookie sheet for 3-4 minutes before transferring on a wire rack to cool completely.

*If using plain yogurt then add 1 tsp vanilla extract to the dough.

Enjoy!!

Share this recipe: