Tag: buttermilk

Whole Wheat Cinnamon Buttermilk Waffles

Weekends to me are for leisurely breakfast with a pot of coffee. English breakfast and pancakes are my absolute favourites, followed by waffles. To be honest, I love waffles equally but finding a decent place in the neighbourhood which serves healthy and low-calorie waffles is far more challenging than I thought. On top of all the calories you seem to pile on and money you spend, hardly any place seem to get the texture even remotely right so there goes my weekend mojo and moolah. Ha! So one fine day, husband decided to surprise me with a waffle maker. Ta-da! Problem solved (We own this model but it’s out-of-stock on Amazon at the moment, for other options see ‘shop the recipe’ section below the recipe section). 

Bazillion waffle combinations here I come! Breakfast, meal or dessert; using whole wheat, oats or sorghum flour; topped with fried/pached eggs, cheese, mango, berries, Nutella, maple syrup or ice cream; well you get the idea. ENDLESS POSSIBILITIES! It’s truly such a versatile piece of equipment you could invest into, to up the delicious quotient of your weekend brunch situation.

Just like all the recipes on this blog, this recipe could not have been simpler. Definitely groggy eyes and child friendly. Addition of brown butter is an extra step but lends such a great depth of flavour and your kitchen will smell fantastic. And if you don’t want to do the extra step to brown the butter (if that’s even possible!), replace it with a healthier substitute – extra virgin coconut oil. All other ingredients are usual pantry staples. These waffles have crispy exterior and soft interior, just how perfect waffles should be. So what are you waiting for?

Go on and have a lovely weekend. ✨

Print Recipe
Whole Wheat Cinnamon Buttermilk Waffles
A simple recipe using pantry staples. These waffles have crispy exterior and soft interior, just how perfect waffles should be!
Cuisine American
Prep Time 10 minutes
Servings
waffles
Cuisine American
Prep Time 10 minutes
Servings
waffles
Instructions
  1. Do this step if you're using brown butter - Heat a pan on a medium-low heat and add butter. Let the butter melt, once the water from it evaporates it will begin to brown. Keep an eye on it as it browns quickly. The butter will begin to smell nutty. Remove from the heat and immediately transfer the browned butter to a small bowl. Let cool for 5 minutes.
  2. In one bowl, whisk together whole wheat flour, cornstarch, baking powder, baking soda, cinnamon and salt.
  3. In a liquid measuring jar, whisk in egg, cane sugar, brown butter/olive oil, buttermilk and vanilla, in this same order.
  4. Make a well in the center of dry ingredients and add liquid ingredients to it. Stir together using silicon spatula until well combined. Do not overmix.
  5. Make waffles as per the manufacturer's instructions of your waffle maker. Serve immediately topped with seasonal fruits and a drizzle of maple syrup.

Shop the recipe:

Here are some items I used to make today’s recipe.


Some of the links above are affiliate links, which pay me a small commission for my referral at no extra cost to you! Thank you for supporting Cook By Book.

Share this recipe:

Baked Lemon Doughnuts with Lemon Cream Cheese Glaze ~ Eggfree

Baked Lemon Donuts with Lemon Cream Cheese Glaze1


Hello folks! April went by at a lightening speed. It was a total blur. A beautiful blur at that. Yes, I absconded again for the latter part of April. Well, I hope you didn’t miss me much. Sorry to say but I didn’t miss you guys one bit. Here is why. These past days were spent with my most beautiful angelic cutie pie tiny-little-peanut-sized-newborn-niece. She turned 12 days today. We feel so blessed to have her in our lives and welcomed her in to this world with lots of snuggles and baby talks. We immediately named her Cherry (lovingly, of course!) because trust me when I tell you this, she looks just like a ruby red cherry. She is such a doll, so adorable, so so precious. All the sleepless nights spent in soothing her back to sleep were totally, absolutely worth it. I’m back home now and miss her so so much.

The moment I returned home, I had to bake. To celebrate. I instantly thought donuts! I mean, come on, donuts=celebration. Summer is not treating us Bangaloreans well this year and lemons are always on my mind. Big, plump, juicy, organic, tart yet sweet lemons from my parents-in-law’s lemon tree. They are simply THE best. So lemon donuts it was. They turned out so amazing that the next day I made them again. This time around I doubled the recipe and baked it as an 8-inch single layer cake for my parents-in-law’s wedding anniversary. So if you don’t own a donut pan, buy one ASAP! These little things are addicting! For now, simply bake them as mini cupcakes or just double this recipe to get a cake.


Baked Lemon Donuts with Lemon Cream Cheese Glaze3


The recipe is simplicity at its best. Almost refined sugar free. No eggs required. No mixer needed. Just one bowl and a whisk is all you need to make the sun shine brightest! You can even prepare the glaze in the same mixing bowl. I am always happy with less dishes and lesser clean up. So in these donuts, moisture is being imparted by buttermilk and oil. Honey shoulders the responsibility of lending sweetness. Truly ordinary ingredients create this extra-ordinary treat. These baked donuts are light, fluffy and just lemony which doesn’t make you pucker!

These donuts are then topped with lemon cream cheese glaze. The glaze is a perfect accompaniment for the donuts. Again, just lemony and just sweet. Decorate them with a sprinkle of yellow colored sanding sugar. Vibrant, just like our little one.

So celebrate life and all things nice with these lemon glazed donuts!


Baked Lemon Donuts with Lemon Cream Cheese Glaze4


Baked Lemon Doughnuts with Lemon Cream Cheese Glaze ~ Eggfree

Makes: 6 | Prep time: 15 minutes | Cook time: 10 minutes | Total: 25 minutes

Ingredients:

For donuts:
  • 3/4 cup + 2 Tbsp all-purpose flour
  • 1/4 tsp baking powder
  • 1/4 tsp baking soda
  • 1/4 tsp salt
  • 1 Tbsp white granulated sugar
  • 1 Tbsp lemon zest
  • 1/4 cup honey
  • 3 Tbsp oil
  • 1/3 cup buttermilk
  • 1/2 tsp vanilla extract
  • 2 Tbsp lemon juice (lemon enthusiasts may use 2.5 to 3 Tbsp)

For glaze:

Following measurements can glaze about 10-12 donuts.

  • 100 gm (3.5 oz) cream cheese, room temperature
  • 1 tsp lemon zest
  • 1 Tbsp lemon juice
  • 1/4 cup icing sugar, sifted
  • Yellow colored sanding sugar, to decorate

Directions:

  1.  Preheat the oven at 180ºC / 350ºF. Grease 6-count donut pan with oil. Set aside.
  2. In one bowl, whisk together flour, baking powder, baking soda and salt. Set aside.
  3. In a mixing bowl, add sugar and lemon zest and rub together with finger to release oils from the zest. Whisk in honey, oil, buttermilk, vanilla extract and lemon juice until the mixture formed is completely smooth.
  4. Slowly whisk in dry ingredients into wet ingredients until just combined. Do not overmix. Divide the batter among prepared donut pan and bake in the preheated oven for about 8-9 minutes or until a toothpick inserted in a center comes out clean. Cool in the pan on a cooling rack for 5 minutes. Then carefully turn out doughnuts directly onto rack to cool completely.
  5. Glaze: Whisk together cream cheese, lemon zest, lemon juice and sifted icing sugar to form a smooth consistency. Dip completely cooled donuts one by one into a bowl of glaze and place back on a cooling rack. Sprinkle with yellow sanding sugar just before serving as the colors will bleed. Donuts will keep in an airtight container for 2-3 days stored in a refrigerator.

*You will have little cream cheese glaze leftover which is never a bad thing in my book. You may lick with spoon or store it in refrigerator for 3-4 days. Give the glaze a good whisk before using on baked goods.
*Double the donut recipe and bake it in an 8-inch cake tin. Bake for about 20-23 minutes.
*To make this recipe vegan, make your own non-dairy buttermilk. To 1 tsp lemon juice or apple cider vinegar, add 1/3 cup non-dairy milk of your choice . Let sit for 15-20 minutes and use as a regular buttermilk substitution.

Share this recipe:

Red Velvet Cake Donuts ~ Valentine’s Special

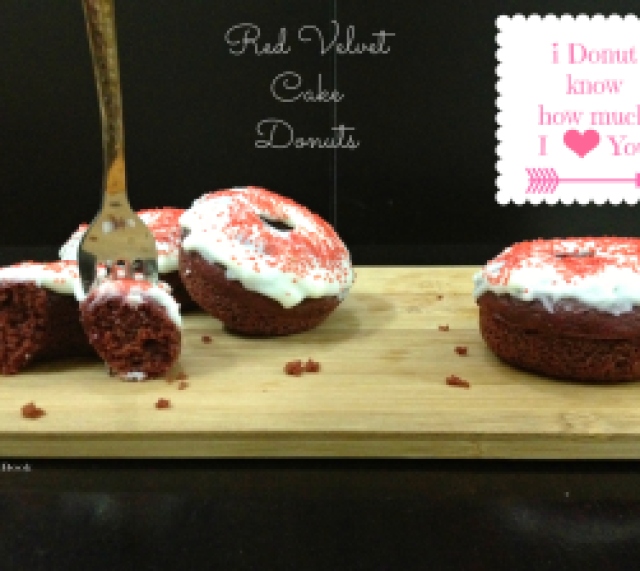
Red Velvet Cake Donuts1

After being on a month long health-kick, I think it is time to introduce a little indulgence. After all, it is last day of January.Valentine’s day is just round the corner so today’s post was definitely called for. I’m giving you a gorgeous sweet something for the occasion.

I have already professed my love for donut pan to you before. Ooh, how much I adore it. I want to bake everything into donut now, yes, obsessed is the word! But come on, how cute are these baked donuts?! You’re definitely going to have hard time deciding, eat them for breakfast or dessert! Or may be have them for both 😉

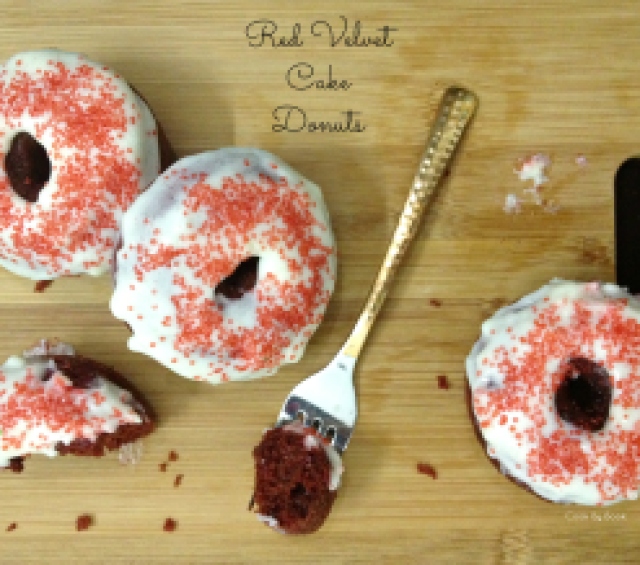
Red Velvet Cake Donuts2

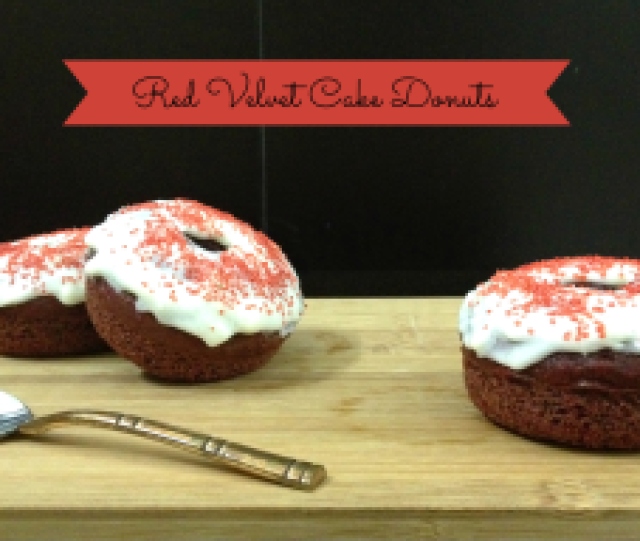
These baked donuts are smothered with cream cheese frosting. Purr..fection! They are soft, tender and fluffy. They come together quickly and uses just a bowl. Baking is done in 8 minutes flat! Takes about 20-25 minutes start to finish. Of course, you will need to wait for donuts to cool completely before applying the frosting. I know which is quite difficult! So you may make them a day in advance, frost them and sprinkle sanding sugar just before serving. No more waiting, problem solved!

I made a small batch of 6 which is perfect if you’re still dieting. They are not obnoxiously fattening. I counted calories to be sure and each donut has 210 calories with frosting. Not so bad, right? Perfect for a cheat day with minimal cheating which means, yes, go ahead and have two!

So make them for Valentine’s or make them now. Bake them as donuts or as cupcakes. Just make them! 🙂

Red Velvet Cake Donuts3

Red Velvet Cake Donuts

Yields: 6 | Prep time: 15 minutes | Bake time: 8 minutes | Total time: About 25 minutes

Ingredients:
For donuts:
  • 2/3 cup + 2 Tbsp all purpose flour
  • 1 Tbsp unsweetened cocoa powder
  • 1/2 tsp baking soda
  • 1/4 tsp salt
  • 1 large egg
  • 1/4 cup white granulated sugar
  • 3 Tbsp oil
  • 5 Tbsp yogurt/buttermilk
  • 1/2 tsp vanilla extract
  • Red food coloring
  • 1/4 tsp apple cider vinegar
For cream cheese frosting:
  • 3 Tbsp plain cream cheese, at room temperature (I used plain spreadable cream cheese)
  • 3 Tbsp icing sugar, sifted
  • 1/4 tsp vanilla extract
  • Splash of milk, only if needed
  • Red sanding sugar, to decorate

Directions:

  1. For donuts: Preheat oven at 180ºC / 350ºF. Spray the 6-count donut pan with oil. Set aside.
  2. In a medium bowl, whisk together flour, cocoa powder, baking soda and salt. Set aside.
  3. In a another mixing bowl, whisk together egg and sugar till nicely incorporated. Whisk in oil, yogurt/buttermilk and vanilla extract. Slowly mix in dry ingredients to wet ingredients with the help on spoon or rubber spatula. Mix until just combined. Do not over-mix.
  4. Add red food coloring as required stirring minimally. Finish with whisking in vinegar to the batter. Divide the batter equally and fill the mold no more than 3/4th. Bake for 8 minutes. Cool in pan on a cooling rack for 5 minutes. Then carefully turn out doughnuts directly onto rack to cool.
  5. Cream cheese frosting: In a small mixing bowl, whisk together cream cheese, sifted icing sugar and vanilla extract until smooth. If the consistency is too thick, add a dash of milk. Spread the frosting on completely cooled donuts. Sprinkle with red sanding sugar just before serving as the colors will bleed. Doughnuts will keep in an airtight container for 2-3 days stored in a refrigerator.
Share this recipe:

Fresh Peach Fluffy Pancakes Cake

Fresh Peach Fluffy Panacakes Cake1

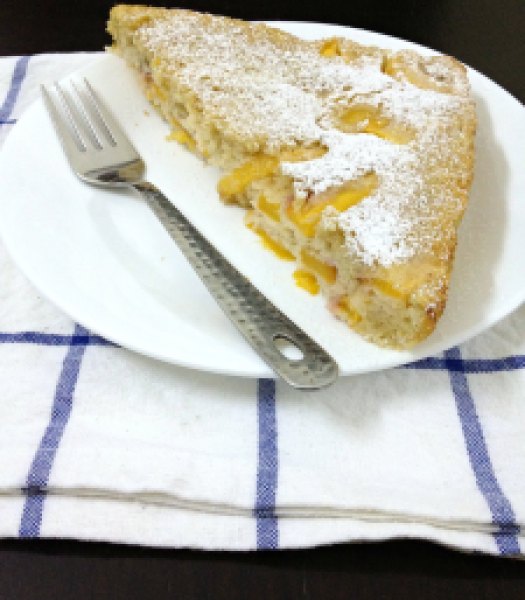
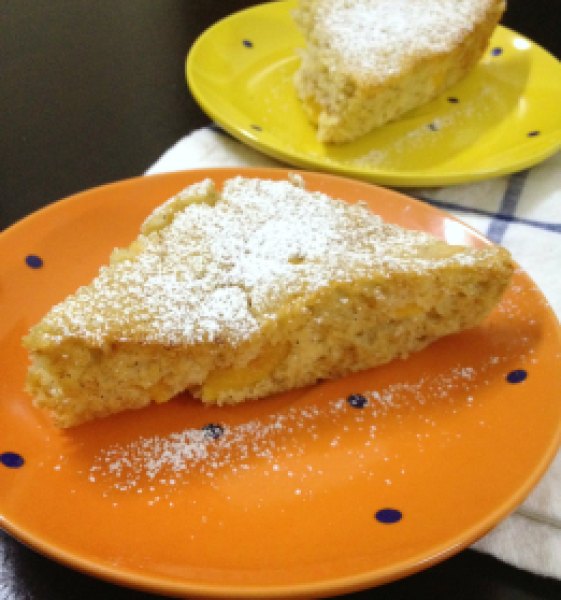
Another fruit cake you’ll say, eh? But I just can’t let the amazing plethora of summer fruit pass by just like that. Without a dessert tribute at least!

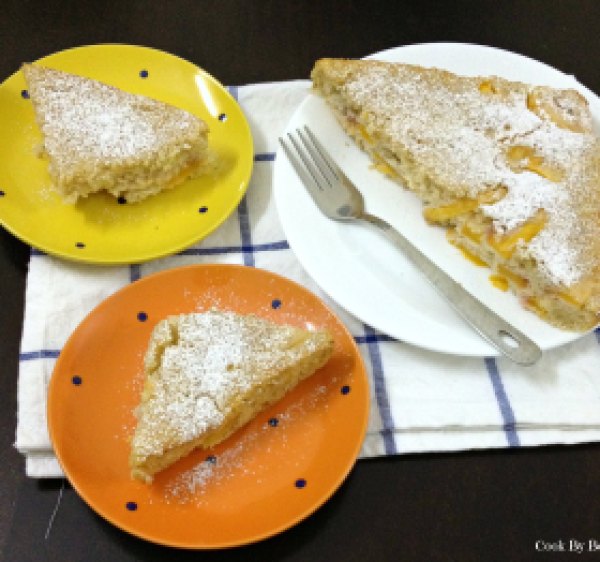
I was too lazy to bake muffins or flip the pancakes so I went an easier route. My favorite buttermilk cake route. I know I have given you this and this this month but this recipe is different from those. Of course it uses buttermilk but it tastes like a cross between muffins and pancakes without having to actually make them! How do you like that! 😉

Fresh Peach Fluffy Panacakes Cake3

Just like my previous recipes, this recipe does not require electric mixer and the batter comes together in like 5 minutes total. Seriously! The result is fluffy and tender cake like a perfect pancake should be!

Fresh Peach Fluffy Panacakes Cake2

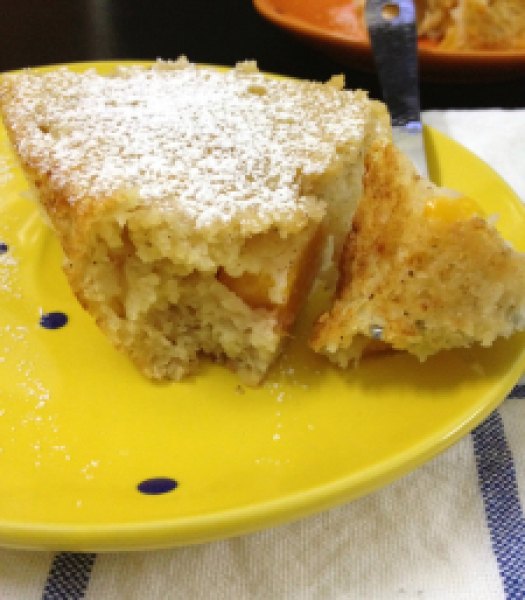
So how this cake is different from my previous buttermilk cakes? The batter resembles the pancake batter unlike my previous recipes. So no heavy duty mixing for this cake. In fact, you leave the lumps in the batter. Only gentle folding does the job. Another difference is.. Unlike topping the cake with the fruits in our previous recipe, we fold in the fruit in the batter to get peach in every bite! Yum!!

Fresh Peach Fluffy Panacakes Cake4

It’s a gorgeous weather in Bangalore today, I’m having a slice of it while writing this and I just can’t tell you how good it tastes the next day too! I had one slice with the dusting of confectioner’s sugar and another with vanilla ice-cream.. Delicious both ways!

You can replace all-purpose flour with whole wheat flour to make it healthier. Rest, you just got to deal with the sugar! 😛

You have to make this!!! Just be sure to use ripe peaches. Peel them, remove the pit, chop in a bite-sized pieces and you’re ready.. Only 2-3 peaches required!

Fresh Peach Fluffy Pancakes Cake

Prep time: 5-10 mins | Baking time: 35-40 mins

Yields: 8 pieces

Ingredients:

  • 1 cup all-purpose flour
  • 1 Tbsp baking powder
  • ½ tsp ground cinnamon
  • 1/4 tsp ground nutmeg
  • Salt, a pinch
  • 1 large egg
  • ½ cup white granulated sugar
  • ½ cup buttermilk
  • 1/3 cup full-fat yogurt
  • 1 Tbsp vegetable oil
  • 1 tsp vanilla extract
  • 2-3 medium peaches, peeled, thinly sliced (or a combo of stone-fruits)
  • Confectioner’s sugar, for dusting (optional)

Directions:

  1. Preheat the oven to 180°C/350°F. Line 8×8 inches square baking dish with a foil and grease it.
  2. In a large bowl, sift all-purpose flour, baking powder, cinnamon, nutmeg, salt.
  3. In another bowl, whisk egg and sugar together. Add buttermilk, yogurt, oil, vanilla and whisk.
  4. Add wet ingredients to dry ingredients slowly and fold in gently. If you get lumps in better t is all right.
  5. Gently fold in peach cubes. Bake for 35-40 minutes or till the top and sides are golden and toothpick inserted in the center comes out dry.
  6. Let the cake cool in a baking dish for half hour. Slice it and dust with confectioner’s sugar and serve it plain or along with ice-cream.
Share this recipe:

SugarPlum Cinnamon Buttermilk Cake

SugarPlum Cinnamon Buttermilk Cake1

Happy Half New Year Everyone!!

You must be thinking who remembers or celebrates that! Neither do I! But got reminded of it on through WhattsApp messenger. Guys, we are in the middle of the year, we have finished 183 days of the year already! Another 182 days to go! Today is 184th day.. I know I am a day late in wishing you all but if none of you even remembered it then it doesn’t count, right? 😉

I can’t believe how half the year has already passed by and time has engulfed us in its speed that we can barely keep up! I have not even started ticking my to-do list of this year. So I really need to brace myself as soon it will be Christmas even before we know it!

And its finally raining in Bangalore!! Not as much as I would like but hey I am not complaining. Bangalore marked half of the year by gracing us with rain yesterday evening. I was so happy that I had to do a little dance, listen to my fave songs and bake! With cinnamon!!! I love how the aroma of cinnamon fills the house and this smell mixed with the smell of rain is almost heavenly!

SugarPlum Cinnamon Buttermilk Cake2SugarPlum Cinnamon Buttermilk Cake3

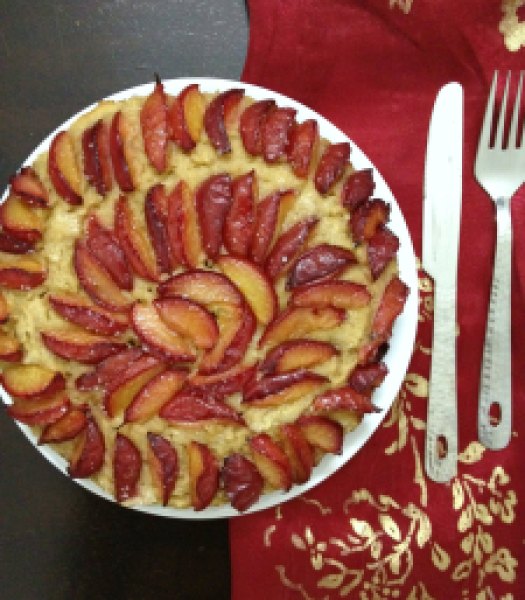
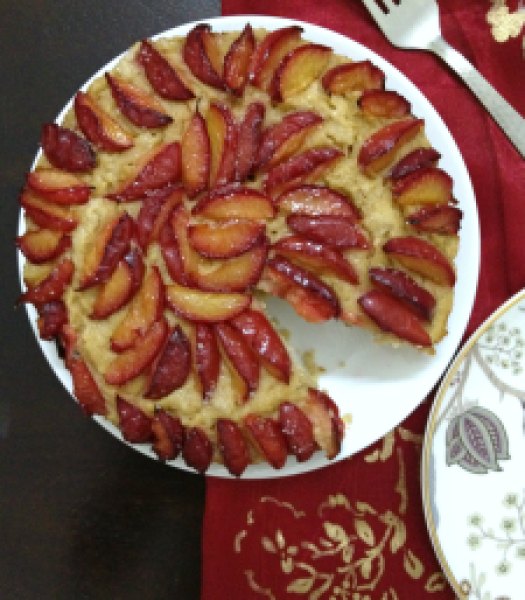
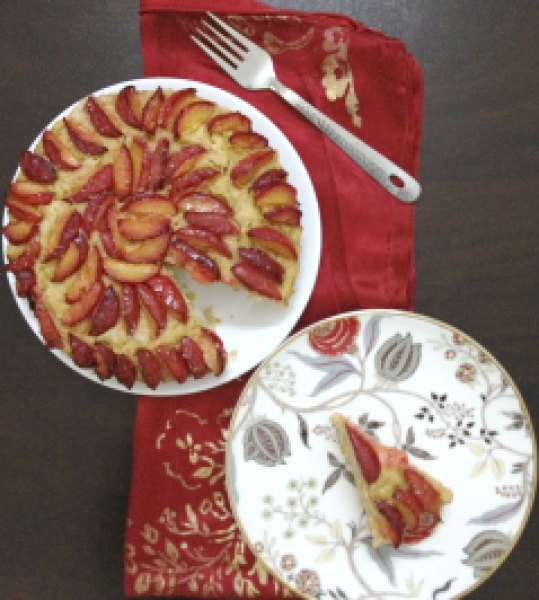
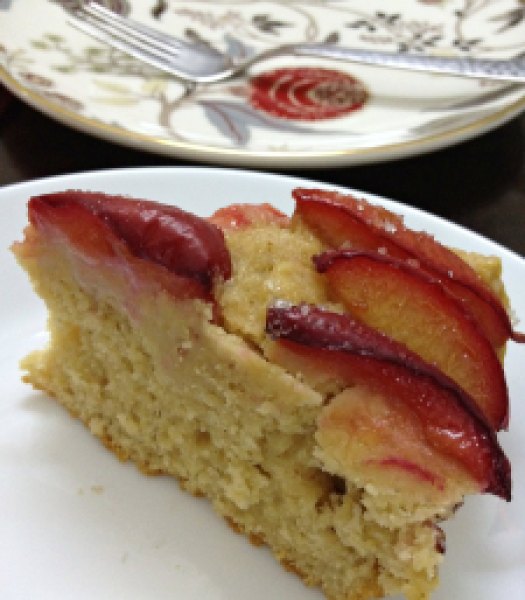
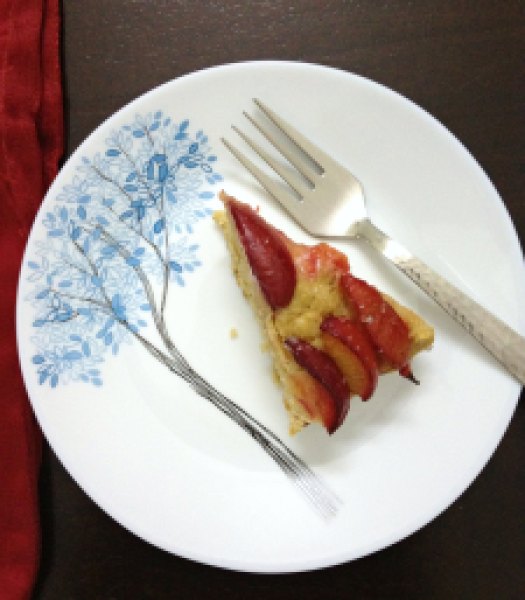
I had bought almost 2 kg of sugarplums from my regular supermarket as it was on sale! Half of them were super-ripe and sweet so it goes without saying that we enjoyed them just like that. Rest of them were quite sour and tart for which hubby & I both have got pretty low tolerance so I decided to use them in a cake.. A topping for a simple cinnamon buttermilk cake! They look like red jewels… So adorable it makes my heart sing! Plus, all the tartness is masked by the sweetness of the cake.

SugarPlum Cinnamon Buttermilk Cake4SugarPlum Cinnamon Buttermilk Cake5

As it was raining, there was music and I was in a mood to dance while I bake, I decided to whip the batter with hand. It was so therapeutic!!! No mixer is required for this cake and only 2 dirty bowls! Complete win-win.. 🙂

The plums I had were quite firm so slicing slivers from them was not so messy and quite pleasing experience. Be sure to use a sharp knife for this. Each plum will give around 8 slices.

Perfect as a coffee/tea time cake & perfect as a dessert served with vanilla custard or sweetened whipped cream or vanilla ice-cream!

Oh, did I mention it is healthy?? 😉

Enjoy!

SugarPlum Cinnamon Buttermilk Cake6

SugarPlum Cinnamon Buttermilk Cake

Adapted from Super Natural Every Day – Heidi Swanson

Prep Time: 25 min | Baking time: 30 min | Serves: 12

Ingredients:

  • 2 and 1/2 cup whole wheat flour
  • 1 Tbsp baking powder
  • 1 Tbsp ground cinnamon
  • 1/2 cup caster sugar
  • 1/2 tsp salt
  • 2 large eggs
  • 1 and 1/2 cup buttermilk
  • 1/4 cup butter, melted and cooled
  • zest of 1 very large lemon
  • 6-8 sugarplums, thinly slivered (ripe yet firm)
  • 3 Tbsp granulated white sugar

Directions:

  1. Preheat oven to 200 C/400 F. Grease an 11″ tart pan or quiche dish.
  2. Sift together flour, baking powder, cinnamon, sugar and salt in a bowl. In a separate large bowl, whisk together the eggs, buttermilk, melted butter and lemon zest.
  3. Add dry ingredients into wet ingredients and mix until all the flour pockets disappear and the batter is just combined.
  4. Spoon batter into greased pan, tapping the pan over the working station. Smooth the batter with back of your spoon, spreading it out towards the edges. Arrange plums in a circular pattern or just scatter them around. Top with granulated white sugar evenly.
  5. Bake for 30 minutes or till the toothpick inserted in the center comes out clean. Serve warm with a dusting of icing sugar or vanilla custard or sweetened whipped cream or vanilla ice-cream.
Share this recipe: