Category: Cakes

Vanilla Buttermilk Eggless Sponge Cake

Vanilla Buttermilk Eggless Sponge-2

After the last post of SugarPlum Cinnamon Buttermilk Cake, many people wanted an eggless sponge cake. I knew I had to bake one immediately… hence this post.

This recipe is from my initial baking days… very simple and easy to make even for beginners… so naturally it never got posted on the blog. Not bragging but I thought it to be too simple to be posted here. But trust me, it is every bit delicious! This is my go-to recipe while baking for non egg-eaters and it has turned out perfect every single time so it is tried, tested and tasted recipe in a true sense!

Use this as your basic cake recipe and add any other ingredients you like to it. Cinnamon, chocolate, lemon… anything! Sky is truly a limit. Use any other fruit you like or even better, make it tropical (pineapple and coconut, anyone?) style! Getting ideas?! ?

This eggless sponge is moist, has tight crumb and relatively flat top which makes it perfect for a multi-layer cake for birthdays or for any other occasion. In past, I have successfully doubled and tripled this eggless sponge recipe to make a 2 or 3-layer celebratory cake. For frosting ideas and recipes, read the recipe notes at the end of this post.

Vanilla Buttermilk Eggless Sponge Cake-1

Previously I have always used fresh strawberries for this eggless sponge as seen in the picture above. This time I had Kiwi fruit on hand so I decided it was time for a change. I am not a fan of baked Kiwi fruit so I refrained from adding fruit pieces to the batter which I sometimes do with strawberries but if you have no such qualms then go ahead.

It is perfect for eating any time of the day!

Yup, even for breakfast!

It has yogurt and fruit! Totally acceptable, right?! 😉

Kiwi Buttermilk Cake - Eggless1


Recipe adapted from here

Print Recipe
Vanilla Buttermilk Sponge Cake ~ Eggless
Cuisine American
Prep Time 10 minutes
Cook Time 30 minutes
Servings
slices
Ingredients
Topping
Cuisine American
Prep Time 10 minutes
Cook Time 30 minutes
Servings
slices
Ingredients
Topping
Instructions
  1. Preheat the oven to 180°C/350°F. Spray a 6 or 8-inch baking dish with vegetable oil and line the bottom with parchment paper.
  2. Sift together flour, baking powder, baking soda and salt in a bowl.
  3. In a separate bowl, cream together butter, oil and sugar with electric mixer or hand whisk. Whisk in vanilla extract.
  4. Using rubber spatula, gently stir in dry ingredients to the wet ingredients in 2-parts alternating with yogurt/buttermilk, ending with dry ingredients. Do not over-mix the batter.
  5. Spoon the batter in a baking dish and smooth out the surface with the back of spoon. Top with Kiwi/strawberry slices and sprinkle with sugar. Bake for 25-30 minutes or till the toothpick inserted in the center comes out clean.
Recipe Notes

*Stays fresh for 3-4 days if refrigerated in an airtight container.
*Want to add fruit within the cake batter instead on top? Mix together about 1/2 generous cup of chopped fruit and 1 Tbsp flour, fold into the cake batter.
*You may double/triple/quadruple the recipe to make layers for a multi-layered cake. Use vanilla bean buttercream, fresh strawberry cream cheese frosting, lemon cream cheese frosting or coconut buttercream frosting recipe to decorate.

Share this recipe:

SugarPlum Cinnamon Buttermilk Cake

SugarPlum Cinnamon Buttermilk Cake1

Happy Half New Year Everyone!!

You must be thinking who remembers or celebrates that! Neither do I! But got reminded of it on through WhattsApp messenger. Guys, we are in the middle of the year, we have finished 183 days of the year already! Another 182 days to go! Today is 184th day.. I know I am a day late in wishing you all but if none of you even remembered it then it doesn’t count, right? 😉

I can’t believe how half the year has already passed by and time has engulfed us in its speed that we can barely keep up! I have not even started ticking my to-do list of this year. So I really need to brace myself as soon it will be Christmas even before we know it!

And its finally raining in Bangalore!! Not as much as I would like but hey I am not complaining. Bangalore marked half of the year by gracing us with rain yesterday evening. I was so happy that I had to do a little dance, listen to my fave songs and bake! With cinnamon!!! I love how the aroma of cinnamon fills the house and this smell mixed with the smell of rain is almost heavenly!

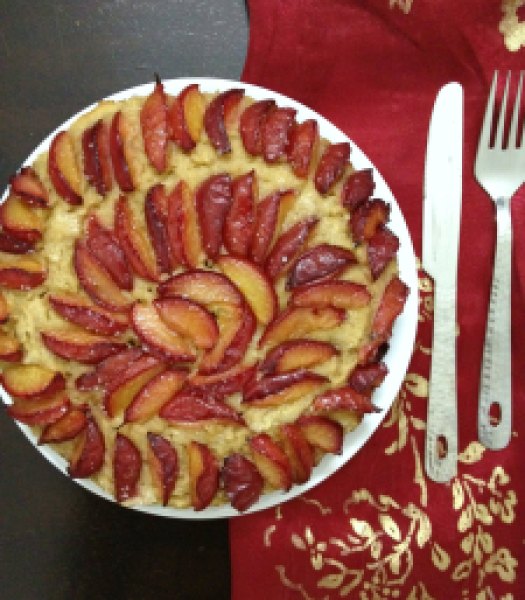
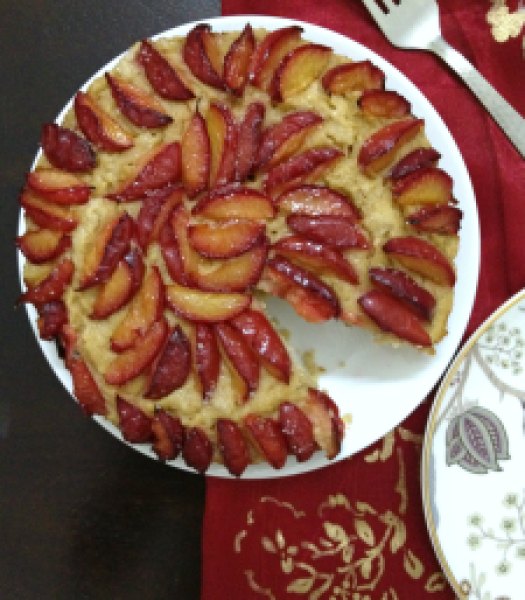
SugarPlum Cinnamon Buttermilk Cake2SugarPlum Cinnamon Buttermilk Cake3

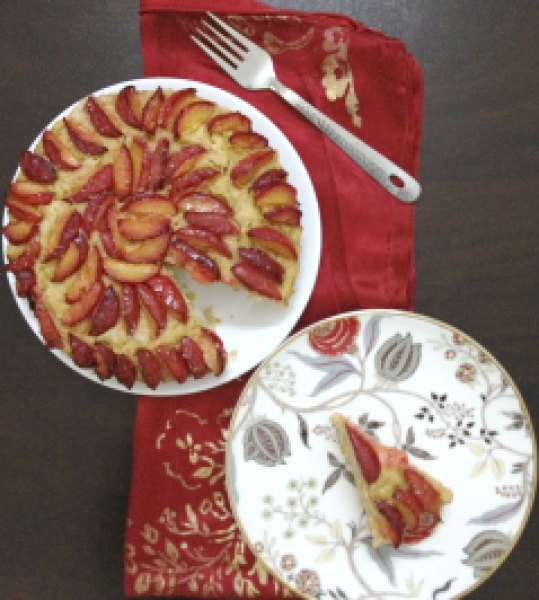
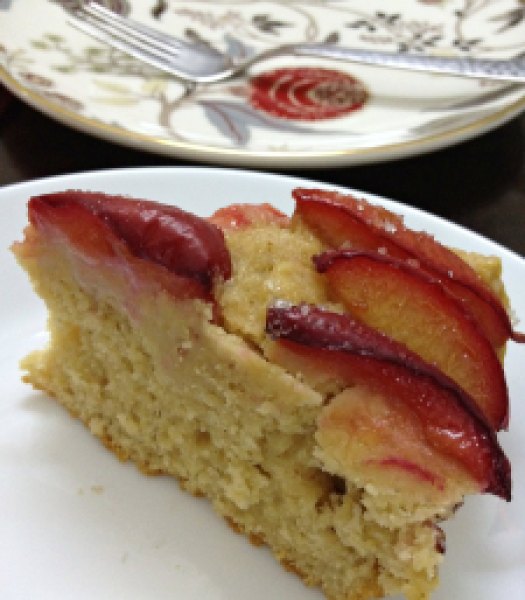
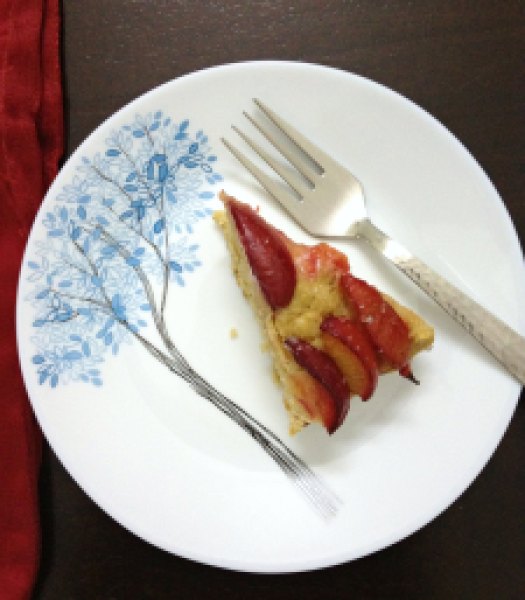
I had bought almost 2 kg of sugarplums from my regular supermarket as it was on sale! Half of them were super-ripe and sweet so it goes without saying that we enjoyed them just like that. Rest of them were quite sour and tart for which hubby & I both have got pretty low tolerance so I decided to use them in a cake.. A topping for a simple cinnamon buttermilk cake! They look like red jewels… So adorable it makes my heart sing! Plus, all the tartness is masked by the sweetness of the cake.

SugarPlum Cinnamon Buttermilk Cake4SugarPlum Cinnamon Buttermilk Cake5

As it was raining, there was music and I was in a mood to dance while I bake, I decided to whip the batter with hand. It was so therapeutic!!! No mixer is required for this cake and only 2 dirty bowls! Complete win-win.. 🙂

The plums I had were quite firm so slicing slivers from them was not so messy and quite pleasing experience. Be sure to use a sharp knife for this. Each plum will give around 8 slices.

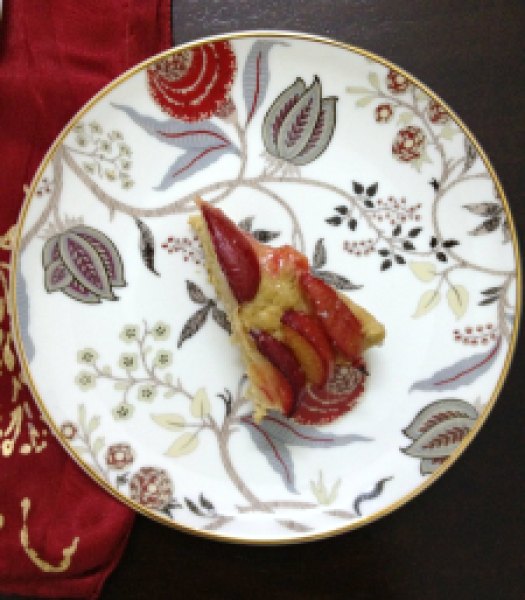
Perfect as a coffee/tea time cake & perfect as a dessert served with vanilla custard or sweetened whipped cream or vanilla ice-cream!

Oh, did I mention it is healthy?? 😉

Enjoy!

SugarPlum Cinnamon Buttermilk Cake6

SugarPlum Cinnamon Buttermilk Cake

Adapted from Super Natural Every Day – Heidi Swanson

Prep Time: 25 min | Baking time: 30 min | Serves: 12

Ingredients:

  • 2 and 1/2 cup whole wheat flour
  • 1 Tbsp baking powder
  • 1 Tbsp ground cinnamon
  • 1/2 cup caster sugar
  • 1/2 tsp salt
  • 2 large eggs
  • 1 and 1/2 cup buttermilk
  • 1/4 cup butter, melted and cooled
  • zest of 1 very large lemon
  • 6-8 sugarplums, thinly slivered (ripe yet firm)
  • 3 Tbsp granulated white sugar

Directions:

  1. Preheat oven to 200 C/400 F. Grease an 11″ tart pan or quiche dish.
  2. Sift together flour, baking powder, cinnamon, sugar and salt in a bowl. In a separate large bowl, whisk together the eggs, buttermilk, melted butter and lemon zest.
  3. Add dry ingredients into wet ingredients and mix until all the flour pockets disappear and the batter is just combined.
  4. Spoon batter into greased pan, tapping the pan over the working station. Smooth the batter with back of your spoon, spreading it out towards the edges. Arrange plums in a circular pattern or just scatter them around. Top with granulated white sugar evenly.
  5. Bake for 30 minutes or till the toothpick inserted in the center comes out clean. Serve warm with a dusting of icing sugar or vanilla custard or sweetened whipped cream or vanilla ice-cream.
Share this recipe:

Peach Upside-Down Mini Cakes with Lemony Bits

Peach Upside-Down Mini Cake5

!!!Happy Father’s Day!!!

I know I am about a week early for Father’s day post but I just couldn’t stop myself from posting this scrumptious desert li’l bit early as it’s my dad’s birthday on June 9. We stay miles apart so he would not be able to taste it but that couldn’t stop me from baking something special for ‘The Most Special Man’ in my life.

My dad has been the strongest pillar for me and my sis. He is my greatest supporter, admirer and best friend. He has scolded me when he must and patted my back even at my smallest of achievements. He has taught me to ride bicycle and has held me before I fell and hurt myself. He has felt my injuries and illness more than I have suffered from them. I have been able to share anything and everything with him. He is the BEST FATHER I could have ever asked for and I thank my lucky stars everyday for it!

I will not be there to celebrate this special day along with my family but I would like to send my regards and bestest of wishes along his way. Wishing you a very very very Happy Birthday Dad! May God Almighty bless you with the best of health & may all your wishes come true!!!

My dad has been a big fan of summer fruits. As kids I remember my dad bringing bags full of peaches, plums, figs, melons and mangoes uberfresh from Farmer’s Market for us days-after-days. (Actually in case of mangoes, sacks full of it!!!) This is what turned me into biggest fruitaholic! I used to wait on summer holidays for the biggest fruit bonanza to begin so that I could keep hogging on freshest of produce!

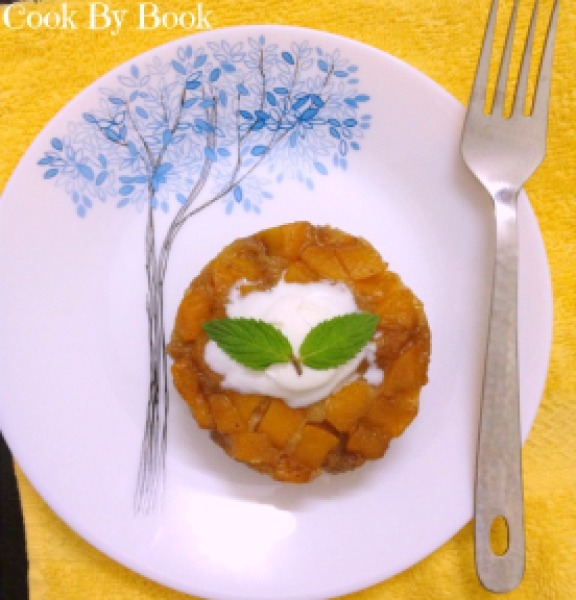
So on his special day I decided to bake using something which bound us as a family. Our love for summer fruits being one of it! I bring to you a very simple yet decadent ‘Peach Upside-Down Mini Cakes with Lemony Bits’

Be sure to bake this for Father’s Day to make your dad feel extra-special!
Its not extravagant but will surely please your dad!

Peach Upside-Down Mini Cakes with Lemony Bits

Yields: 4 mini cakes

Ingredients:

  • 1/4 cup softened unsalted butter, divided
  • 1/4 cup light brown sugar
  • 3 medium peaches, peeled, cored and diced
  • Lemon zest of 2 lemons
  • 1/4 tsp ground cinnamon
  • 1 cup, plus 2 Tbsp whole wheat flour
  • 1 tsp baking powder
  • 1/4 tsp baking soda
  • 1/8 tsp salt
  • 1/2 cup granulated white sugar
  • 1/2 cup vanilla yogurt
  • 1/2 cup milk
  • 1 tsp vanilla extract
  • Ice-cream, whipped cream or sweetened yogurt for serving (optional), I served mine with vanilla ice-cream and it tasted divine!

Directions:

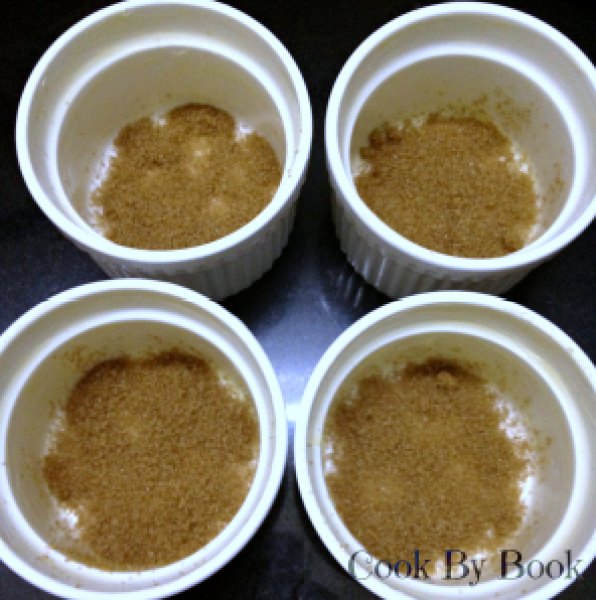
Preheat the oven to 350 F/170 C. Grease each of 4 (8-oz) ramekins with 1/2 Tbsp of butter. In a small cup, melt rest of the butter and keep aside.

Peach Upside-Down Mini Cake1
Sprinkle 1 Tbsp brown sugar evenly at the bottom of each ramekin.
Peach Upside-Down Mini Cake2
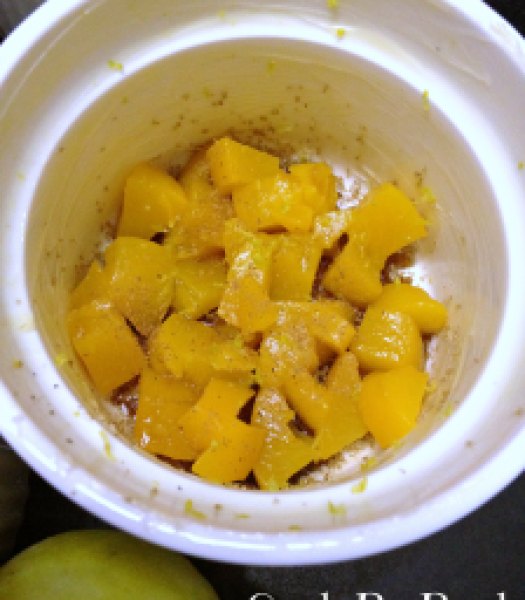
Mix diced peaches with lemon zest and ground cinnamon and divide them equally among 4 ramekins.

In a medium bowl, whisk flour, baking powder, baking soda and salt. In a separate bowl, whisk together sugar, yogurt, milk, vanilla and the reserved melted butter.  Add wet mixture to dry mixture and stir gently to barely combine. Do not over-mix.

Peach Upside-Down Mini Cake3
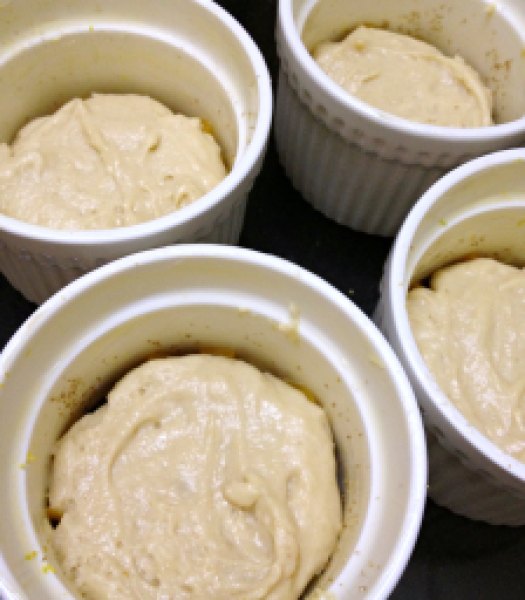
Spoon batter over peaches, diving equally.

Place ramekins on baking sheet and let it bake for 23-25 minutes or till the toothpick inserted in the center of the cakes comes out clean. Transfer ramekins to cool on wire rack.

Peach Upside-Down Mini Cake4
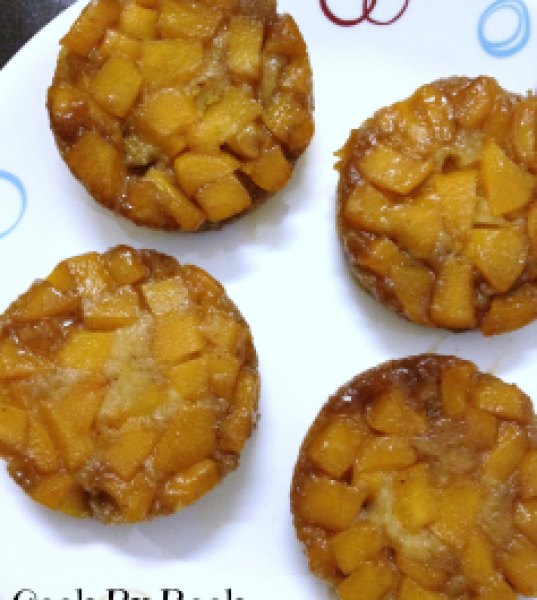
If serving immediately let cool for 5 minutes and run a knife around the edge of each ramekin and turn upside down onto serving plate. Serve topped with ice-cream, whipped cream or sweetened yogurt, if desired or as is.

If you are baking ahead of serving time then let the cakes cool for 10 minutes before releasing them from ramekins as the sugar and fruit juices would have thicken a bit by then. Re-hit in the microwave for 20-25 seconds before serving.

Directions:

  1. Preheat the oven to 350 F/170 C. Grease each of 4 (8-oz) ramekins with 1/2 Tbsp of butter. In a small cup, melt rest of the butter and keep aside. Sprinkle 1 Tbsp brown sugar evenly at the bottom of each ramekin.
  2. Mix diced peaches with lemon zest and ground cinnamon and divide them equally among 4 ramekins.
  3. In a medium bowl, whisk flour, baking powder, baking soda and salt. In a separate bowl, whisk together sugar, yogurt, milk, vanilla and the reserved melted butter.  Add wet mixture to dry mixture and stir gently to barely combine. Do not over-mix. Spoon batter over peaches, diving equally.
  4. Place ramekins on baking sheet and let it bake for 23-25 minutes or till the toothpick inserted in the center of the cakes comes out clean. Transfer ramekins to cool on wire rack.
    If serving immediately let cool for 5 minutes and run a knife around the edge of each ramekin and turn upside down onto serving plate. Serve topped with ice-cream, whipped cream or sweetened yogurt, if desired or as is.
    If you are baking ahead of serving time then let the cakes cool for 10 minutes before releasing them from ramekins as the sugar and fruit juices would have thicken a bit by then. Re-hit in the microwave for 20-25 seconds before serving.

Enjoy with your family! 🙂

Share this recipe:

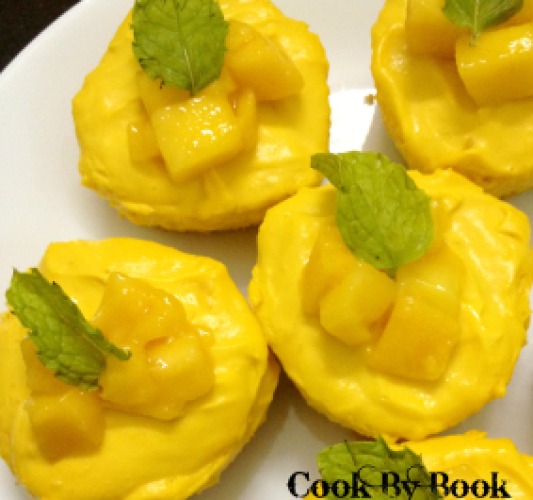
Mini Mango No-Bake Cheese Cake

Mini Mango Cheese Cake1

Mother’s day is just round the corner (May 12th) so I guess its high time we talk about it. MOTHER is the most celebrated person in everyone’s life!

My mom is the best thing that has ever happened to me… Ever! She has been an inspiration, a best friend, a constant supporter and a role model. She has taught me many things and one of the best thing has been ‘to care’.

So let’s pamper her on at least this one day dedicated completely to mothers. She deserves brunch that she doesn’t have to prepare and to be showered with gifts she did not have to wrap. One day in a year is not too much to ask for when our mothers have stuck with us throughout during our various temper-tantrums. It’s waaay too little in fact!

So here is an inspiration dessert to make your Mother’s day celebration even more memorable! Your mumma will be proud of you! And don’t you think that this cheese cake going to be difficult to make. In fact its so easy that it will be ready even before you know it. Such an easy, no-bake treat and can be prepared in advance! 🙂

Mini Mango Cheese Cake2

I have used the recipe featured in Masterchef Australia by Matt Moran (he is sooo cute!).

Servings: Makes 8 individual mini mango cheese cakes, Requires: 8 silicone molds (I used heart shaped)

Ingredients:

For cheesecake base:

  • 8 digestive biscuits, coarsely crumbled
  • 2 Tbsp butter, melted

For cheesecake filling:

  • 250 gm mango puree (I pureed mango Alphonso)
  • 250 gm cream cheese, at room temperature
  • 1/4 cup caster sugar (or more if your mangoes are not so sweet.. mine were)
  • 1 Tbsp unflavored gelatin
  • 1/4 cup cold water
  • 2 tsp lemon/lime juice
  • 1/4 cup mango, diced into small cubes
  • Mint leaves, to garnish

Directions:

  1. Mix crumbled digestive biscuits and butter in a small bowl. Take 1 Tbsp of crumble mixture and press at the base of the silicone mold with a flat based glass. Repeat the procedure for rest of the molds and put them in refrigerator until you prepare the cheesecake filling.
  2. In the blender, process mango puree, cream cheese and caster sugar till smooth.
  3. Sprinkle the gelatin over cold water in a small bowl and let it rest for 2 minutes to soften. Place the bowl in a microwave for 30 seconds on High, until the gelatin dissolves.
  4. With the motor of the blender running, add the melted gelatin slowly to the cheesecake filling mixture and process until smooth then add lemon/lime juice.
  5. Divide the filling among the molds, place into the fridge to set for 2-3 hours.
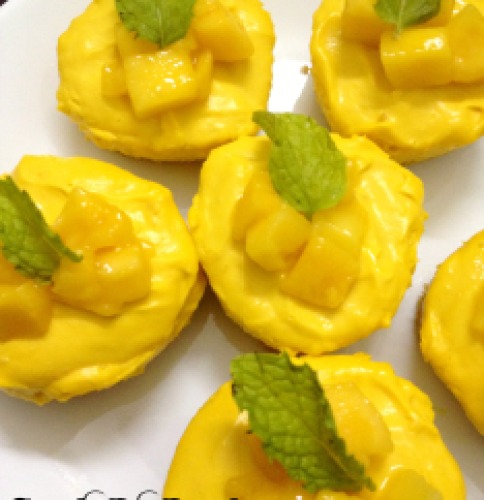
  6. Un-mold the cheesecake carefully from the silicone mold by passing the knife around the edges. Serve it topped with mango cubes and a mint leave.

*You can substitute agar agar or chinagrass for gelatin to make it completely vegetarian.

Share this recipe:

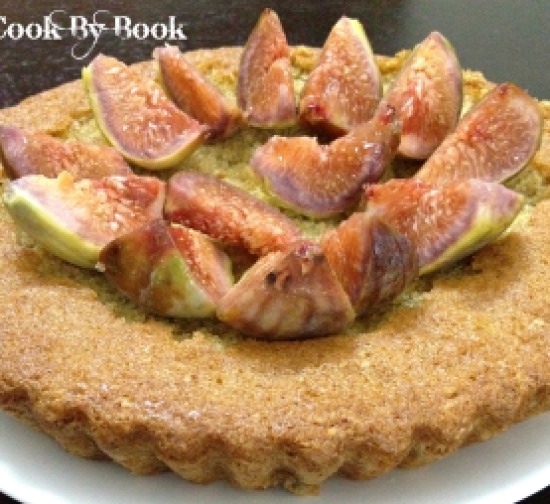
Fig Cake

Fig Cake2

I have a soft corner for fresh figs. In fact, I adore them… kinda love them…!! My husband on the contrary, detests fresh and dried figs both. How unfortunate for him?! 😛

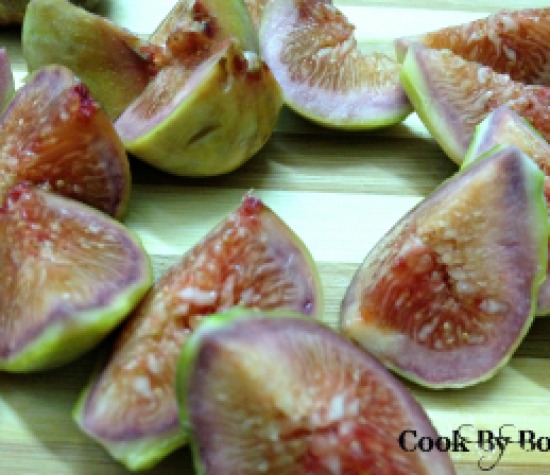
The other day when I went grocery shopping, I found a box of fresh, ripe figs at my supermarket for just 90 INR/- and so I bought 2 of them! And I enjoyed the first box as is.

Smooth, leathery outside and velvety, succulent insides… Perfect petite size! Plus it’s a effortless, no-fuss, non-messy eating. Just wash and pop them in your mouth. Voila! Explosion of palate-cleansing freshness! Salivating already?! 😉

Fig Cake1

I decided to bake with them as an attempt to change my husband’s attitude towards these delicious babies. But I had never baked with fresh figs (apart from using them as my pizza topping… Totally loveee it!!! Nom Nom…). Even though I have baked with dried figs before creating Dried Fig Spice Cake, I wanted to bake something more classy with the bunch of fresh figs. That is how my hunt for a mind-blowing recipe started.

And after browsing through so many blogs, I finally found a recipe which I think will do complete justice to them.

A recipe which suits my own style of baking with simple ingredients and a quick whip!

For the recipe click on the link: http://playfulcooking.com/cakes-cupcakes-muffins/honeyed-fig-cake/

Fig Cake3

*The changes I made to the recipe:

  1. Instead of 1/2 cup sugar called for in the recipe I used 3/4 cup sugar.
  2. Replaced all-purpose flour with whole wheat flour.

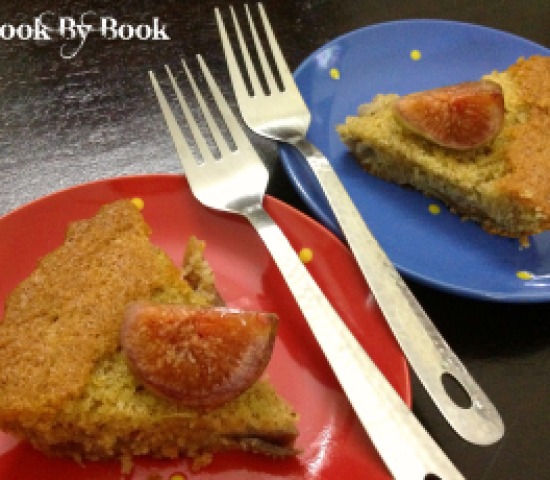
Apart from that I followed the recipe to the T and the resultant cake was light, soft, moist and juicy! Perfect for the tea party!

So what are you waiting for?! Click on the link above and start baking! 🙂

Share this recipe: