Category: Baking

Pina~Colada Cake-Mix Cookies

Pina~colada Cake-mix Cookies1

I have been known for my love of eating my drink! You must have seen this and this! (< These are must try! They are simply loved by friends and family and most viewed recipe on my blog till date!!)

So now I want to take a plunge and start drinking my cookies! 😉 Who is with me on this?

When you incorporate a drink in baked goods, the flavor gets enhanced and intensifies. In my opinion cupcakes/cakes are more forgiving in a way you can play with liquid as the consistency of batter is not much of a concern. While it is trickier to be able to incorporate a drink in cookie-dough as it has to be just right, not overly runny or sticky else it goes straight in to the trash.

I am a very guarded person.. I hate disasters in the kitchen more than any other person. Just can not handle them. I know it is part-and-parcel of the game but non-salvageable disasters just make me crazy! Yup.. still dealing with my failed attempt at Mountain Dew cookies.. But I have not lost on them yet! I am sure I’ll come up with a winner recipe 🙂

Hence for this second drink-cookies expedition, being an overly-cautious person that I am, I decided to use cake-mix. They are just convenient and I could focus on the liquid~cake-mix ratio completely rather than focusing on flour-sugar ratio first. These were success at first attempt so I will be more confident while baking my next Pina-colada cookies from scratch. I will definitely update the recipe when it happens in future but till then enjoy these cake-mix cookies as they were the best cake-mix cookies I have baked so far and I have baked many!!

Pina~colada Cake-mix Cookies3

The batter comes together easily. In one bowl. With a spoon. No mixer required.

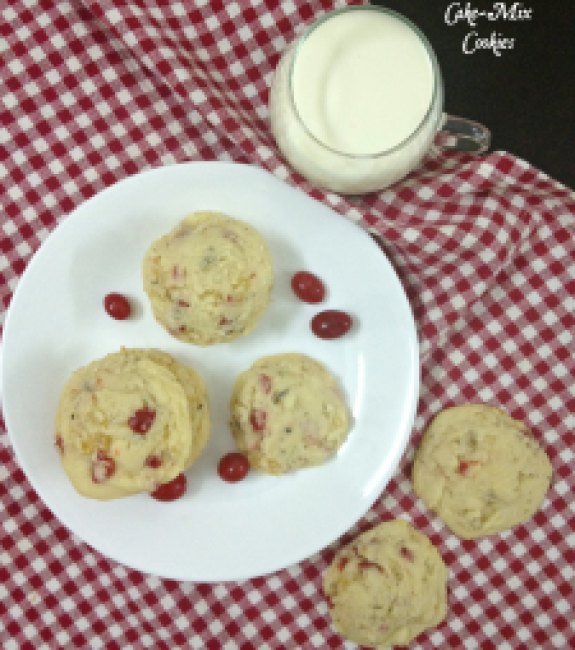
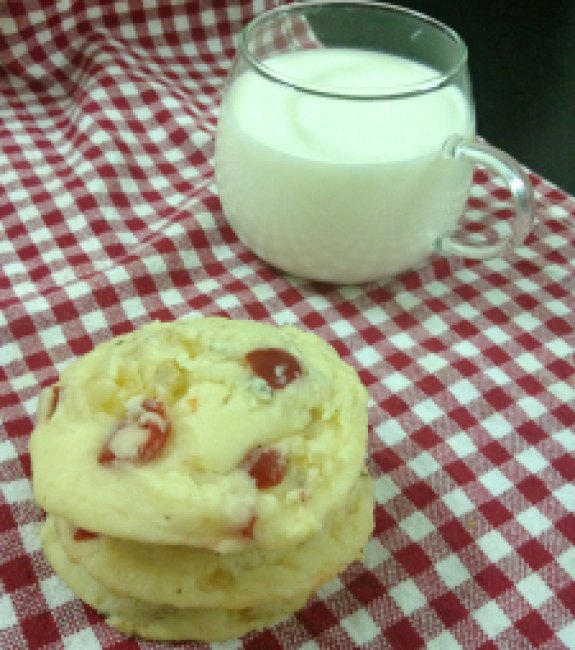
We are using cake-mix which virtually guarantees a success! They are soft, fluffy and yet chewy.

These are studded with the bits of dried pineapple and glazed cherries. And when we are talking Pina-colada how can we miss coconut so in goes shredded desiccated coconut. Feel free to add rum and adjust the liquid ratio accordingly if you are in cocktail-cookie mode!

These are perfect holiday cookies. I haven’t been able to take vacation this summer but drinking these cookies definitely felt like sipping a drink on a beach. So go ahead and bake these golden nuggets of sunshine to brighten up you day!
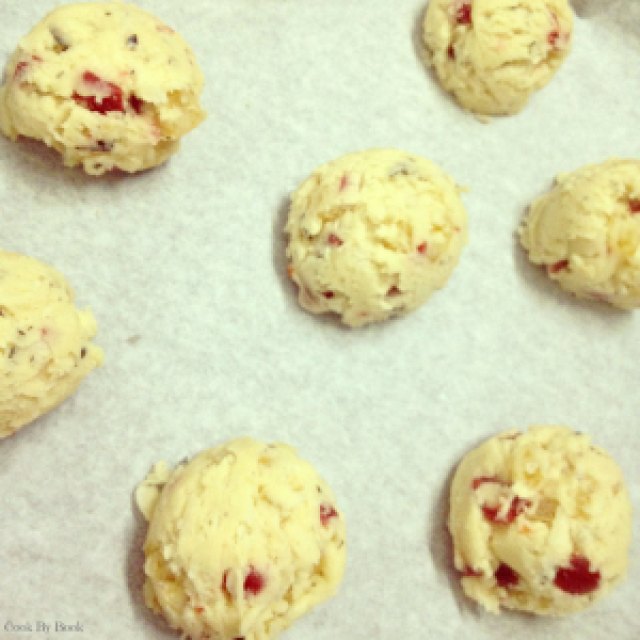
Pina~colada Cake-mix Cookies2
Before going to the oven

Pina~Colada Cake-Mix Cookies

Yields: 2-dozen regular-sized cookies or 1-dozen large cookies (Needless to say I baked mine large)

Ingredients:

  • 1/4 cup butter, at room temperature
  • 3 and 1/2 Tbsp Pina-colada squash/cocktail-mix
  • 250 gm Vanilla cake-mix (I used Pillsbury)
  • 3-4 Tbsp all-purpose flour (or less)
  • 1/2 heaping cup grated desiccated coconut
  • 1/4 cup finely chopped dried pineapple
  • 1/4 cup finely chopped glazed cherries (dried cherries or cranberries would work too)

*If want boozy cookies, add 1 Tbsp rum and reduce Pina-colada squash/cocktail-mix ratio to 2 and 1/2 Tbsp.

Directions:

  1. Preheat the oven to 180ºC / 350ºF. Line baking sheet with a parchment paper. In a large bowl, combine butter and Pina-colada squash/cocktail mix and stir by hand or with an electric mixer till combined.
  2. Add the cake-mix and stir until the batter is smooth. Add the flour one spoon at a time, as needed to solidify the dough. Add as little as possible to get chewy cookies. Adding more flour will make it cakey so add little-by-little.
  3. Fold in the coconut, pineapple and cherries and put the mixing bowl in the freezer for 15 minutes. Do not skip this step as chilled dough spreads less during baking.
  4. Using a Tablespoon or ice-cream scoop, drop 1-inch dough-balls on prepared cookie-sheet, allowing for adequate spacing. These cookies do not spread much and retain its puffier shape. Bake for 10 minutes or until cookies are barely browned on the bottom. The tops will look undone but they will continue to set on the cookie-sheet even after out of the oven. They will firm up as they cool so do not over-bake. Allow the cookies to cool on cookie sheet before attempting to move them. Store them in an air-tight container for up to a week at room-temperature.
Share this recipe:

Brownie Bombs

Brownie Bombs3

I personally adore cake pops. They are pretty, deceptive and delicious little things. They look easy to make… In fact they are easy to make. Just a wee-bit time-consuming but easy.

This is my first post writing about them so I would like to be more elaborate. If we talk structurally, cake pops are nothing but the crumbled cake mixed with frosting that can be rolled into balls or formed into any imaginable different shapes. They are then placed on a lollipop stick or wooden skewers, dipped in chocolate and topped with decoration of choice.

Cake pops rage is still catching up in my part of the world and quickly! I have gobbled up plenty of chocolate cake balls in my lifetime while growing up (I mean it!) and they are my favorite till now. Now cake pop is something very similar to cake ball concept sans the outer chocolate layer. I can totally relate to them.

Brownie Bombs2

I instantly fell in love with the idea of making a bite-sized cake, decorated for individuals which is mess-free and gives complete portion-control! They’re perfect for parties. I had one such potluck to attend last Sunday and I was asked to bring a dessert for obvious reasons! I immediately knew cake pops would be perfect for that as it’s something which can be made ahead and I wanted an excuse try them at home anyway!

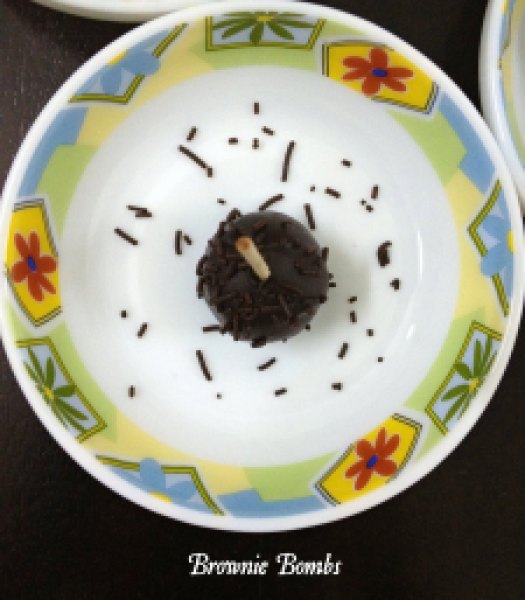
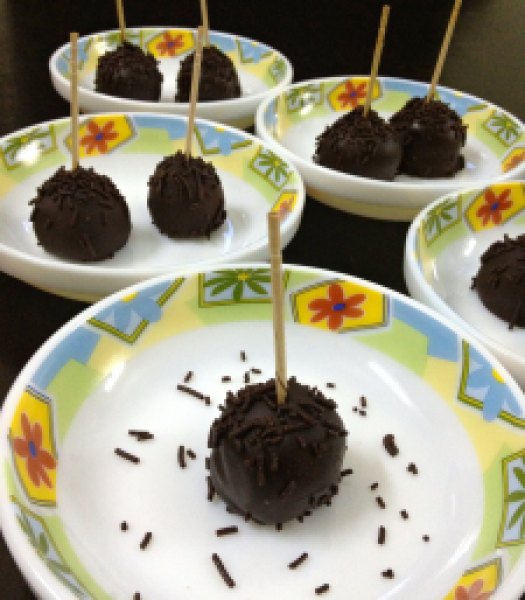
I didn’t have to do much of a research as in what type of cake-pop to make as I had a professional help. I recently bought a book  from The Australian Women’s Weekly ~ Cute Cake Pops. What an amazing little book! It had plenty of inspiration and fantastic ideas for making cake pops for every occasion! I wanted a crowd-pleasing chocolate and something simple for my first attempt hence I chose to make these brownie bombs from scratch. Yes, no cake-mix involved here. So I made some brownies and turned them into gorgeous cake-pops! Simple, no?!

Brownie Bombs1
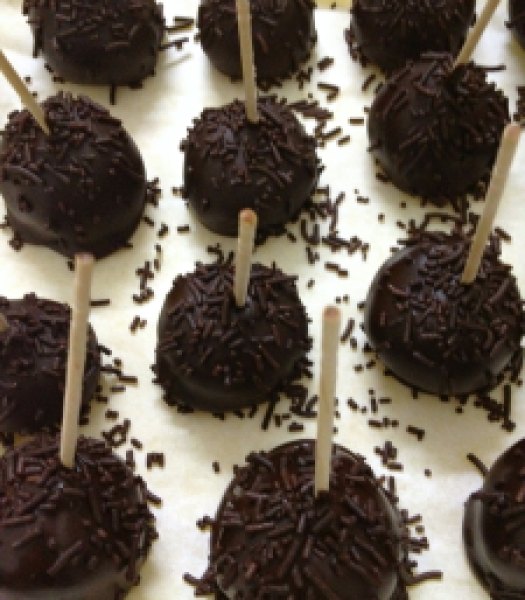
Just after dipping and decorating

I had some extra melted chocolate after all the cake-pops were done dipping. Wanna know how I used the left-overs? That’s going to be a post for another day.. Stay tuned! 😉 Meanwhile enjoy these!

Brownie Bombs

Recipe adapted from Cute Cake Pops

Yields: 25-30 cake pops

Ingredients:

  • 75 gm butter, chopped coarsely
  • 100 gm dark eating (semi-sweet) chocolate, chopped coarsely
  • 1/3 cup (75 gm) caster sugar
  • 1 egg
  • 2/3 cup (100 gm) all-purpose flour
  • 2 Tbsp dark rum (I omitted it)
  • 200 gm dark chocolate melts
  • 30 lollipop stick or toothpicks with sharp edges trimmed
  • Chocolate sprinkles, to decorate

Directions:

  1. Preheat oven to 180°C/350°F.  Grease a deep 7-8 inch square cake pan; line base and sides with baking paper.
  2. In a medium bowl, melt butter and chopped chocolate in a microwave for about 1 minute stirring after 30 seconds. Stir till smooth and let cool for 10 minutes.
  3. Stir sugar, egg and flour into chocolate mixture. Spread into a cake pan; bake about 20 minutes. Cool in pan.
  4. Once cool, cut cake into large pieces; using a food processor, process cake with rum (if using) until mixture just comes together. You can do this step with hand also. Shape rounded teaspoons of the mixture into balls. Place on a baking paper-lined tray. Freeze for 1 hour or refrigerate for 3 hours or overnight, until firm.
  5. Stir chocolate melts in a medium heatproof bowl over a medium saucepan of simmering water until smooth (don’t let water touch base of bowl).
  6. Dip the end of one stick into the chocolate, then push it about halfway into a ball of brownie. Return to tray. Repeat with remaining sticks and balls of brownie. Freeze for about 5 minutes to set.
  7. Dip one cake pop into the melted chocolate or with the help of a spoon coat a cake pop, rocking back and forth to coat; do not swirl the pop, or it may break. Allow excess chocolate to drip back into bowl. Stand on a baking paper-lined oven tray; sprinkle with chocolate sprinkles before chocolate sets. Repeat with remaining cake pops and sprinkles. Stand at room temperature until set. Serve.

*Store cake pops in an airtight container at a cool room temperature until ready to serve. They will keep for up to a week.

Share this recipe:

Microwave Chocolate-Nutella Mug-Cake

Microwave Chocolate-Nutella Mug-Cake1

It was a conscious decision to stay-away from this dangerous mug-cake only because of its sheer convenience. I did not need a confirmation that I can make this cake whenever chocolate-cravings hit me.

As all our resolutions come to an end sooner or later, on a particularly depressing morning, I caved in! And it definitely lifted my spirits up instantly! Yaay for broken resolutions! I’m totally hooked to this one and will be definitely trying different versions! 😛

I know there are infinite versions of mug-cakes floating on the web since 2-3 years and I did check out many of them. But I had a few things in mind about how I wanted this cake to be so I ended up making my own version of this sinful dessert. For one wanted this cake to be eggless and a wee-bit healthier so that I don’t feel too much guilty about gobbling it up.

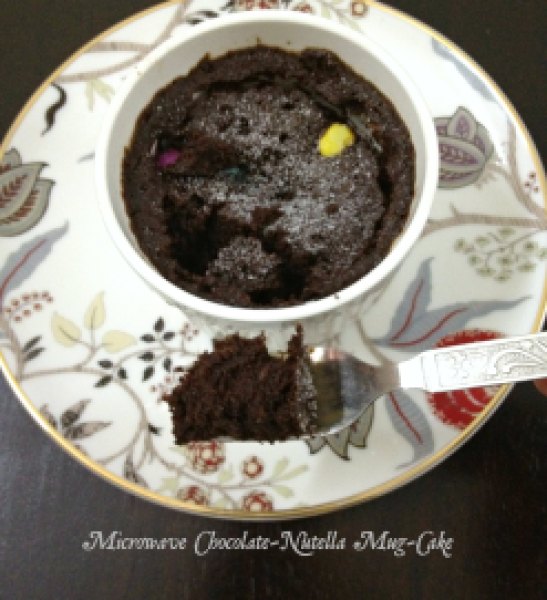
Another criteria was a perfectly soft, moist and fluffy cake. I can’t tolerate dry crumbs. But microwave especially has a tendency to snatch away moisture and make everything dry. So timing here is a key. Do not over-cook it. Check it after 1 minute + 10 seconds. If not done then cook for another 10 to 20 seconds.

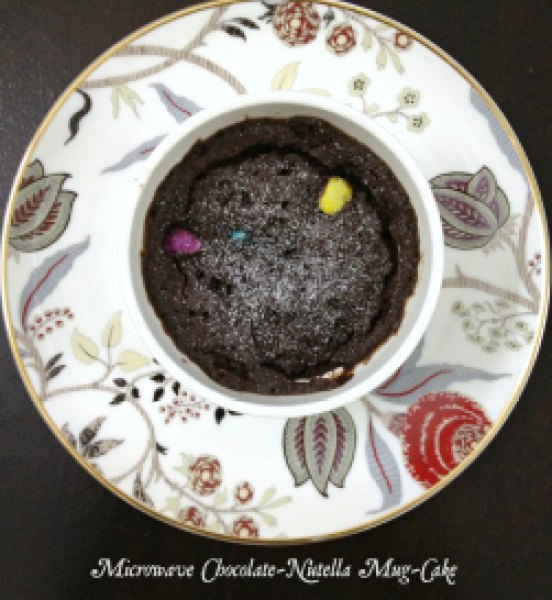
It will take you more time to assemble all the ingredients than for it to actually cook! Perfect for unusual cravings or unexpected company! It would be ready in a jiffy! For it to look more posh, make it in a fancy tea-cups/Ramekins and serve it with ice-cream or whipped cream with fresh fruits. Add anything else you want in the batter like chopped nuts, dark/white chocolate chips, butterscotch chips, dried fruits, M & Ms, sprinkles… Tini-tiny pieces of delicious surprise in every bite! Pure happiness!

Microwave Chocolate-Nutella Mug-Cake2

Mouth-watering? Read on to find out how it’s done. Be warned ~ it’s addictive!

Microwave Chocolate-Nutella Mug-Cake

Serves: 1 | Prep time: 2 minutes | Cook Time: 1 to 1 1/2 minutes

Ingredients:

  • 3 Tbsp whole wheat flour
  • 2 Tbsp powder sugar
  • 2 Tbsp unsweetened cocoa powder
  • 1/4 tsp baking soda
  • 1/4 tsp salt
  • 2 Tbsp extra-virgin olive oil
  • 3 Tbsp milk
  • 1 Tbsp Nutella
  • 1/2 tsp vanilla extract
  • M & Ms for topping or 1 Tbsp dark chocolate chips

Directions:

  1. In a medium-sized microwave-safe mug/ramekin add flour, sugar, cocoa powder, baking soda and salt. Whisk with fork until combined.
  2. Add oil, milk, Nutella, vanilla extract and mix with a fork until no lumps remain in the batter.
  3. Sprinkle top of batter with M & Ms or chocolate chips. Microwave on high for 1 to 1 1/2 minutes. Mine was done in 1 minute + 10 seconds so check at that mark and if it is not cooked through then let cook for another 10 to 20 seconds. Be careful as you don’t want a dry cake. Sprinkle with powdered sugar and serve immediately.
Share this recipe:

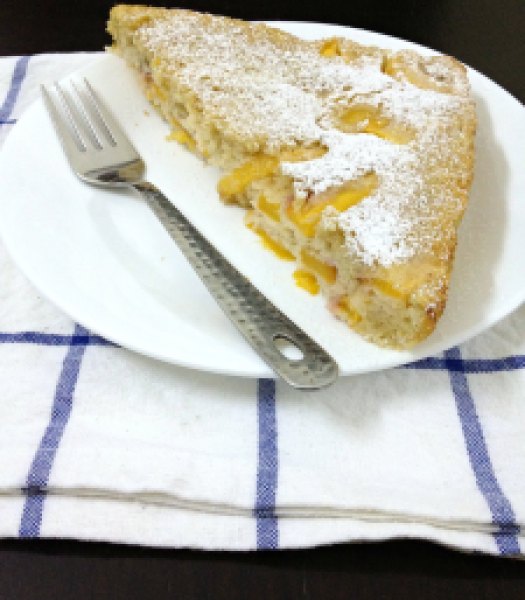
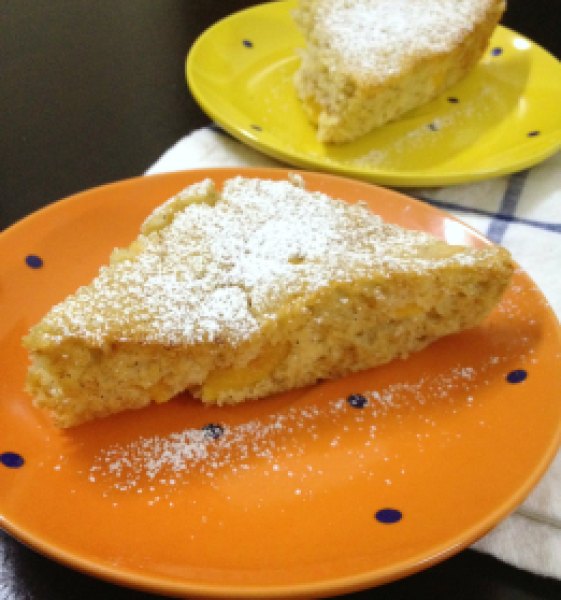
Fresh Peach Fluffy Pancakes Cake

Fresh Peach Fluffy Panacakes Cake1

Another fruit cake you’ll say, eh? But I just can’t let the amazing plethora of summer fruit pass by just like that. Without a dessert tribute at least!

I was too lazy to bake muffins or flip the pancakes so I went an easier route. My favorite buttermilk cake route. I know I have given you this and this this month but this recipe is different from those. Of course it uses buttermilk but it tastes like a cross between muffins and pancakes without having to actually make them! How do you like that! 😉

Fresh Peach Fluffy Panacakes Cake3

Just like my previous recipes, this recipe does not require electric mixer and the batter comes together in like 5 minutes total. Seriously! The result is fluffy and tender cake like a perfect pancake should be!

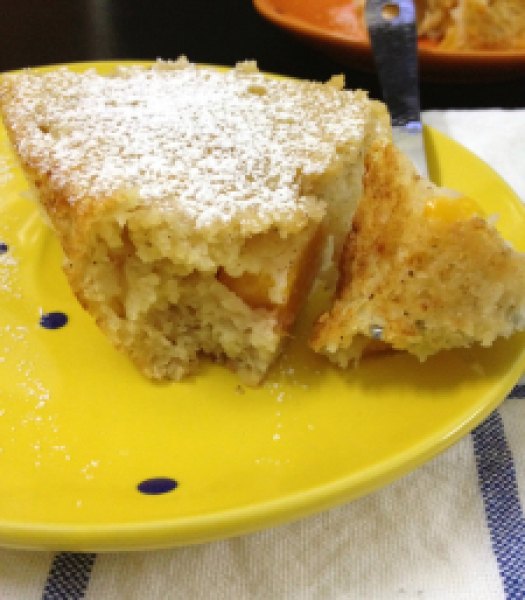
Fresh Peach Fluffy Panacakes Cake2

So how this cake is different from my previous buttermilk cakes? The batter resembles the pancake batter unlike my previous recipes. So no heavy duty mixing for this cake. In fact, you leave the lumps in the batter. Only gentle folding does the job. Another difference is.. Unlike topping the cake with the fruits in our previous recipe, we fold in the fruit in the batter to get peach in every bite! Yum!!

Fresh Peach Fluffy Panacakes Cake4

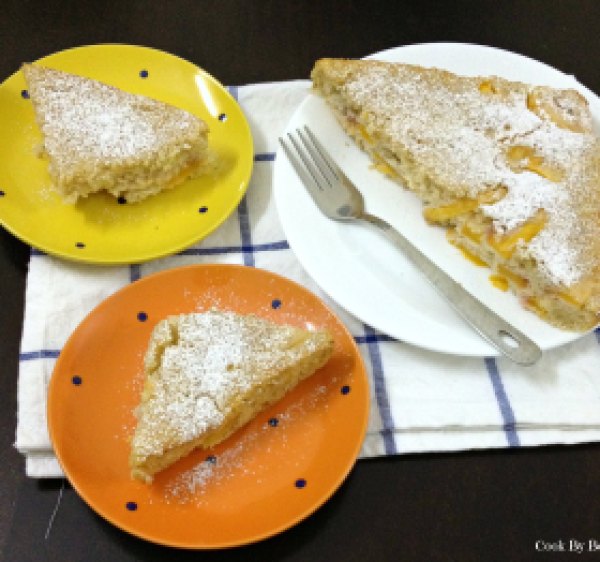
It’s a gorgeous weather in Bangalore today, I’m having a slice of it while writing this and I just can’t tell you how good it tastes the next day too! I had one slice with the dusting of confectioner’s sugar and another with vanilla ice-cream.. Delicious both ways!

You can replace all-purpose flour with whole wheat flour to make it healthier. Rest, you just got to deal with the sugar! 😛

You have to make this!!! Just be sure to use ripe peaches. Peel them, remove the pit, chop in a bite-sized pieces and you’re ready.. Only 2-3 peaches required!

Fresh Peach Fluffy Pancakes Cake

Prep time: 5-10 mins | Baking time: 35-40 mins

Yields: 8 pieces

Ingredients:

  • 1 cup all-purpose flour
  • 1 Tbsp baking powder
  • ½ tsp ground cinnamon
  • 1/4 tsp ground nutmeg
  • Salt, a pinch
  • 1 large egg
  • ½ cup white granulated sugar
  • ½ cup buttermilk
  • 1/3 cup full-fat yogurt
  • 1 Tbsp vegetable oil
  • 1 tsp vanilla extract
  • 2-3 medium peaches, peeled, thinly sliced (or a combo of stone-fruits)
  • Confectioner’s sugar, for dusting (optional)

Directions:

  1. Preheat the oven to 180°C/350°F. Line 8×8 inches square baking dish with a foil and grease it.
  2. In a large bowl, sift all-purpose flour, baking powder, cinnamon, nutmeg, salt.
  3. In another bowl, whisk egg and sugar together. Add buttermilk, yogurt, oil, vanilla and whisk.
  4. Add wet ingredients to dry ingredients slowly and fold in gently. If you get lumps in better t is all right.
  5. Gently fold in peach cubes. Bake for 35-40 minutes or till the top and sides are golden and toothpick inserted in the center comes out dry.
  6. Let the cake cool in a baking dish for half hour. Slice it and dust with confectioner’s sugar and serve it plain or along with ice-cream.
Share this recipe:

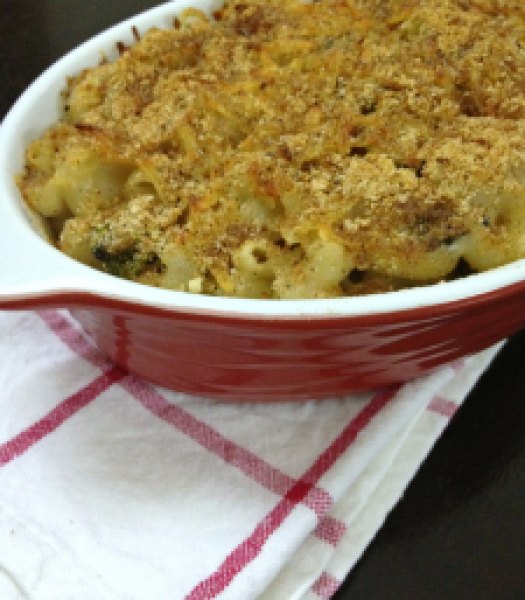
Skinny Mac’n’Cheese

Skinny Mac'n'Cheese2

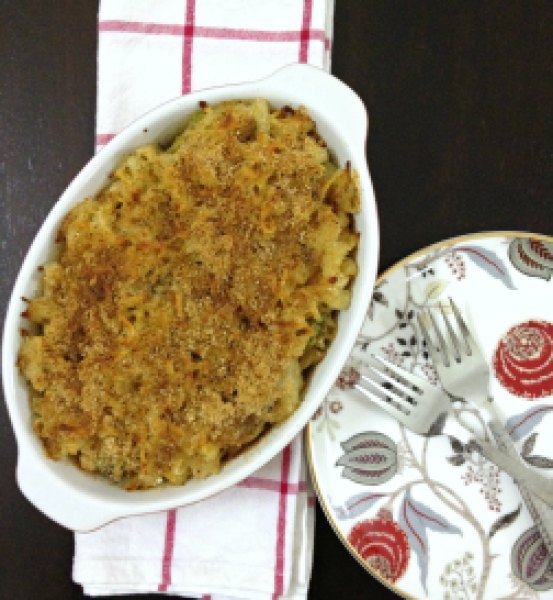
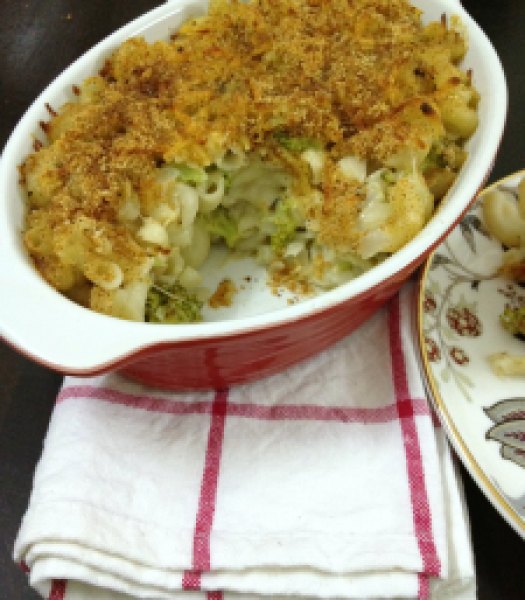
Oh I love me some mac’n’cheese! It is my no.1 comfort food… I love it on a rainy day, on a bad day, when I’m sad, when I’m happy! I crave for it. I resist few times and sometimes just cave in!

To be honest, I can’t allow myself good-old-over-the-top-cheesy mac’n’cheese everytime I want one! So I gave it a skinny make-over! Of course they are not totally guilt-free but everything in moderation doesn’t hurt right?!

Skinny Mac'n'Cheese1


If you are anything like me then you are going to love my version of mac’n’cheese. It has goodness of vegetables too. Yup, I have added some veggie tid-bits to make it little bit nutritious and kid-friendly. Best for those picky-eaters! You can sneak in any vegetable you want.

So wait no more & make it tonight!

Skinny Mac'n'Cheese3

Skinny Mac’n’Cheese

Serves: 3

Ingredients:

  • 1 cup broccoli, cut into florets
  • 2 cups macaroni pasta
  • 1 Tbsp butter
  • 2 Tbsp finely chopped red onion
  • 4-5 button mushrooms, finely chopped
  • 1/2 tsp red chili flakes
  • 1 Tbsp whole wheat flour
  • 2/3 cup skim milk
  • 1/3 cup vegetable stock/pasta water
  • salt & pepper, to taste
  • 1/4 cup Cheddar cheese, grated
  • 2 Tbsp Parmesan cheese
  • 1 Tbsp breadcrumbs
  • 1/4 tsp garlic powder

Directions:

  1. Cook pasta and broccoli together in a large pot of salted water as per the package instructions for al dante (or slightly under-cook for 2 minutes). Keep 1 cup of pasta water aside if you do not have vegetable stock. Drain cooked macaroni-broccoli in a colander. Grease a baking dish with oil and preheat oven to 190°C/375°F.
  2. In a large pan, melt the butter over low heat. Add onion and saute it for about 2 minutes. Then add and saute mushrooms, chili flakes for another 2 minutes.
  3. Add flour and saute for another minute till flour is golden and well-combined. Add milk and vegetable stock/pasta water and whisk raising heat to medium-high. Let it boil for about 3-4 minutes or till the sauce becomes smooth and thick.
  4. Once the sauce is thick, remove from the heat. Season with salt and pepper. Add grated Cheddar and mix well until cheese is melted. Adjust seasoning. Add macaroni and broccoli and mix well.
  5. In a prepared baking dish, pour the mix. Top with grated cheese. Combine breadcrumbs, garlic powder, pepper together and sprinkle over the cheese layer. Spray a little more cooking oil on top. Bake for 15 minutes and broil for 1-2 minutes for golden breadcrumbs.

Dig in!!

Share this recipe: